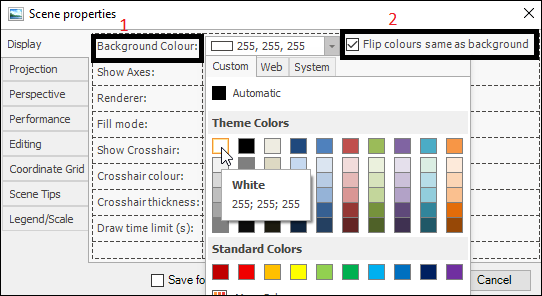
❖The first thing you can set for your scene is its Background Colour(1) and by ticking on Flip colours same as background(2) this will cause any colors that are the same as your background to be flipped so you can see them clearly:
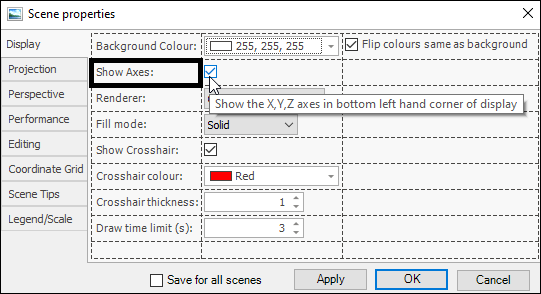
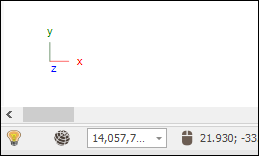
❖The next thing is Show Axes which you can tick on or off for the X,Y and Z axes to be shown at the left hand corner of your scene or not:
❖Next is Renderer where you can choose what renderer you would like to be used in your scene:
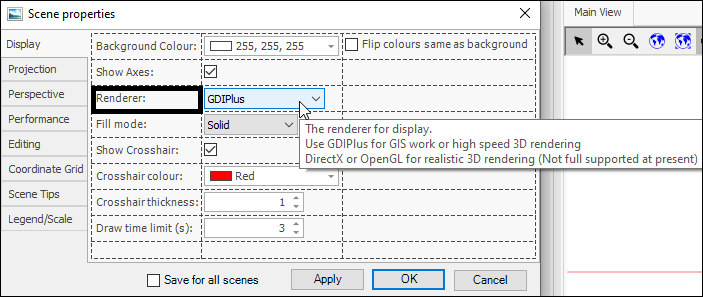
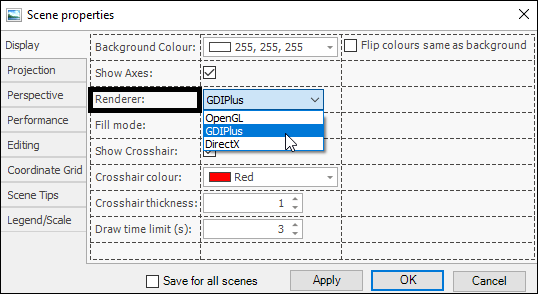
GDIPlus is good for general GIS work whereas DirectX is good for 3D work as it creates a more realistic looking object and is higher performance. OpenGL is not fully supported at the moment.
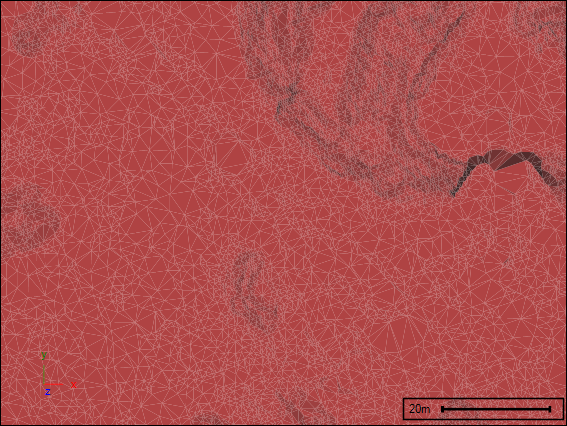
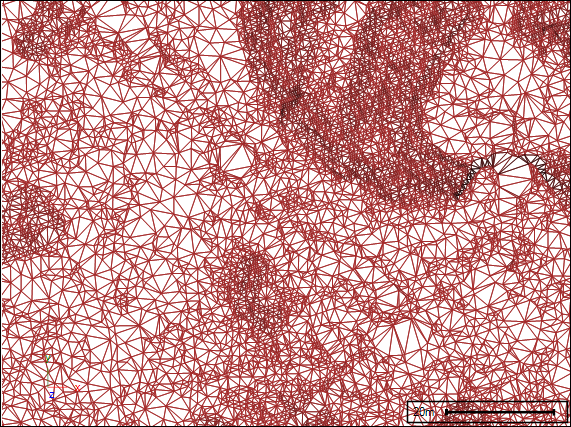
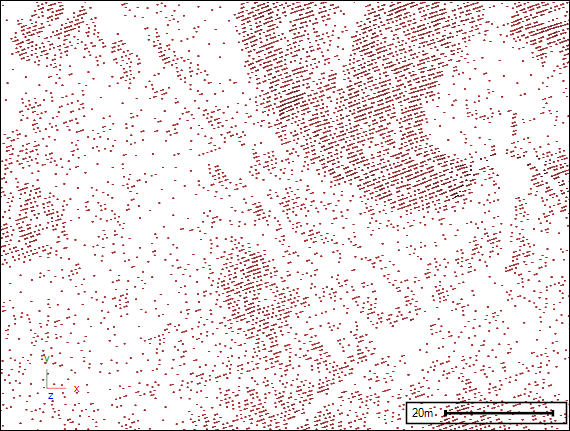
❖Next is Fill Mode which will determine how surfaces are drawn:
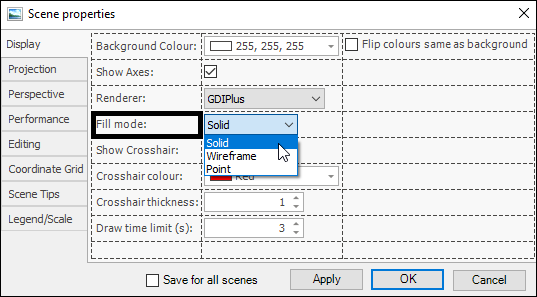
Solid:
Wireframe:
Point:
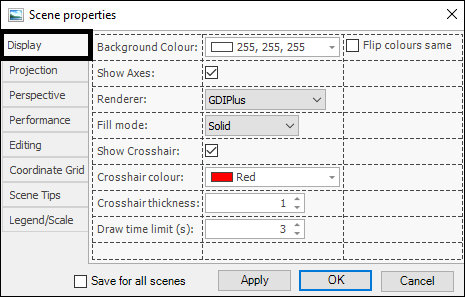
❖Next is Show Crosshair which you can tick on to put a crosshair on your scene which can be useful for centering in on things:
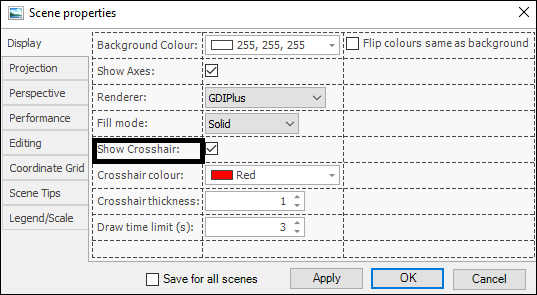
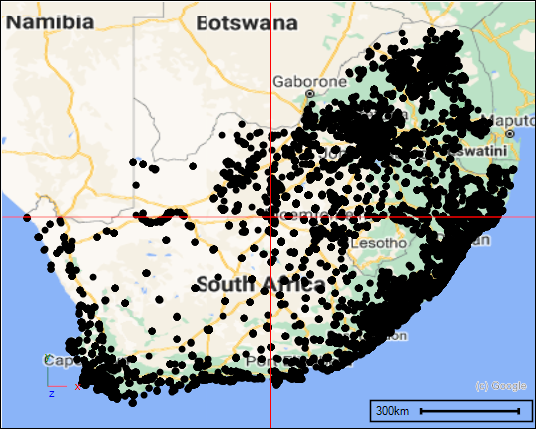
You can also set the Crosshair colour and Crosshair thickness:
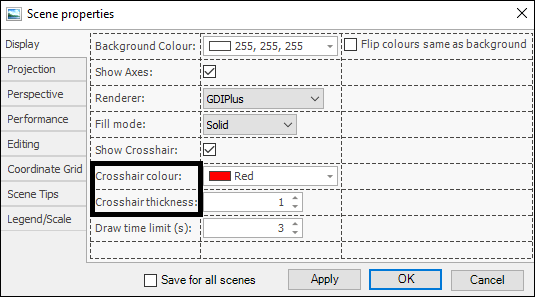
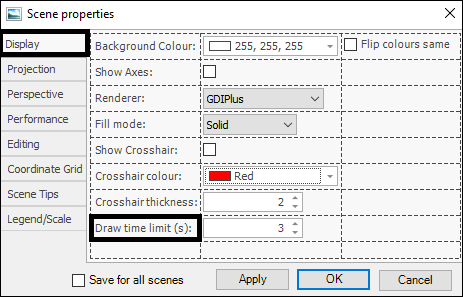
❖And lastly we have Draw time limit(s) which will terminate the drawing of any geometries to the screen after a certain time. This is useful when working with very big files as it will draw what it can of the file within that time and then terminate and not hold you up any longer while it tries to draw everything:
