Precision Draw Manual
❖Precision Draw(1) is a tool available in all our spatial products that allows you to lock your scene in various ways to allow for precision drawing. It is found at the bottom of the spatial pane:

❖Clicking on it brings up the following dialogue:

Coordinates

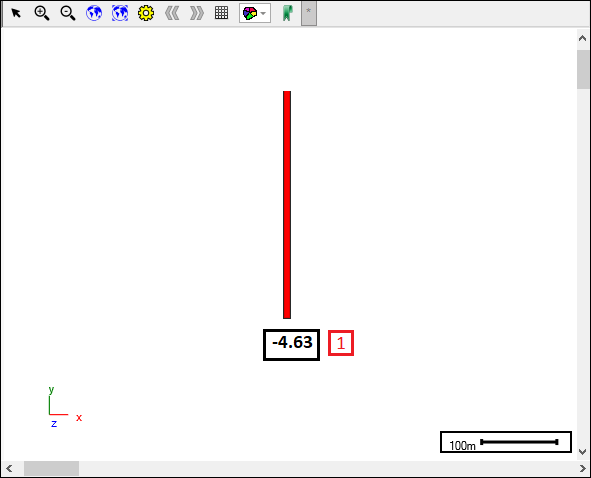
❖In this tab of the tool you can lock the X,Y or Z coordinates of your scene so that when drawing these remain fixed. You can enter in your coordinates and then the lock icon on the right(1) will automatically move to the locked position showing that the coordinate is now locked; the lock can be locked and unlocked by clicking it and you can lock all your coordinates or just specific ones. In this example I will lock an X coordinate(2) so that when I draw, the X coordinate will remain constant:

And as you can see in my scene when I drew a linestring the X coordinate remained locked(1):
Relative Coordinates

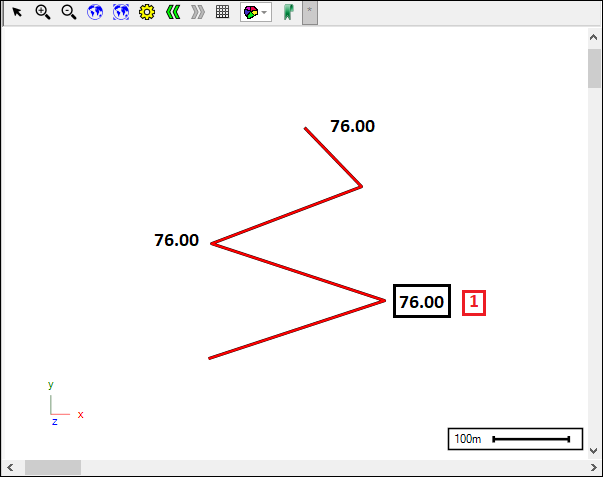
❖In this tab you can lock coordinates relative to each point/vertex successively of what you’re drawing while you’re drawing it. In this example I will lock the Y coordinate(DY)(1). So as before, I enter in the coordinate and then the lock will indicate that the coordinate is now locked(2):

And as you can see the linestring I drew has vertices which are a fixed Y coordinate away from each other(1):
Rotation

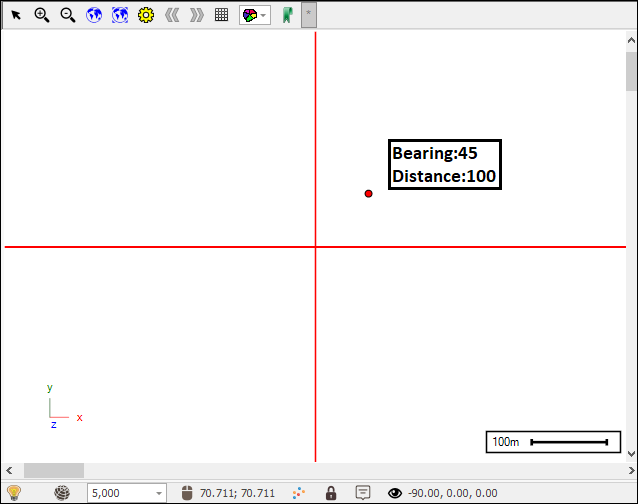
❖In this tab you can set the absolute Bearing(1), Dip(2) and Distance(3) of your drawing, meaning its taken from the origin of the cartesian plane. In this example I will lock my Bearing and Distance(4):

And as you can see when I drew a point it got drawn at the locked bearing and distance:
Relative Rotation

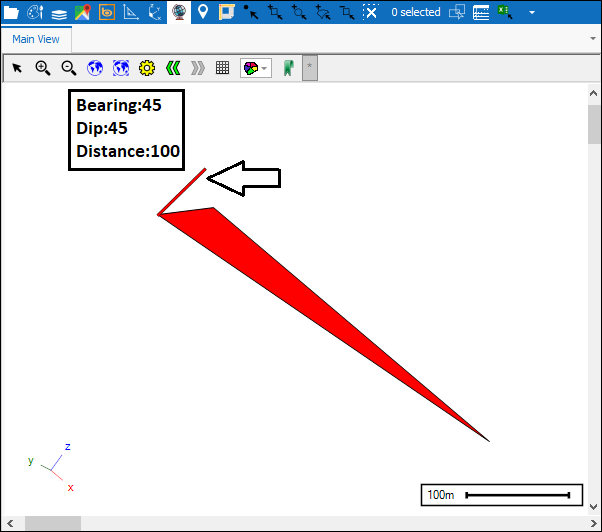
❖In this tab you can set the Bearing(1), Dip(2) and Distance(3) in relation to a specific point. So the first point you choose in your drawing will be take as the reference point in locking the bearing, dip and distance for your next point and then this next point becomes the new reference point for the next point in your drawing and so on. In my example I will lock all three of these things(4):

And as you can see the linestring I have drawn honours the bearing, dip and distance that I locked:
Plane

❖In this tab you are able to lock the viewplane so that no matter what orientation your scene is at your drawing will be drawn to that locked viewplane that you set. You can enter in the values manually or you can go to the orientation that you want in your scene and then simply click the Copy Scene Plane(1) button which will enter in all the details about the current viewplane for you(2). To then lock this plane click the lock icon on the far right(3):


I will now change the orientation of my scene and draw something(1), and as you will see even though I shifted the viewplane about, it still got drawn to the original viewplane that I locked(2):
❖Now Plane and Relative Rotation can work together as indicated by the lock icon next to them when you are switching between them(1)(2); these are the only two tabs that can be locked simultaneously and if you go to any other tab while one or both of these are locked then the lock icon disappears(3):


❖Now as an illustration of these two tabs working together what I will do is lock my Plane(1) and then under Relative Rotation lock my Distance(2):


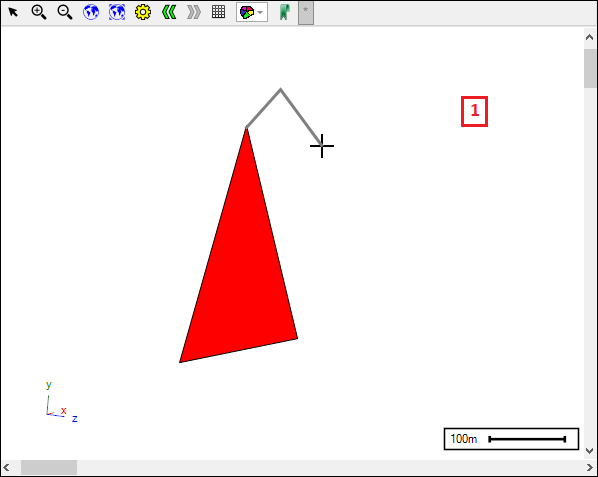
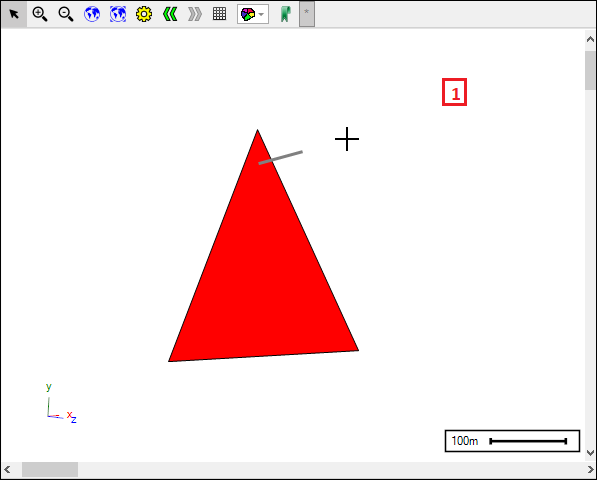
I will now move around the orientation of my scene and draw a linestring(1):
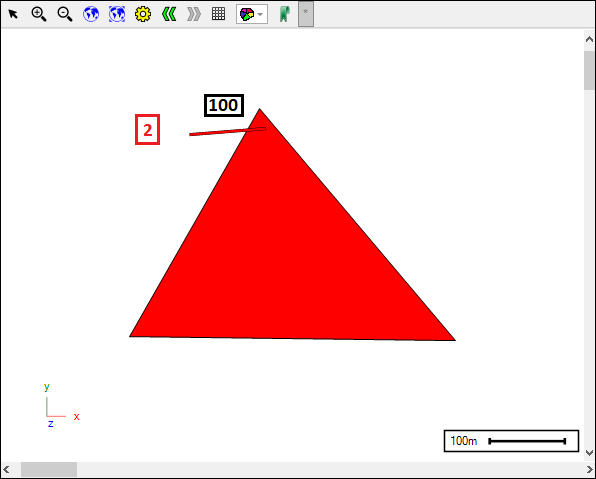
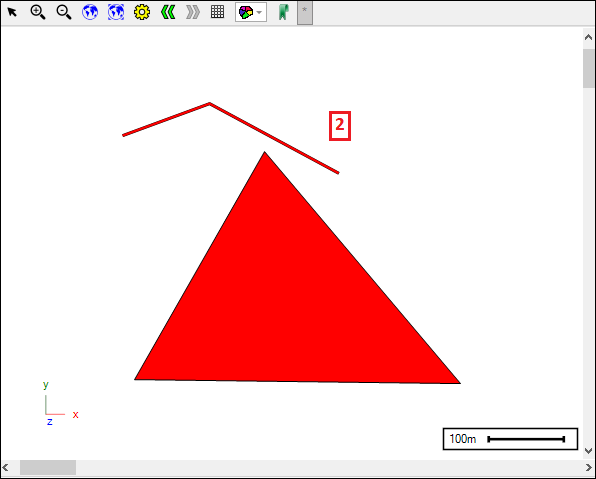
And then when I go back to my original plane you can see the linestring was drawn to this original viewplane that I locked and also at the distance that I locked which was 100 metres(2):
