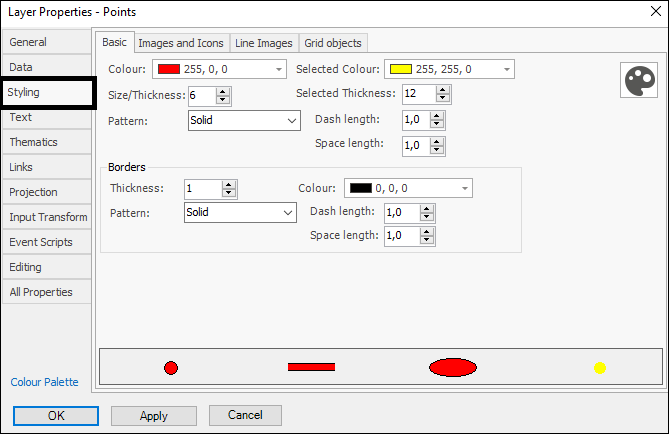
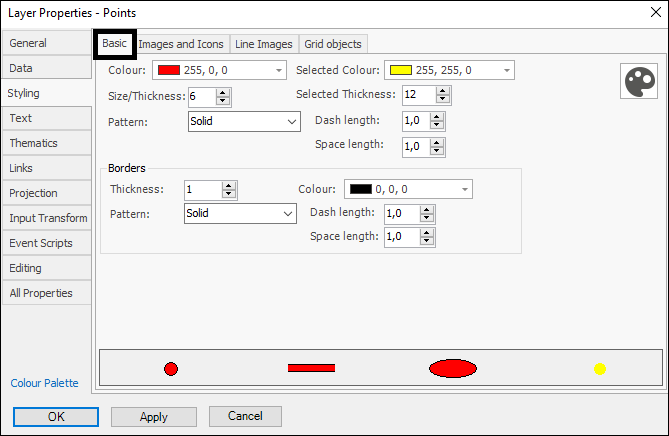
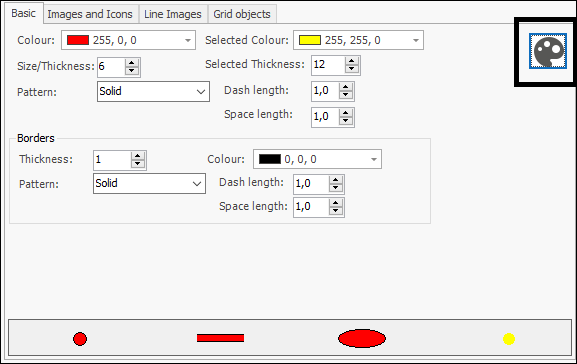
❖In the Styling tab you can set various things relating to the style and appearance of the layer. In the Basic tab are the basic things you can set about the layer’s appearance such as Colour, Size etc.:
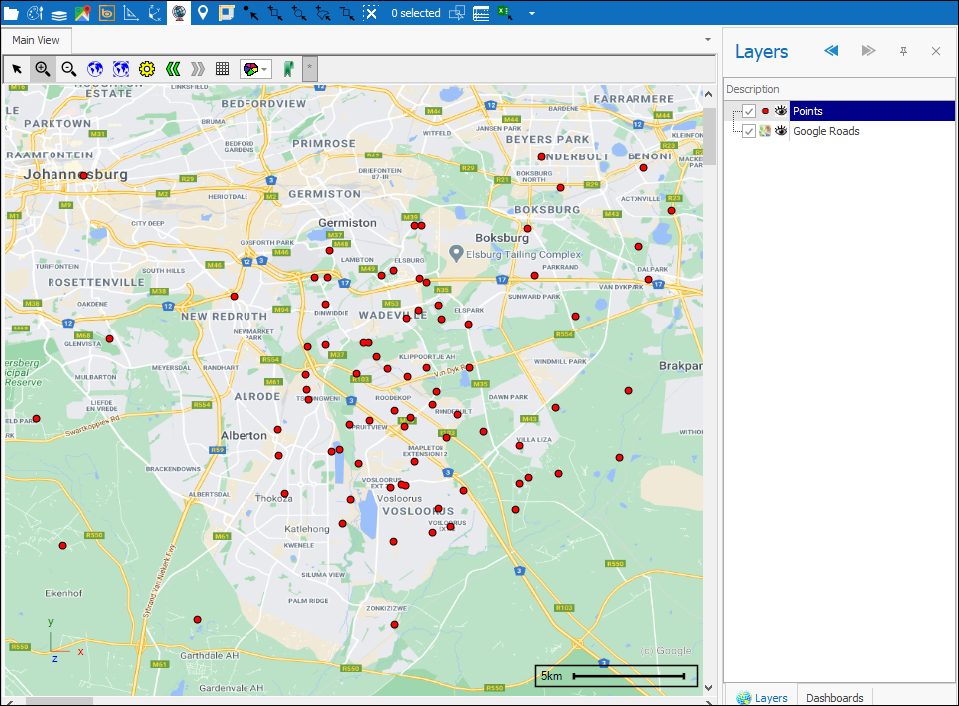
This is how my layer then appears:
❖You can also have predefined settings that you set up which you can use at any time again, this is done by clicking the palette icon to the right, which brings up the following dialogue( this feature can be found in the Thematics tab and Text tab and is used in the same way):
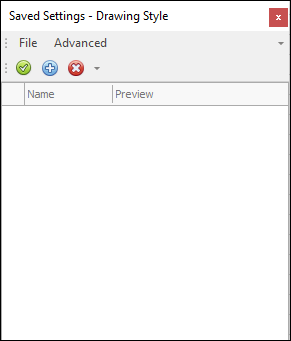
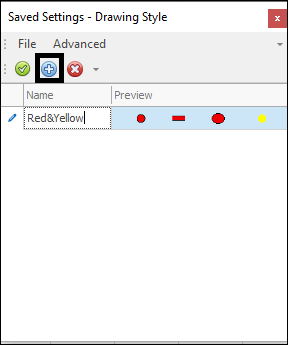
❖To add the predefined settings, first set it up in the Layer Properties box as you’d like then click the plus icon and name it how you’d like:
❖You can then choose to Export these settings so they can be loaded at a later time, otherwise they are just saved in this dialogue so you will see it there each time you open it:
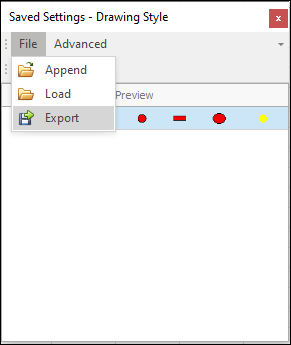
Load will load the exported settings and replace any current predefined settings you have in the dialogue whereas Append will add them to the list
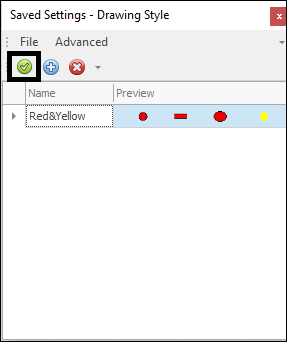
❖To apply these settings you click the tick icon:
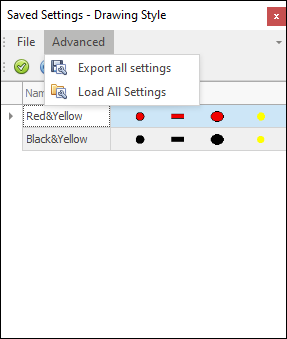
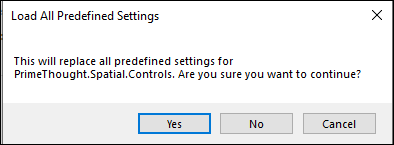
❖Advanced is where you can save and load all predefined settings for all dialogues, for which predefined settings can be saved such as Styling and Thematics. It is saved as a settings package and when loaded will overwrite any currently predefined settings in all the Saved Settings dialogue boxes:

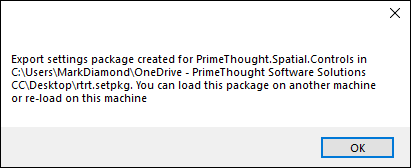
When loading a settings package, you will get the following message:
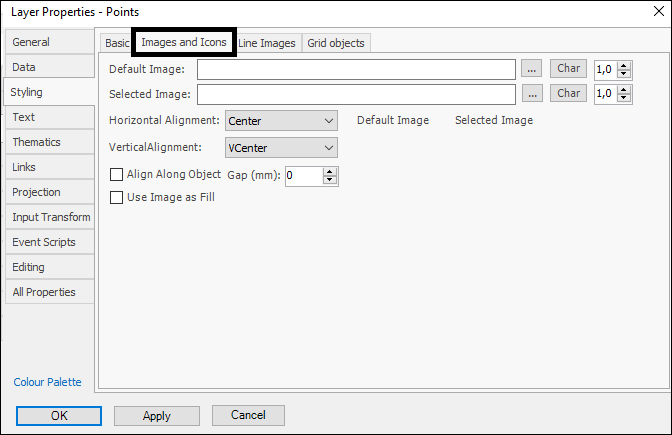
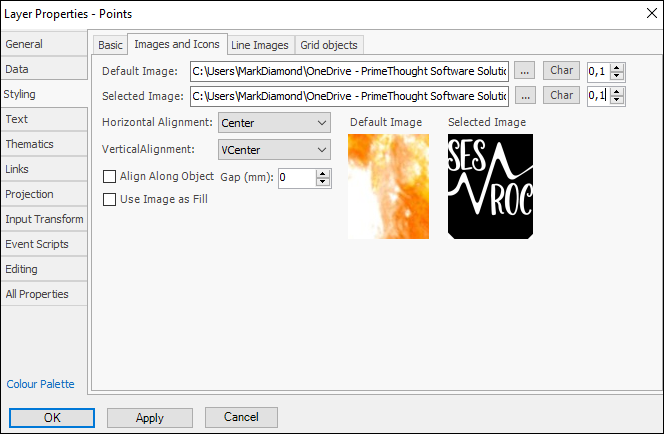
❖Under Images and Icons you can choose to have images displayed for the points in your scene:
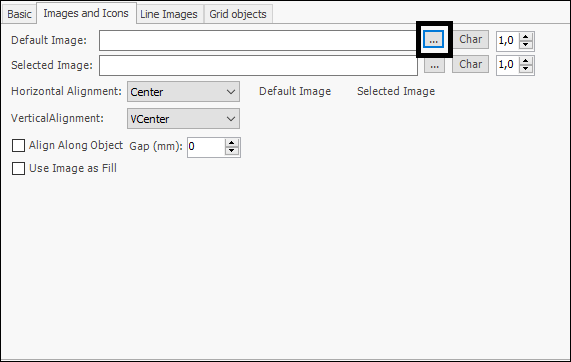
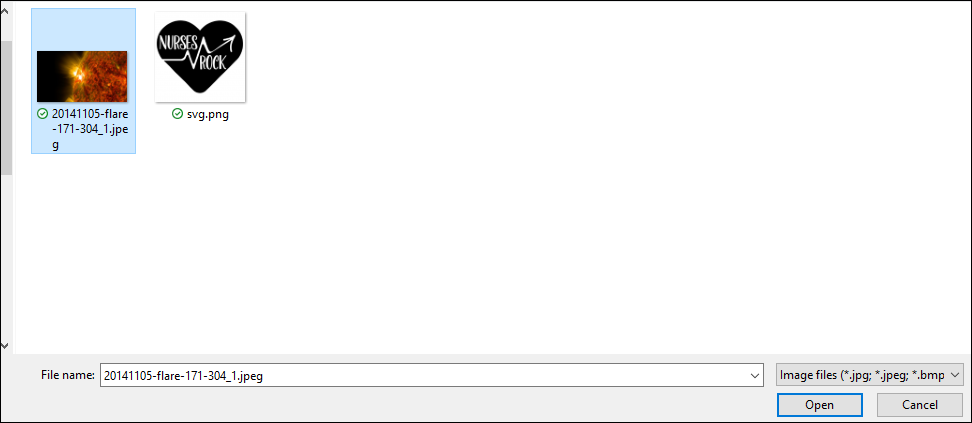
For the Default Image I will browse to the image I want:
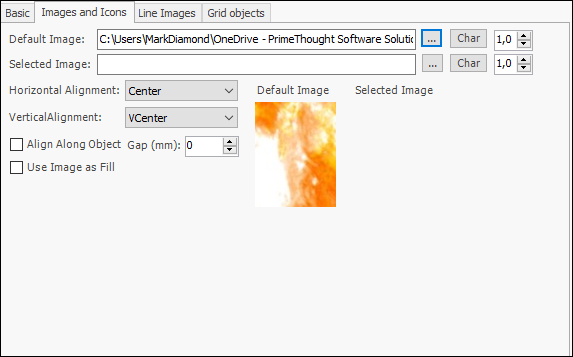
And for Selected Image I will do the same; Selected Image is the image to be shown when points are selected in the scene:
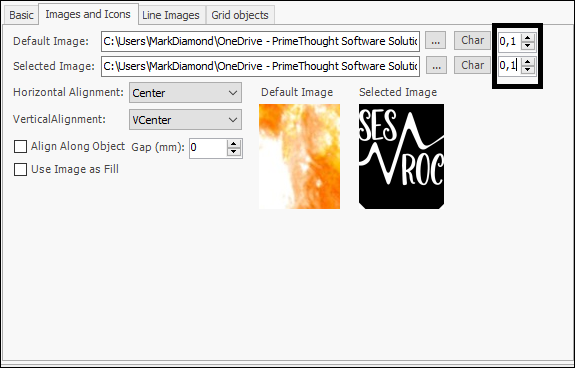
The images can be scaled on the side:
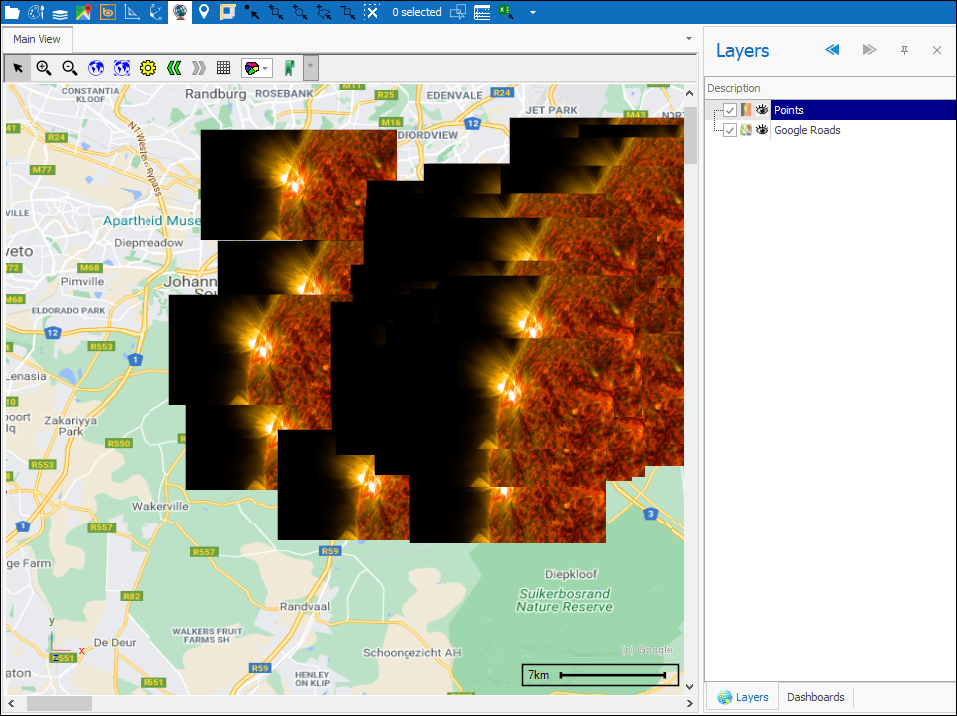
I can then click OK, and you will see the images displayed for the points in my scene:
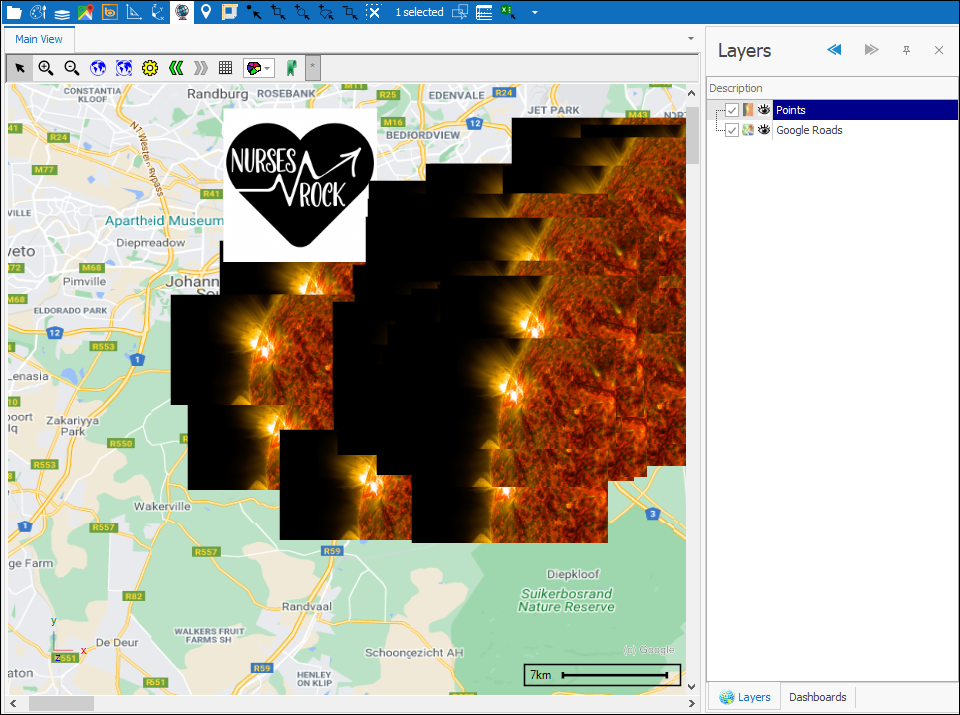
And if I select one of them it will change to the selected image I set:
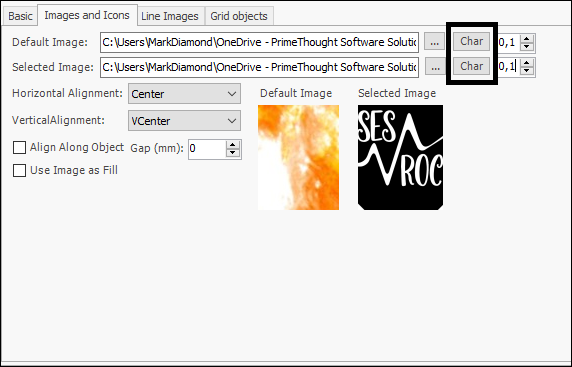
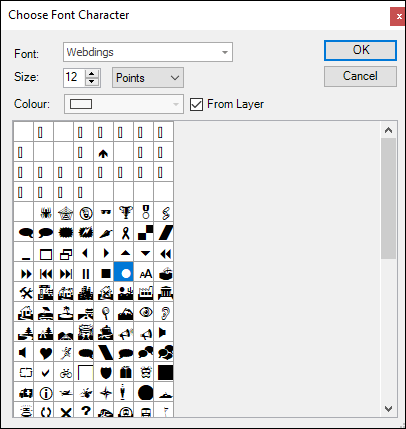
You can also use characters/symbols instead of images by using the Char button:
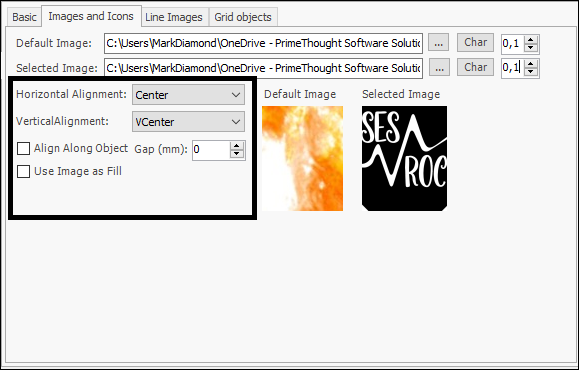
You can align the images etc. using the controls here:
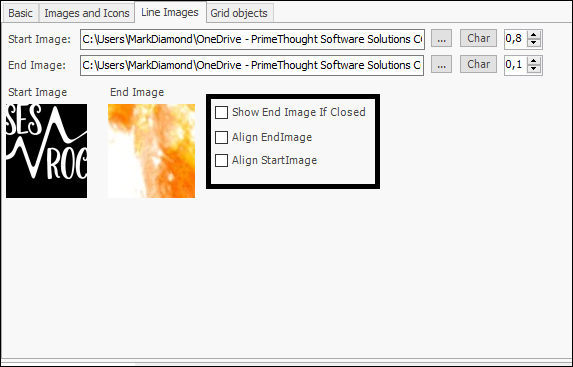
❖Under Line Images you can choose to have images displayed at the beginning or end of linestrings as an indicator of a beginning or end point, you similarly browse to the image or character you want and scale it:
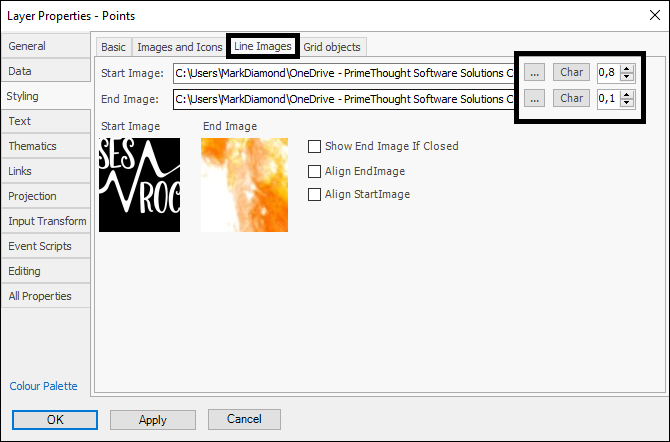
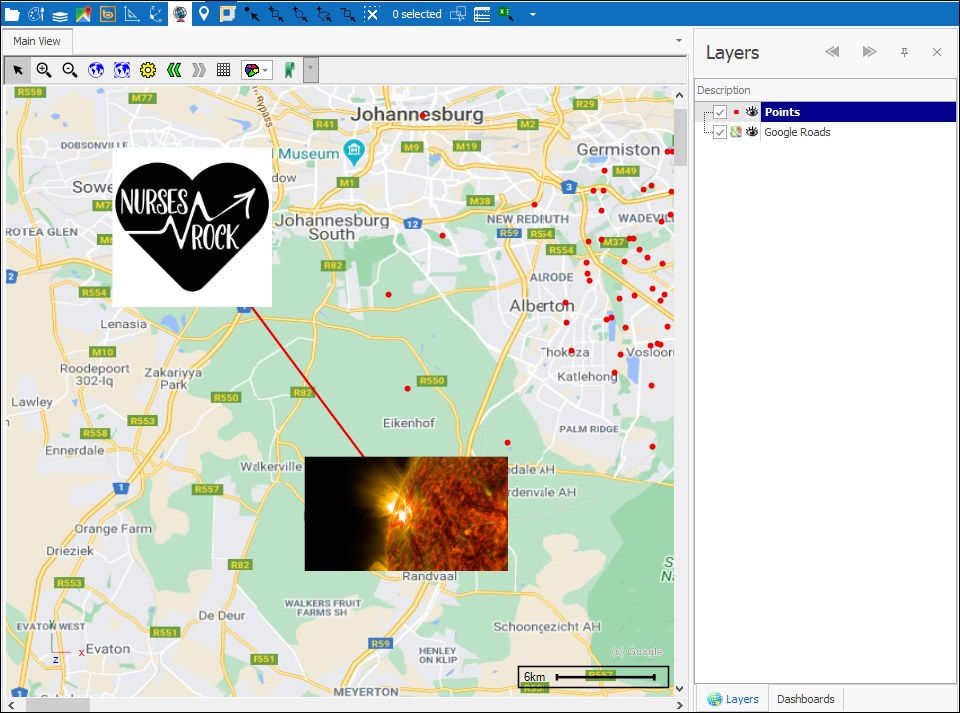
You can align the images with the line or choose to have only end image shown if line closed:
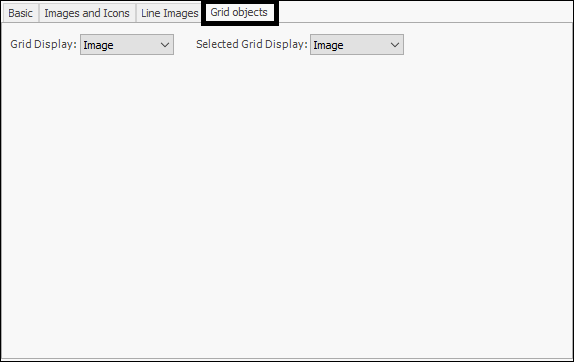
❖Under Grid Objects you can choose the default and selected display style for grid layers:
