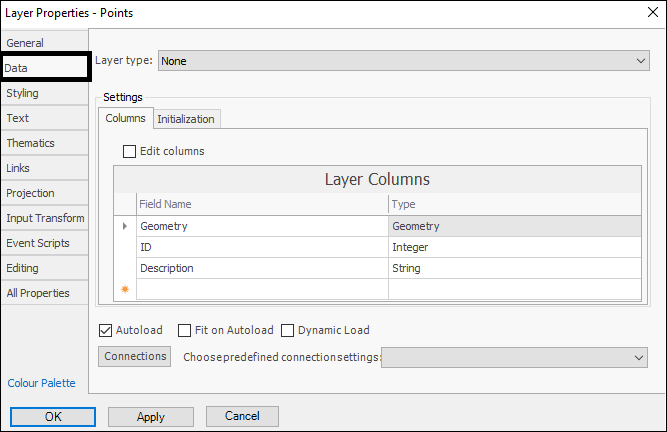
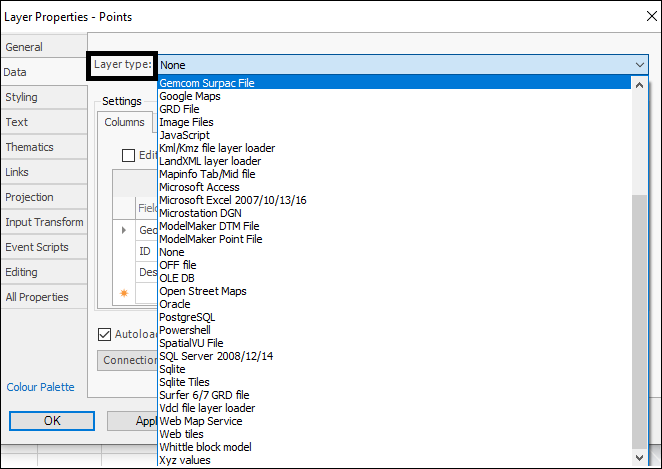
❖In the Data tab you can set various things regarding the data in the layer. You can choose what kind of layer it is by Layer type; we support various kinds of layers:
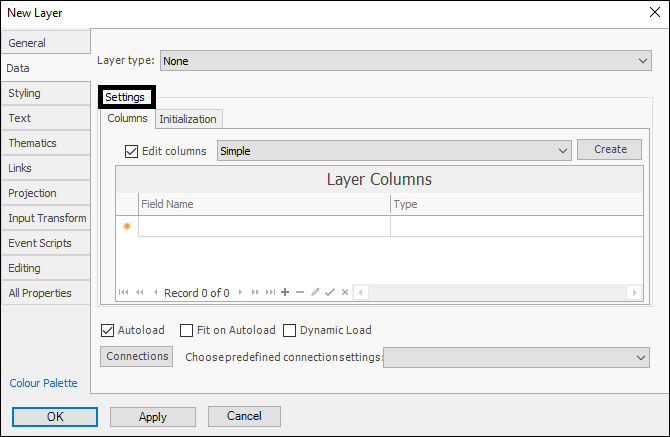
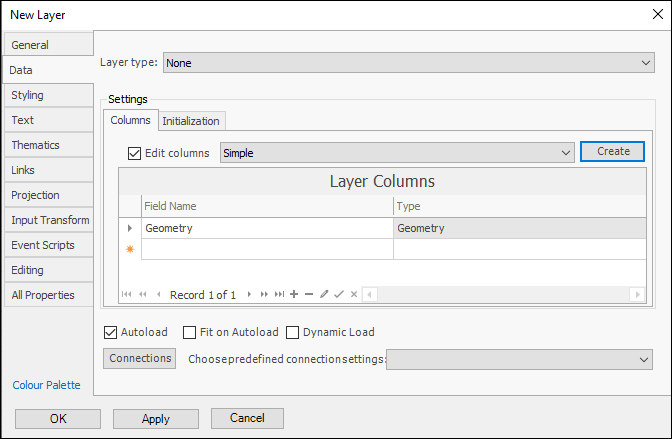
❖Under Settings, different dialogues will exist depending on the layer type, if your layer type is None, which is the case if you are adding a new layer, you will have the following dialogue:
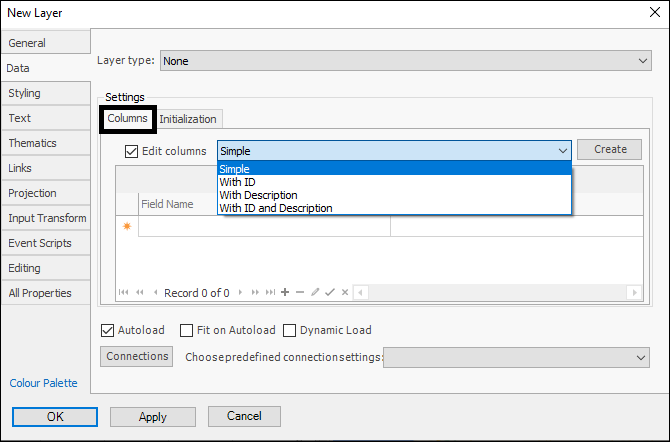
In the Columns tab, you can edit and create columns for the layer that will form the layer data grid. To create a predefined data grid, choose one from the dropdown and then click the Create button; Simple will make just a simple geometry column for the grid and geometries will then be able to be drawn to the layer; With ID etc. adds an ID column etc. as well:
To edit and add columns, simply click in the grid (and make sure Edit Columns is ticked on):
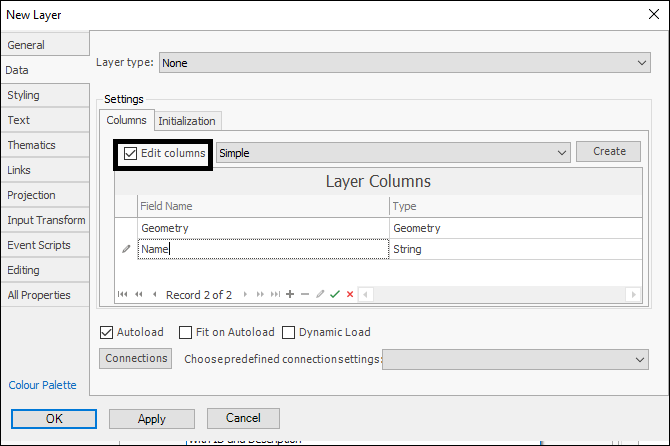
(Note: To edit or add new columns to an existing layer you would usually do this via the layer data grid for the layer and not here, this is normally for when creating a new layer to set up its layer data grid.)
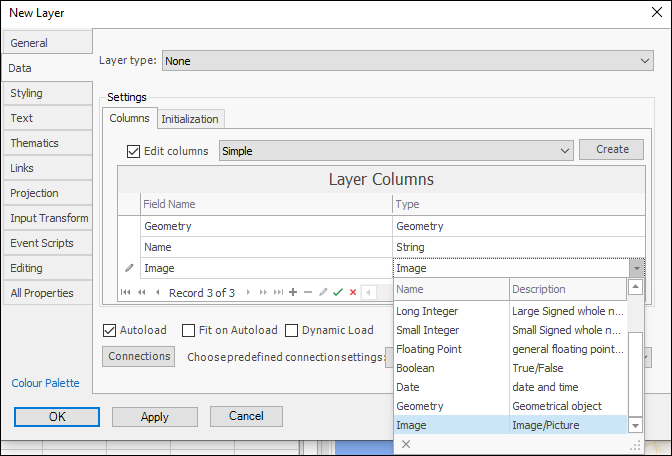
You can also edit the column type, you can even choose to make a column Image type which will store images for each record:
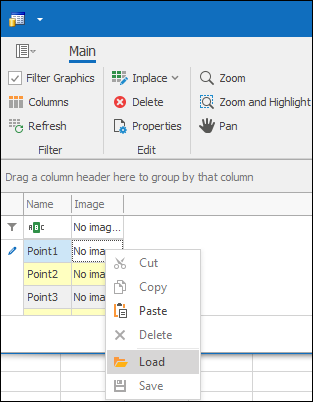
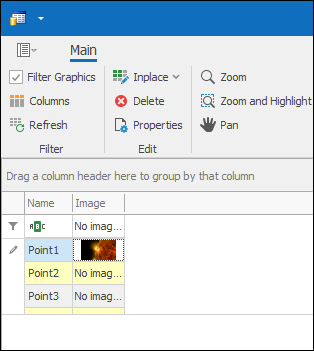
In the layer data grid of this layer, you would then just click on the cell in the column and then right click to load an image:
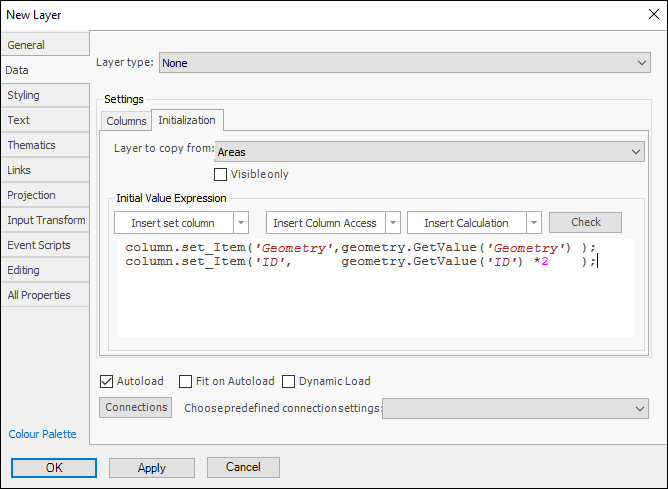
❖In the Initialization tab you can choose a layer to copy from and set up an expression, to initialize values in the new layer you are creating. Here I am initializing values from my Areas layer, giving the new layer the same geometries and the ID values of Areas layer times two:
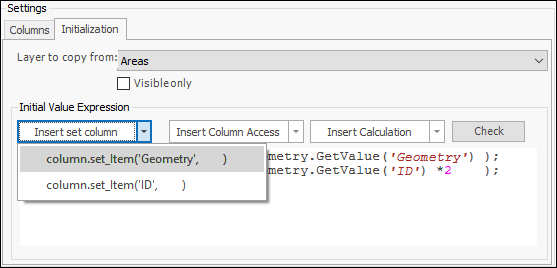
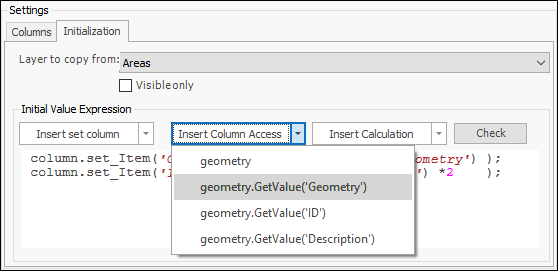
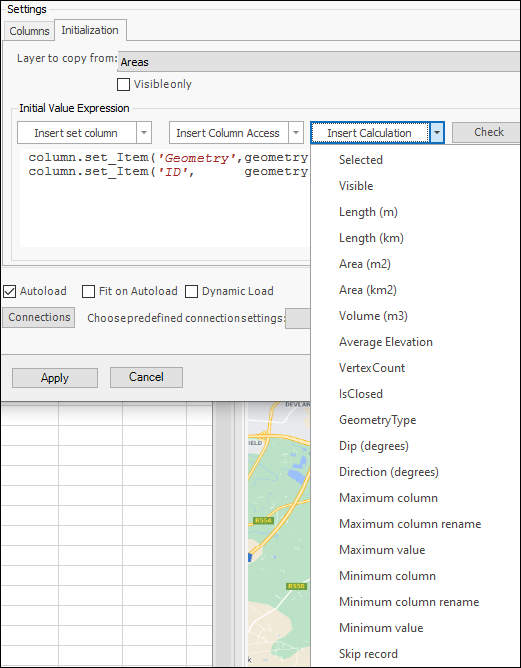
Insert Column inserts a column from the new layer (which you created in the Columns tab) so that its value can be set. Insert Column Access inserts a column from the layer you are copying from to get its value. Insert Calculation will insert any of a range of predefined calculations for you:
❖An example of another settings dialogue is for a layer of the SpatialVU type. In this dialogue you can choose the file path for the layer and also what columns you would like to have shown in the layer data grid:
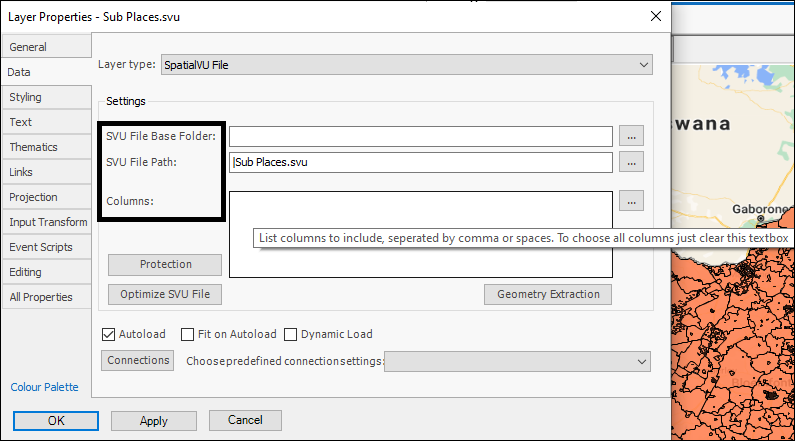
A useful feature of file paths for certain files in SpatialXL is that a relative reference for them can be created. As long as the file is stored together with the Excel workbook in the same location, it doesn’t matter if you move this, it will still correctly reference the file. For example:

If I move all these files together to the desktop, the Sub Places SVU file will still be correctly referenced when I open the Excel workbook. A relative reference is indicated by the pipe symbol:
![]()
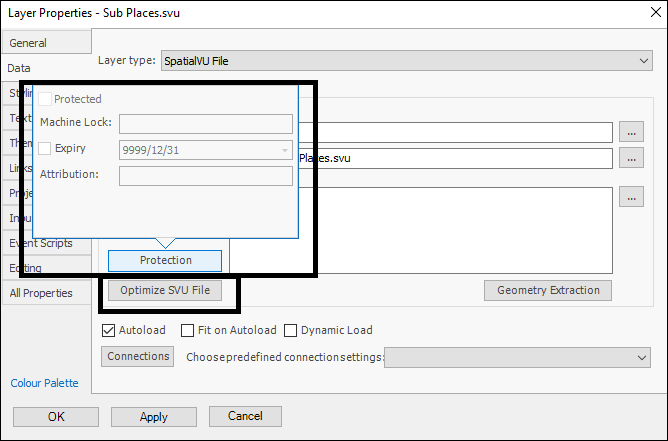
❖Clicking Optimize SVU File will optimize it for viewing. The Protection button will show you data about the file if it has been protected (locked to machine/expiry set:
Geometry Extraction will bring up a dialogue where you can specify how you want the geometry extracted from this layer:
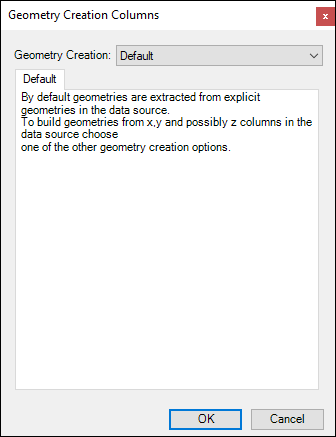
Choose other extraction options from the dropdown:
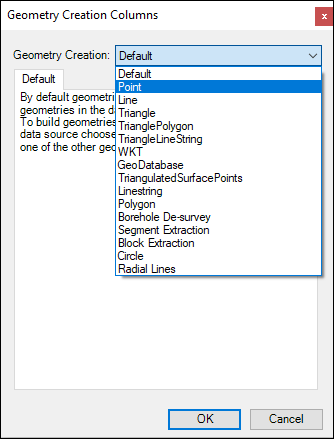
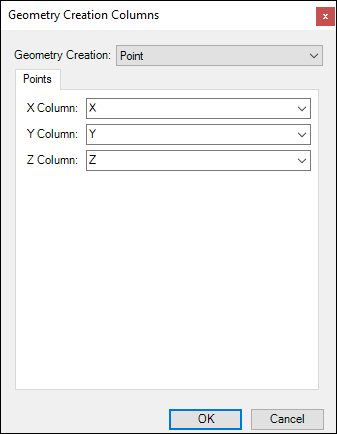
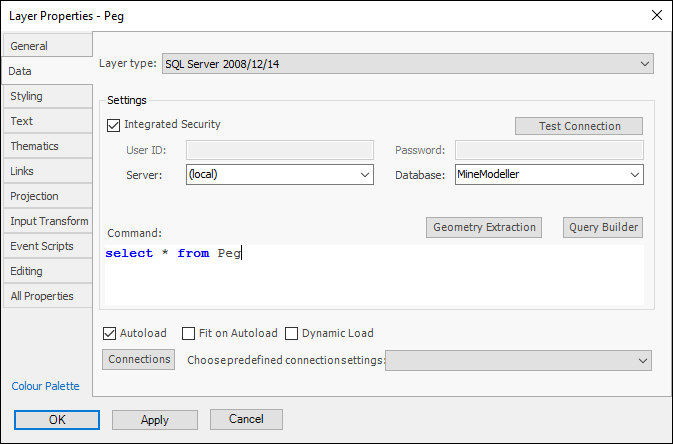
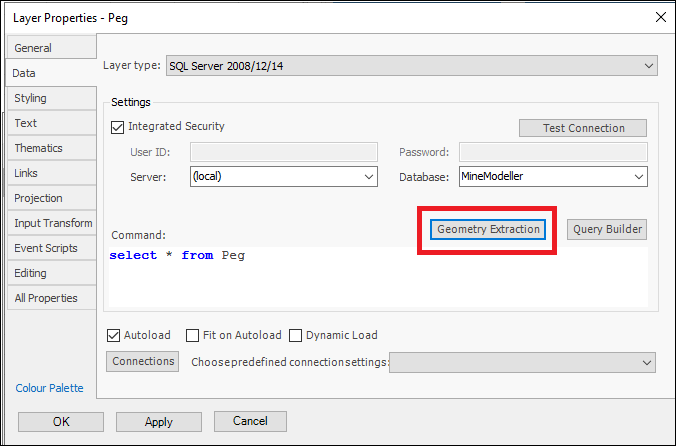
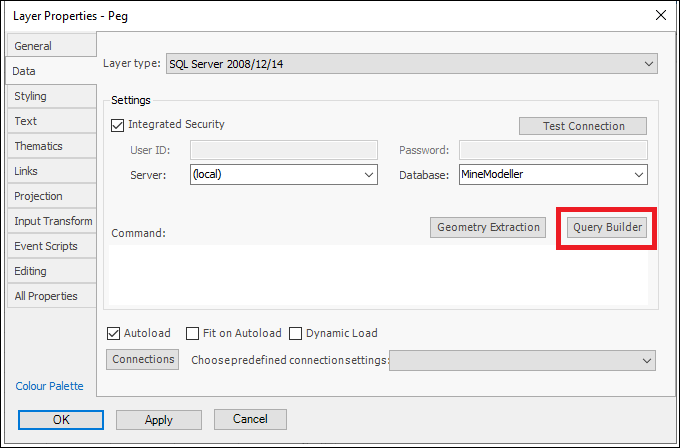
❖The dialogue when creating a layer that uses a SQL Server database looks as follows. You can enter in your credentials or use Integrated Security and then choose the Server and Database. In the Command box you can enter in your database query:
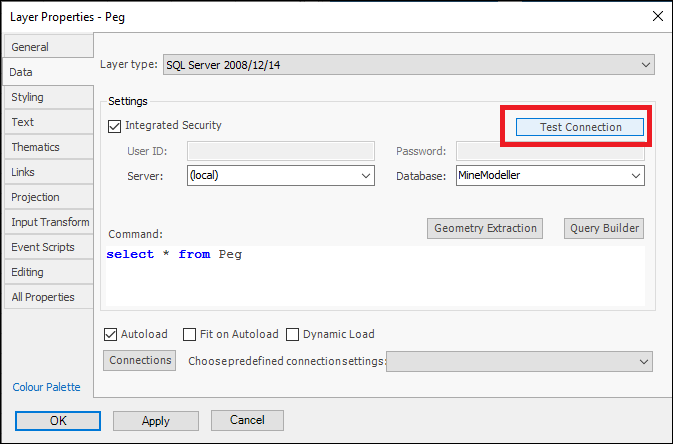
❖ You can test the connection to the database with Test Connection:

❖ Geometry Extraction will bring up a dialogue where you can specify how you want the geometry extracted from this layer:
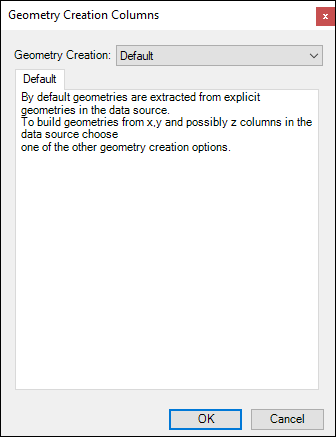
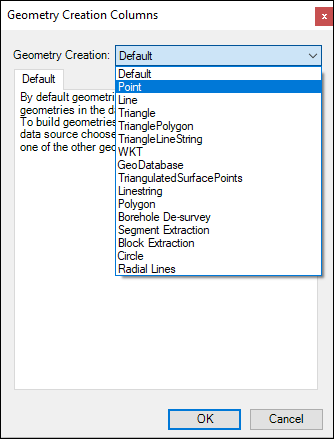
Choose other extraction options from the dropdown:
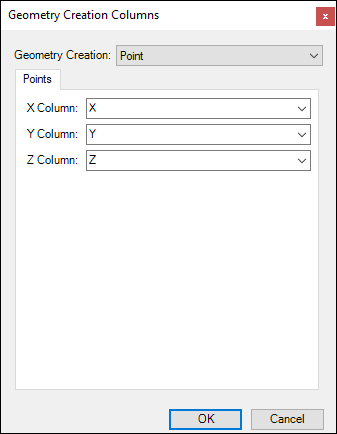
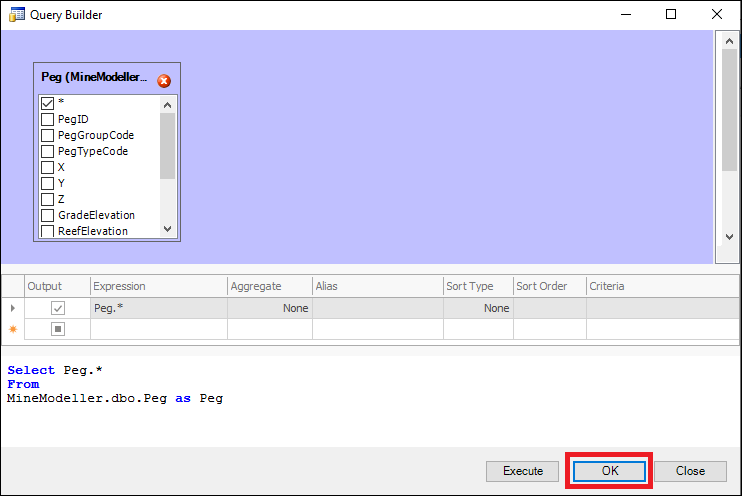
❖ You can also use Query Builder to build a query. Clicking on it will bring up the Query Builder box:
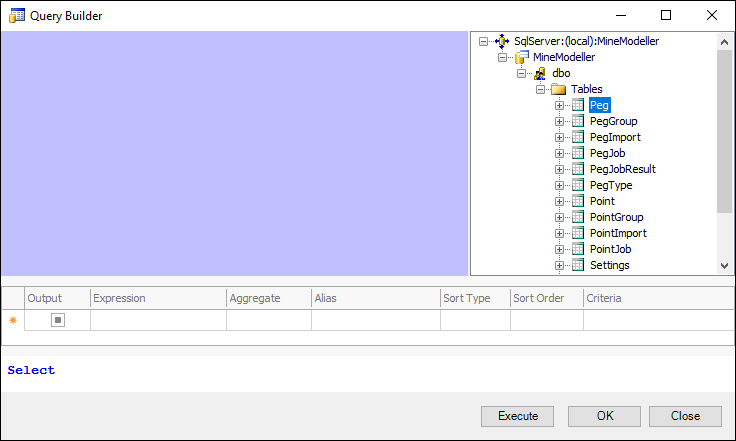
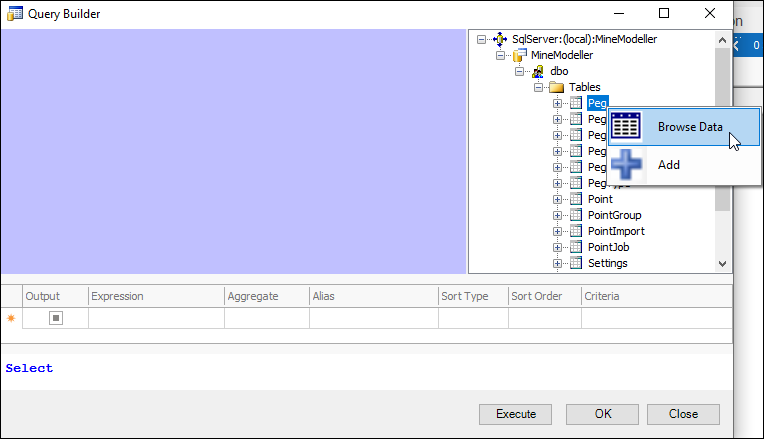
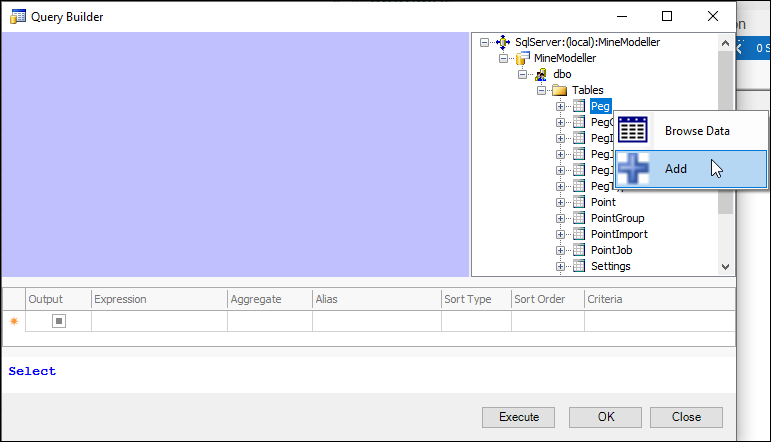
❖ Right clicking on a table, you can choose to browse the data in it with Browse Data:
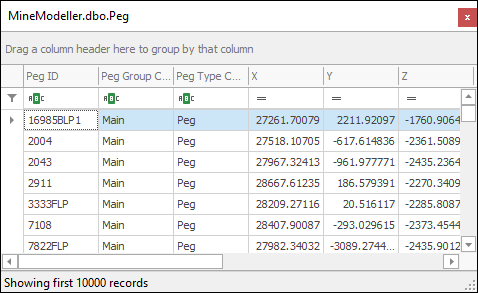
If the table has what you want, you can then click Add to add this table to your query; this will bring up a box where you can tick on the columns in this table you would like to query:
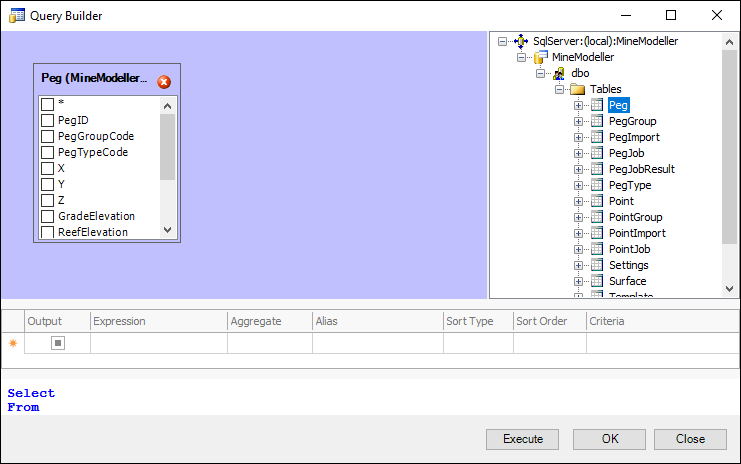
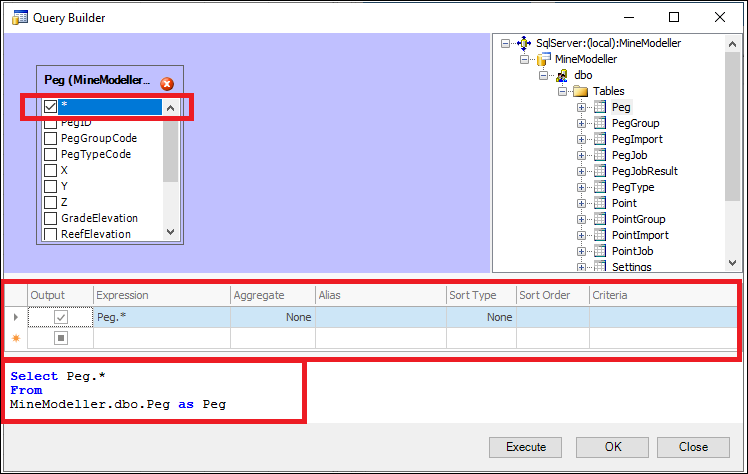
I’ve chosen to select all from this table. Your query is shown at the bottom as you construct it. You can also choose to do an aggregation on the data, sort it in a certain way etc. in the grid above:
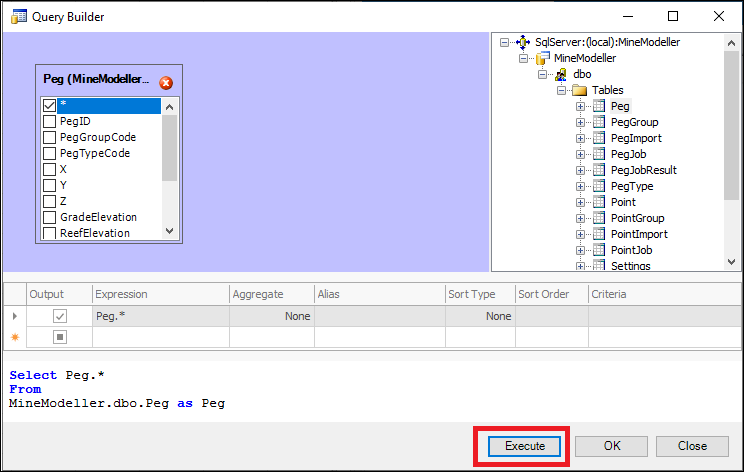
When done you can then click Execute to see the results of the query:
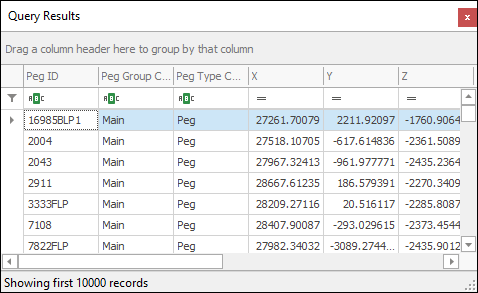
If you are happy with the results you can then exit the Query Results box and then click OK:
The dialogues for Oracle etc. data base layers look and work similarly.
❖Autoload, Fit on Autoload and Dynamic Load have the following functions:


❖Connections is where you can manage shared connections for sublayers, for example here is a South Africa map layer. South Africa is the top containing layer and where the connection is created; each of the SVU files(sublayers) contained in this layer use this same predefined connection. This is convenient so that if the layer loader is changed (the connection) for the layer I don’t have to change it in each sublayer I can just manage it in one place in the top-level layer:
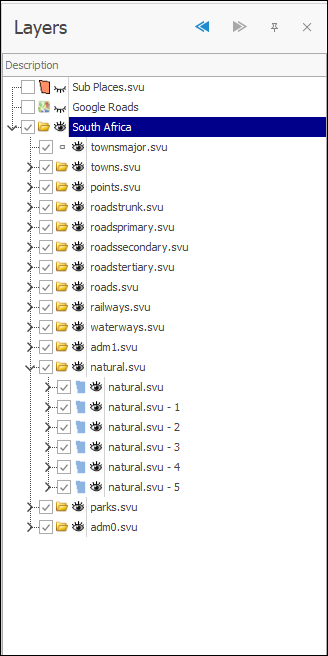
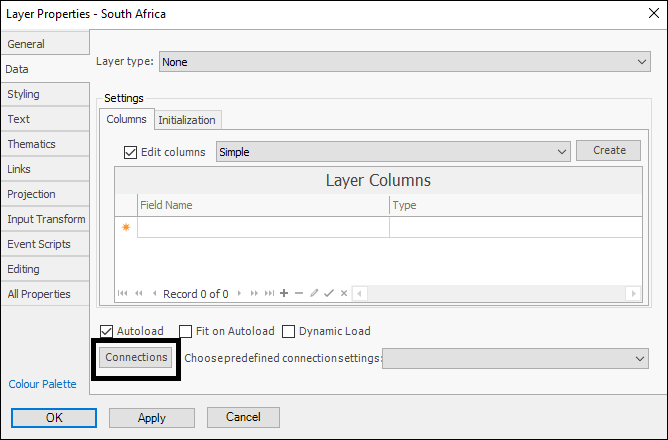
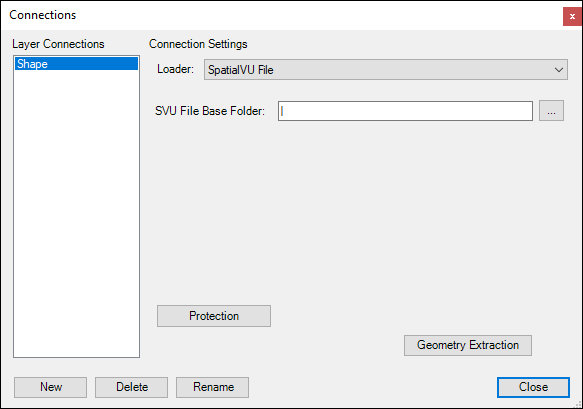
As you can see in the Connections dialogue a connection has been set up called Shape. The loader for the file and the path of the SVU file base folder is defined.
Protected will show you data on whether the file is protected (locked to machine/expiry date). Geometry Extraction allows you to choose a geometry extraction for the SVU file if necessary.
If I go to the Layer Properties of one of the sublayers you will see it is using this predefined connection (called Shape):
