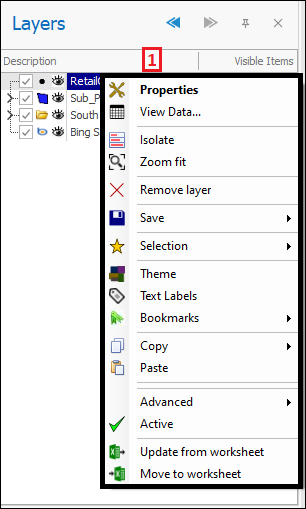
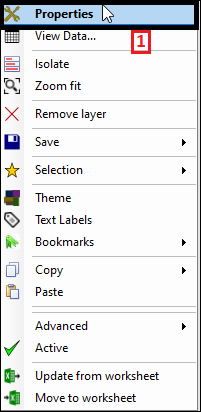
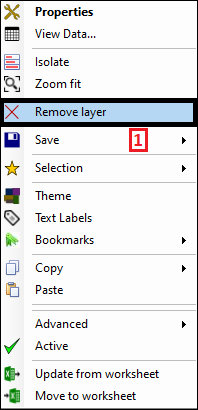
❖Right clicking on a layer will bring up a context menu of options where you can do various things(1):
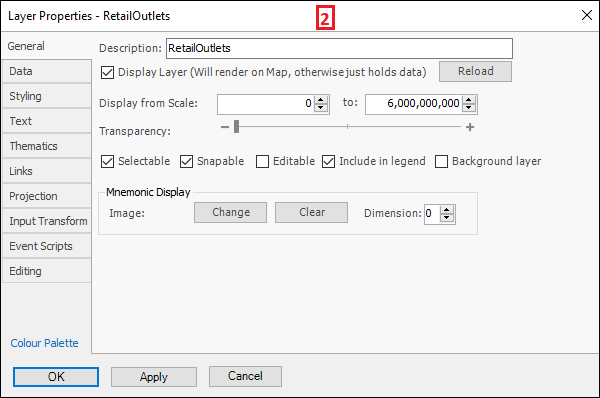
❖Firstly, you can select Properties(1) which will bring up the Layer Properties box(2) for that layer where various things can be set concerning that layer:
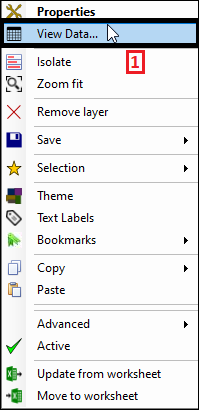
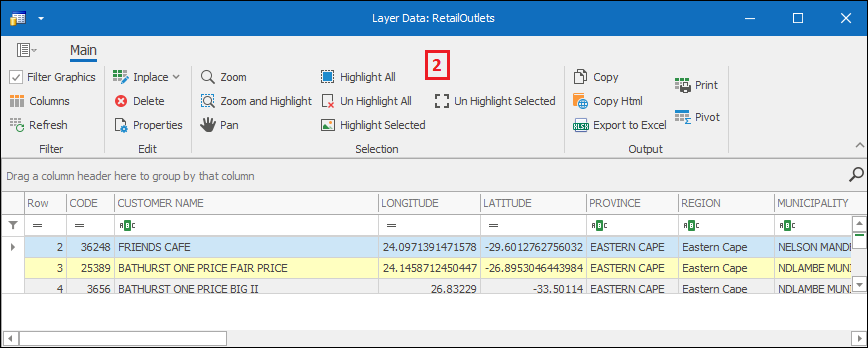
❖Next is View Data(1) which will bring up the Layer Data Grid(2) for that layer in which you can see all the data associated with that layer and do various things with it:
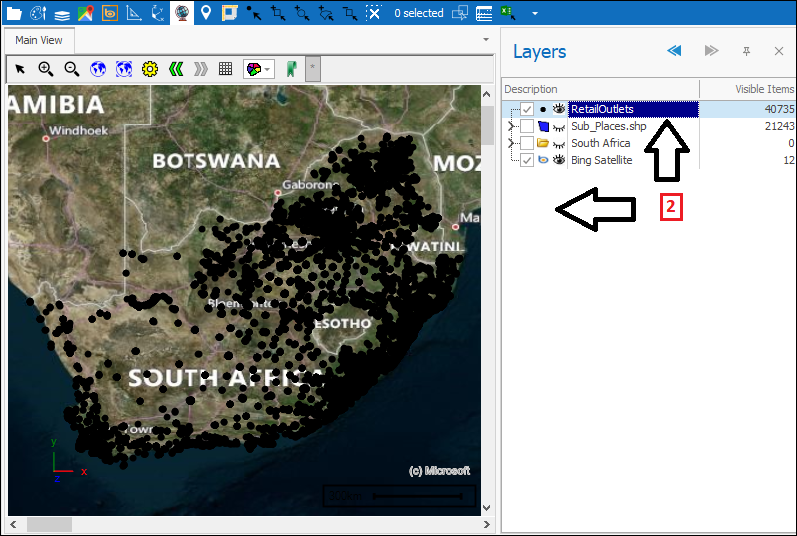
❖The Isolate(1) button will isolate the selected layer, meaning make it the only one ticked on and displaying on the scene(2):
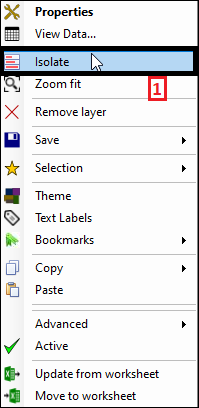
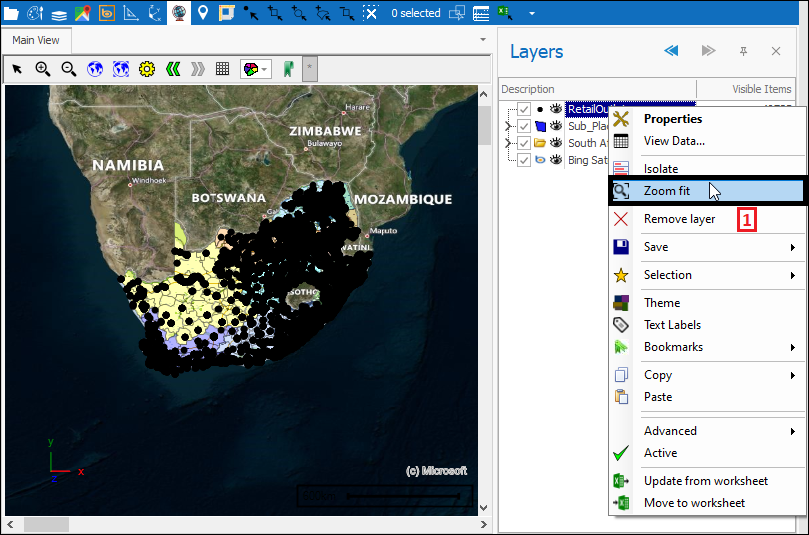
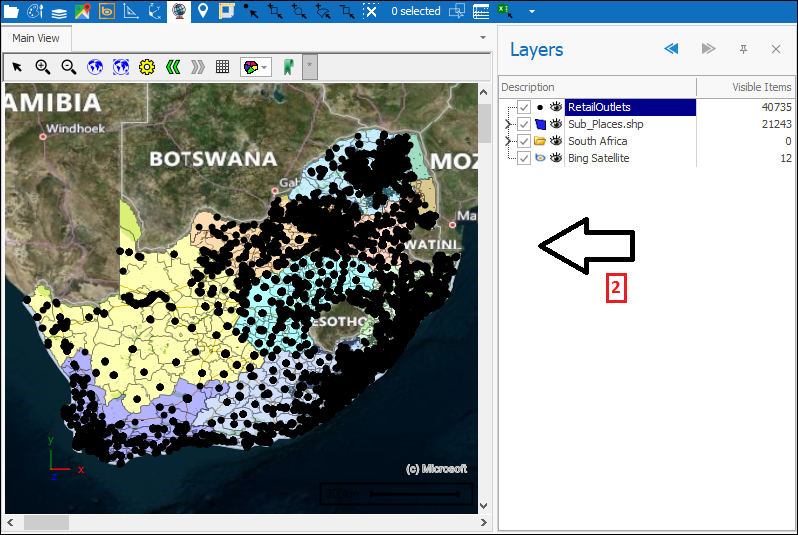
❖The Zoom fit(1) button will zoom to the extent of that layer(2):
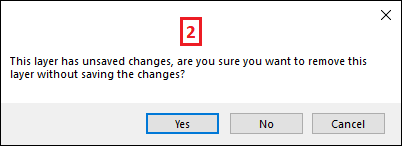
❖Remove layer(1) will of course delete the layer, if there is unsaved data or changes in a layer you will be asked if you are sure you want to remove it(2):
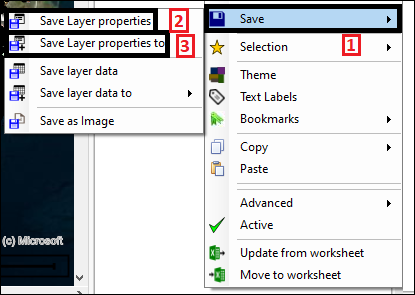
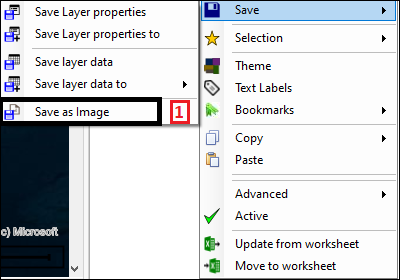
❖You can save your layer in various ways by clicking the Save(1) button which will bring up a menu where you can choose to Save Layer properties(2), which will save just the properties you have set for your layer, or Save Layer properties to(3) which allows you to save those layer properties to an external file:
You can also choose Save layer data(1) which will save the data that is inside your layer or Save layer data to(2) which will bring up a menu where you can choose to save it to File(3) or a Database(4):
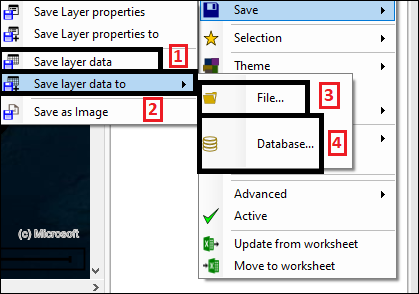
Save as Image(1) allows you to save your layer as an image:
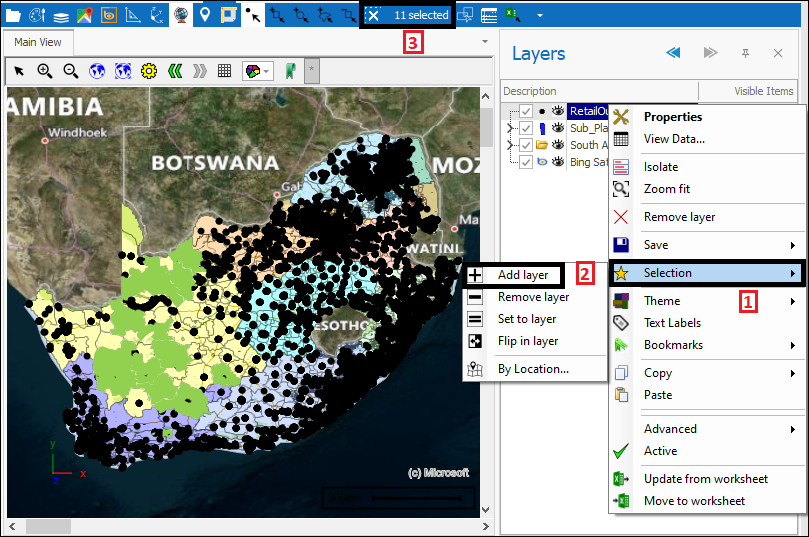
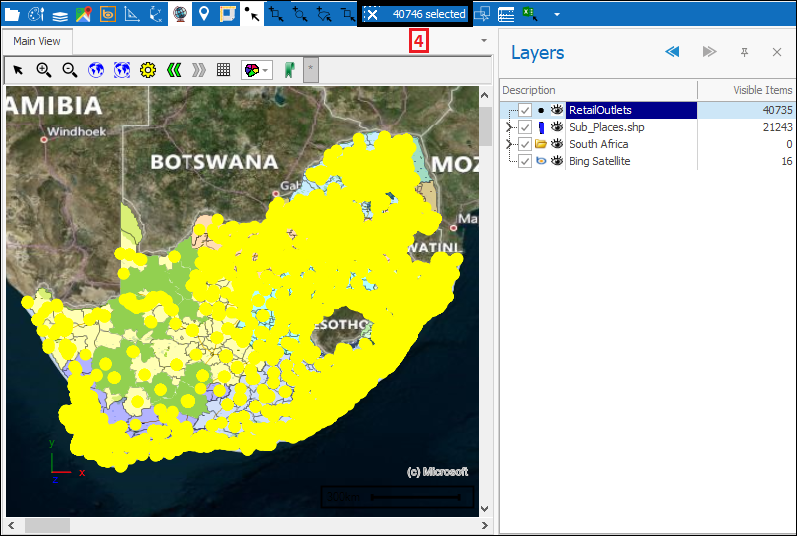
❖By clicking on Selection(1) you can do various selection operations on your layer. Add layer(2) will add your layer to anything else that may already be selected in your scene(3)(4) :
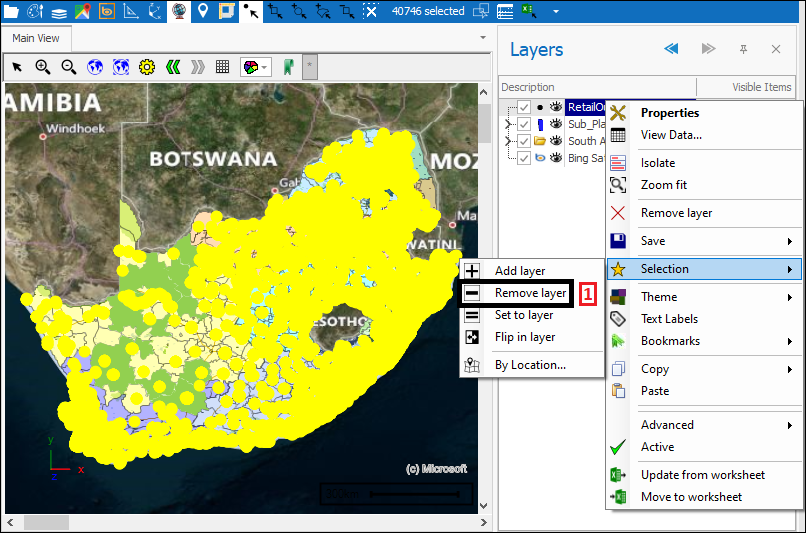
Remove layer(1) will remove the layer from selection(2):
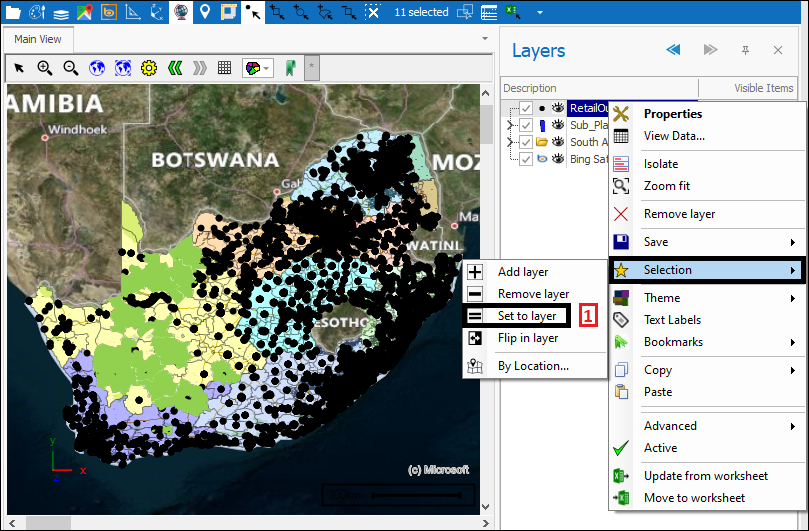
Set to layer(1) will select the layer and make it the only one selected in your scene(2):
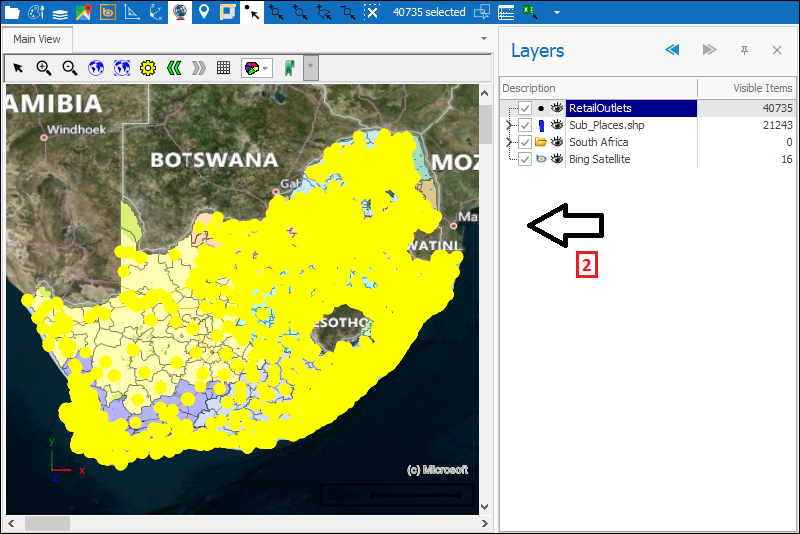
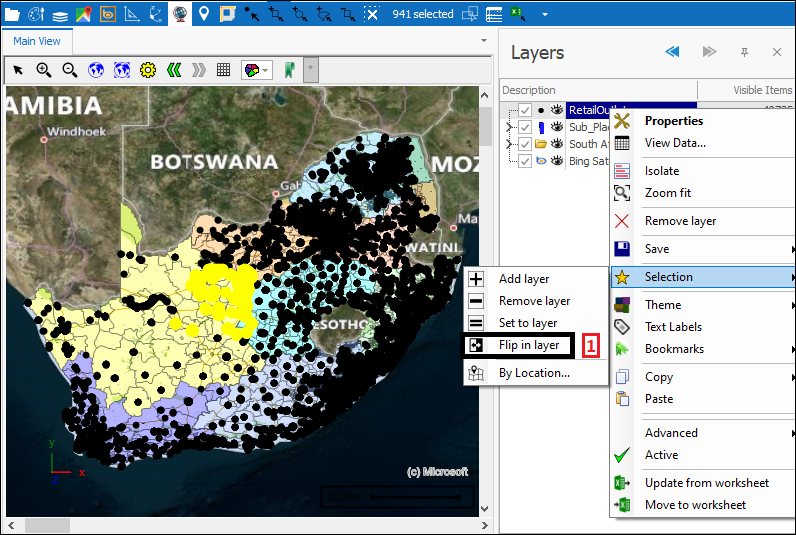
Flip in layer(1) will flip whatever is selected in the layer so that what was unselected before is now selected and what was selected before is now unselected(2):
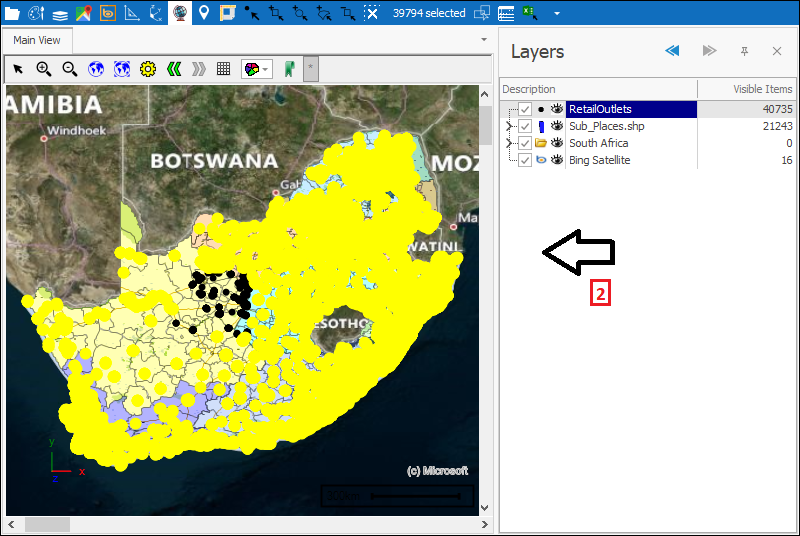
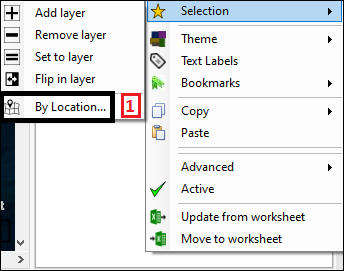
By Location(1) will bring up the Select by Location tool dialogue where you can select by location(2). This tool is described fully in the Select by Location tool manual:
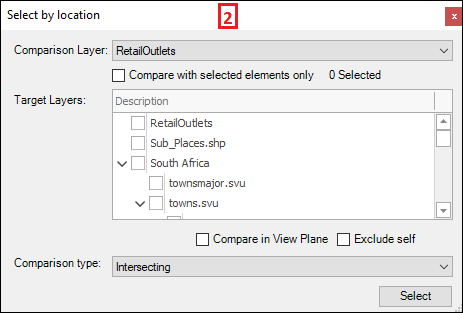
❖Theme(1) is where you can easily switch between themes you have set up for the layer. There will be a tick next to whichever theme is currently being used, in this example I am using the Province theme for my Sub Places layer(2). Default means no theme(3):
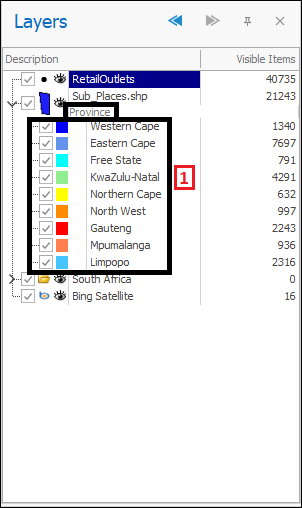
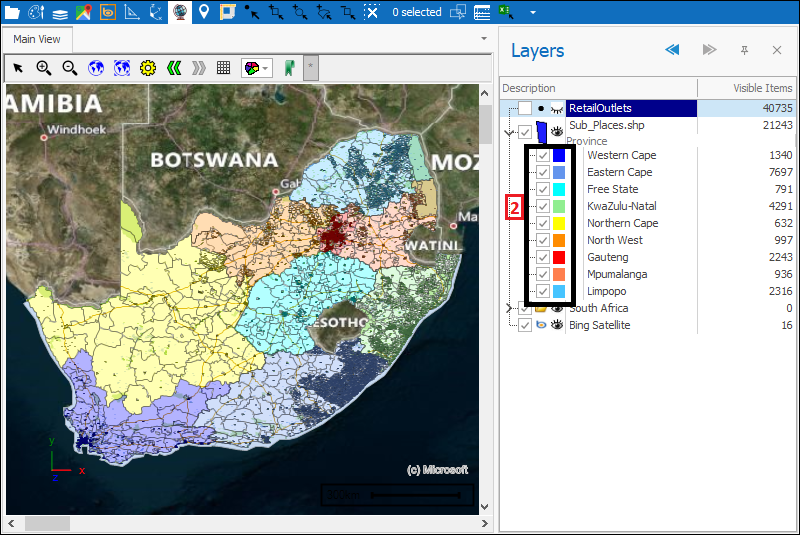
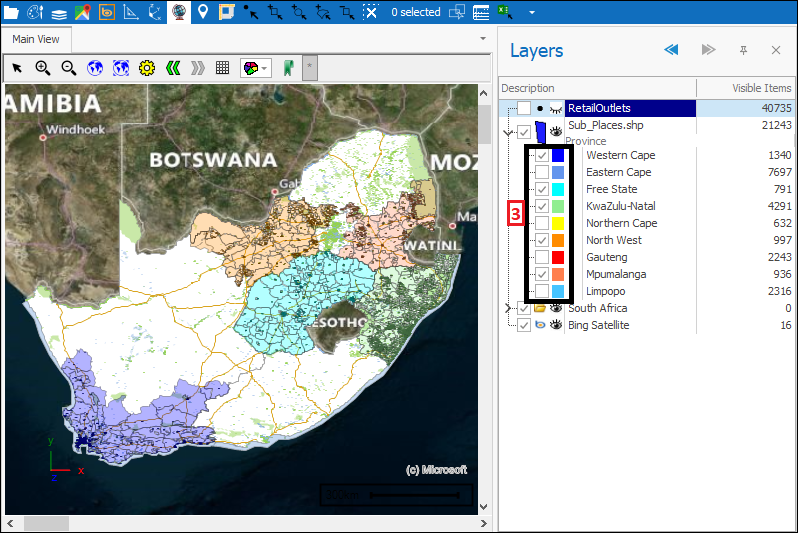
The theme can be seen in my Sub Places layer as a set of sublayers(1) that can be ticked on or off(2)(3):
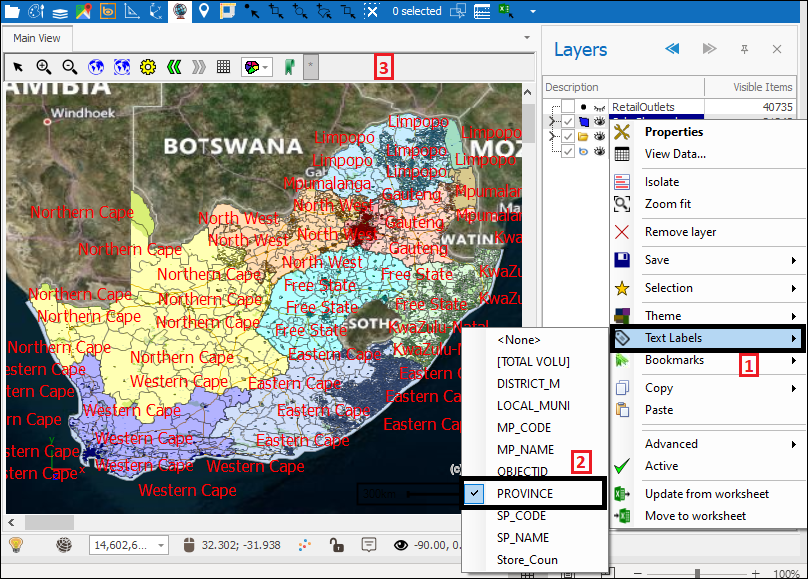
❖Text Labels(1) is where you can set labels for your layer based on a column of data in the layer. For example here I will put a label based on the PROVINCE column(2) in the Sub Places layer so that the province of each element is shown as a label on the scene(3):
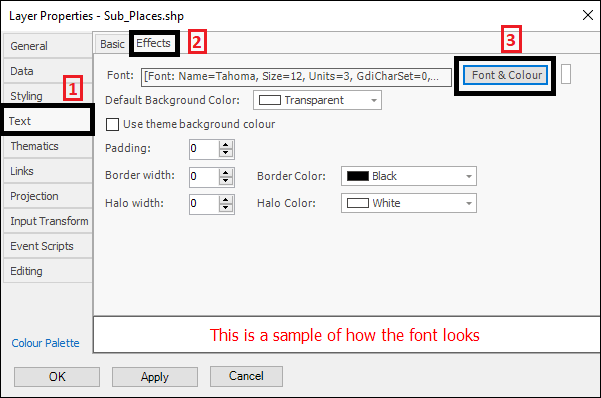
The text of the labels can be edited in the Layer Properties box of that layer in the Text(1), Effects tab(2) and then clicking on Font & Colour(3):
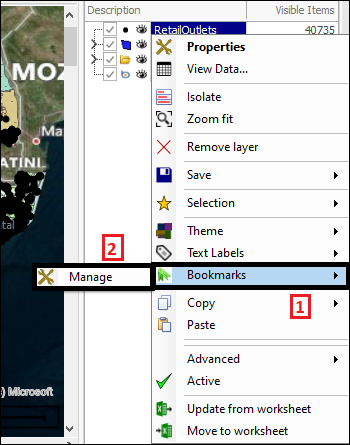
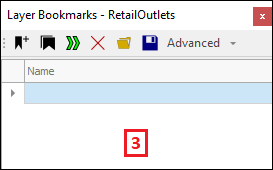
❖Bookmarks(1) is where you can set bookmarks for a layer, which is to say specific save locations that you can easily go to again. Go into Manage(2) and this will bring up the Bookmarks dialogue(3) where you can create the bookmark:
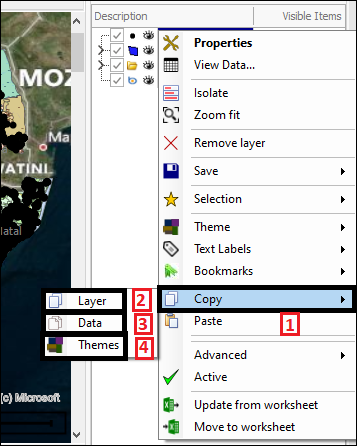
❖You can copy a layer by using the Copy(1) button. You can choose to copy the whole layer by Layer(2), just the data of the layer by Data(3) or just the themes of the layer by Themes(4). This can then be pasted back in the layer control using the Paste(5) button as a new separate layer or into Excel or anywhere else.(The Paste button can be used to paste anything into the layer control, whatever is pasted will be added as a pasted layer.) :
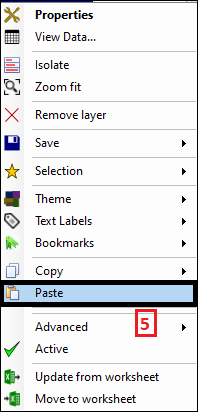
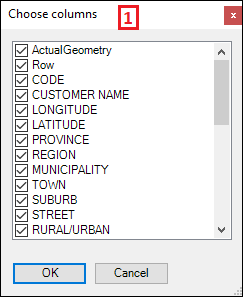
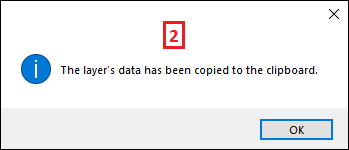
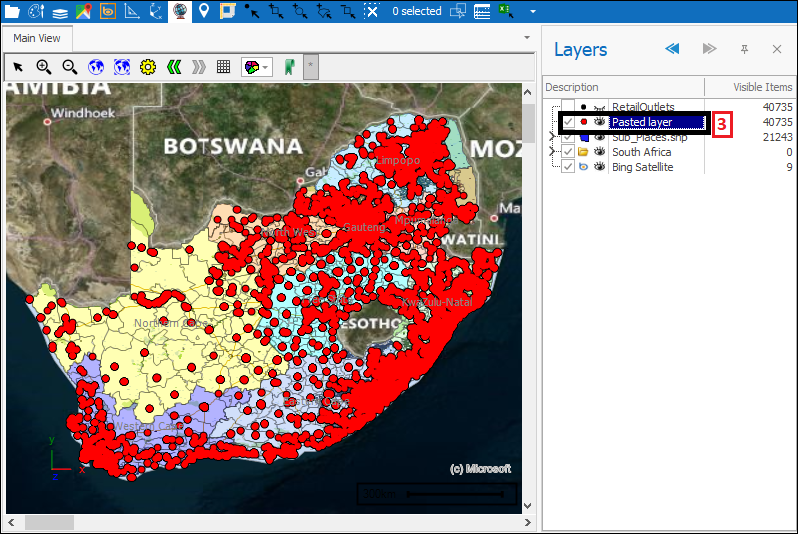
In this example I will copy the data of my RetailOutlets layer and paste this back in the layer control as a new layer. I am prompted to choose which columns in the data I would like to copy before it is copied to clipboard(1). It has now been copied(2) and I can paste it in my layer control(3):
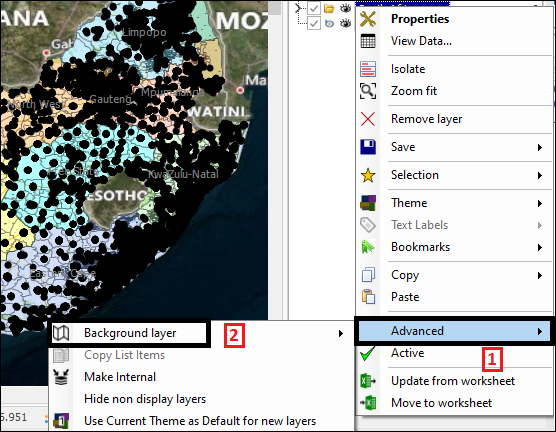
❖By Advanced(1) you can access a menu of advanced options the first of these being Background layer(2) which will make the layer a background layer meaning it will appear in each new workbook opened as a default background layer on which other layers can be placed:
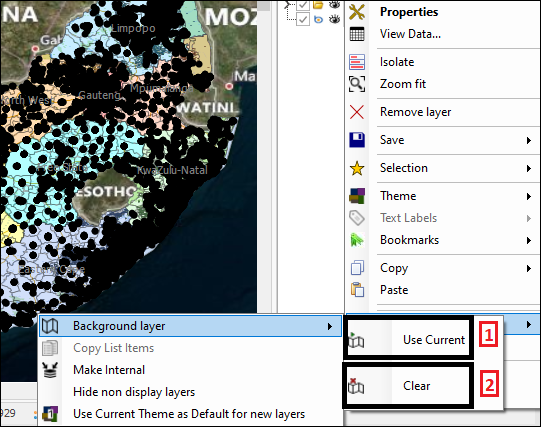
Clicking on it will give you the option to Use Current(1) which will make this current layer the background layer or Clear(2) which will clear the current layer from being a background layer:
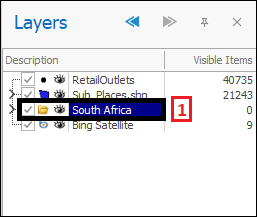
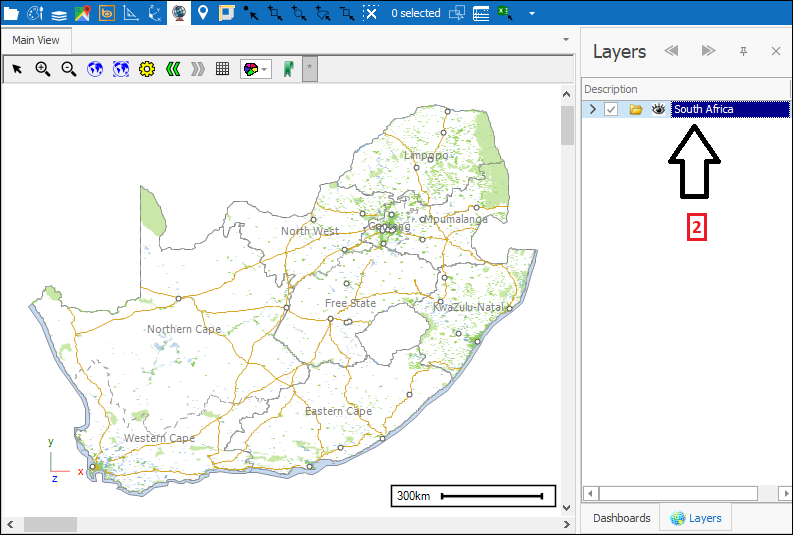
In this example I made my South Africa layer(1) a background layer and now you can see when I open up a new workbook it appears in my spatial pane as a default background layer(2):
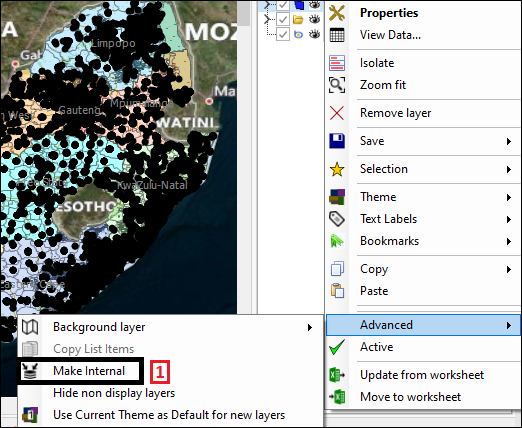
❖Make Internal(1) will make the layer an internal layer meaning it is saved within the workbook as part of the workbook even if the external file is removed:
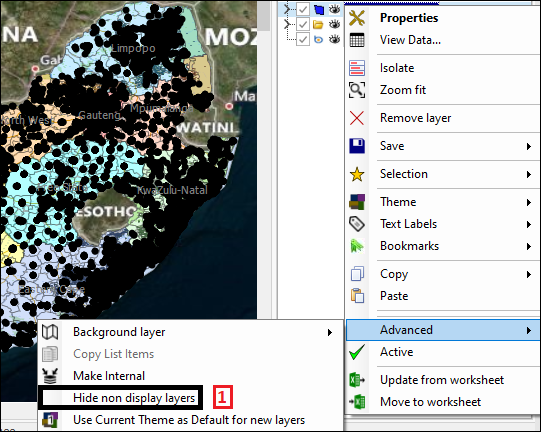
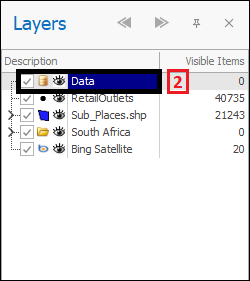
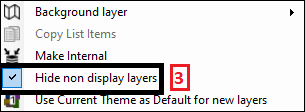
❖Hide non display layers(1) will hide layers that are not display layers meaning they just hold data but don’t render on the map. My Data(2) layer is non display. I will tick this option on(3) and as you can see the layer is now hidden(4):
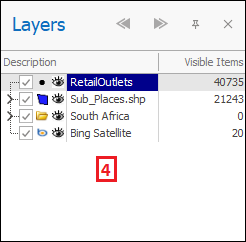
❖Use Current Theme as Default for new layers(1) will cause the current theme in the layer to be used as a default for every new layer that is created:
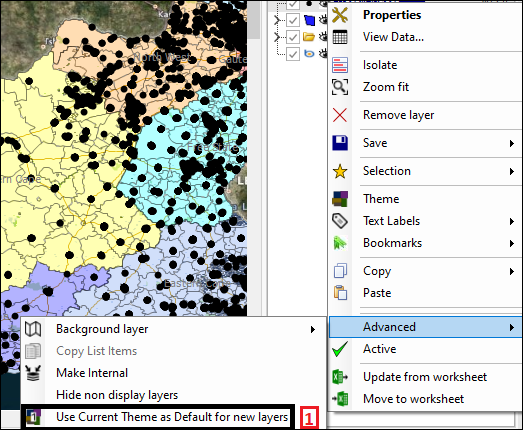
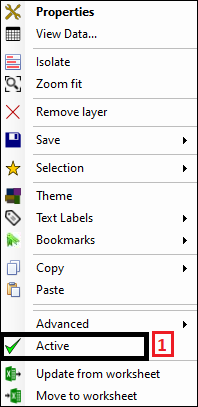
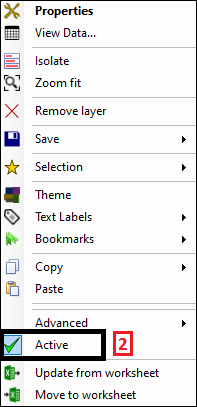
❖The Active(1) button makes the current layer active meaning that whatever is drawn or done will be put to that layer. When the tick is greyed it means it is on(2), further once it is on the name of the layer will be in bold letters too indicating it is active(3):
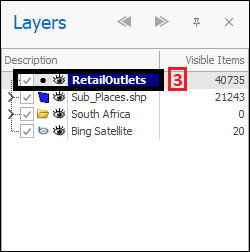
❖If anything is added to an Excel worksheet that is linked to a layer, this can be updated in the layer by clicking the Update from worksheet(1) button:
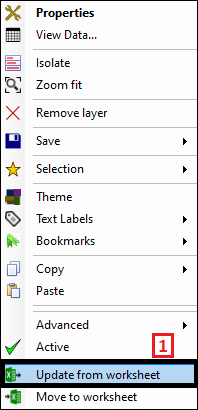
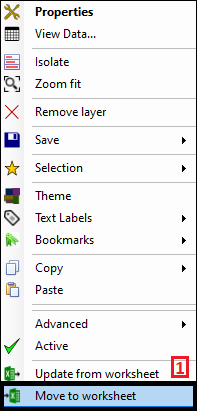
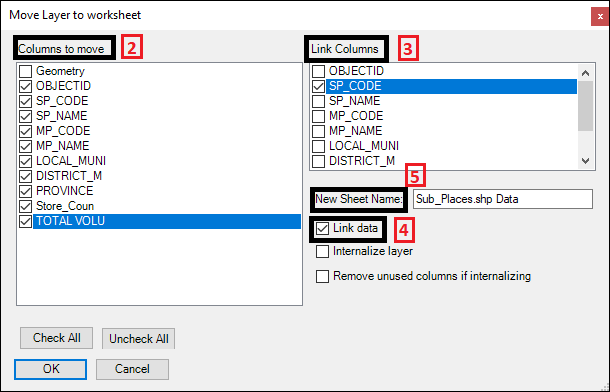
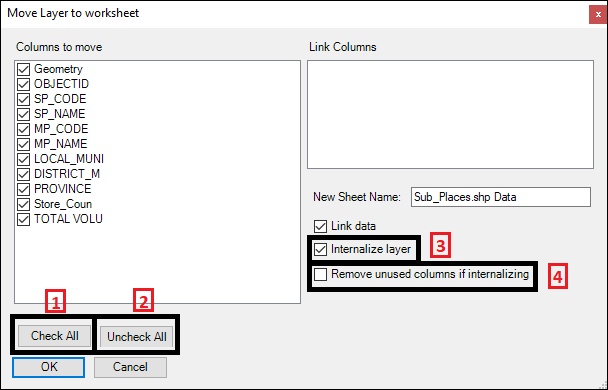
❖If you would like to move the data in a layer to an Excel worksheet you can do this by using the Move to worksheet(1) button, this will bring up a dialogue where you will tick which columns you would like to be exported to Excel by Columns to move(2). If you would like to link the worksheet with the layer so that if you filter etc. in the worksheet it will reflect in the layer as well, you will tick on which column/s you would like to link on in the Link Columns box(3) and then have Link data(4) ticked on. Then you can give your new sheet a name by New Sheet Name(5). In this example I will move my Sub Places layer to worksheet:
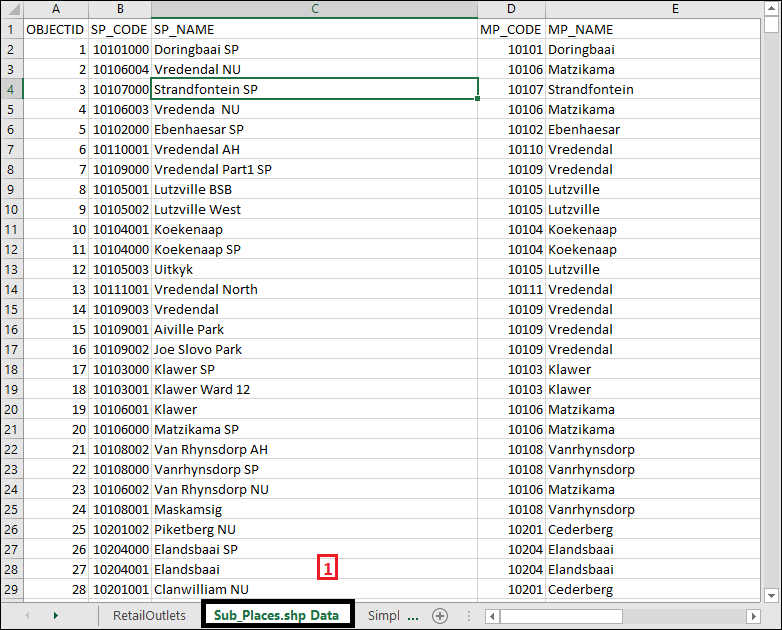
I then click OK and as you can see the data has successfully been moved to worksheet(1):
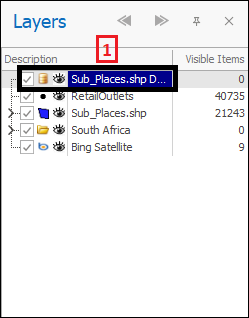
A non display layer is also added in the layer control(1) which acts as the link between my new worksheet and the layer, since I chose to link the worksheet:
The Check All(1) button will check all columns to be moved and the Uncheck All(2) button of course unchecks all the columns. Ticking on Internalize layer(3) will make it possible for the layer to be stored inside the workbook.
Remove unused columns if internalizing(4)
will cause any columns you have not checked on when moving to worksheet to be removed if you are using the internalize layer option:
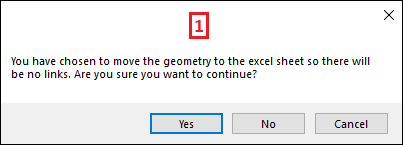
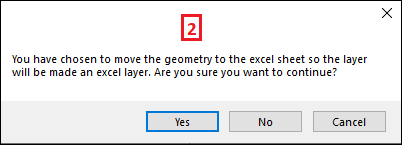
Now if you were to Check All and tick on Link Data and Internalize layer when moving to worksheet then everything will be moved to worksheet and there will be no need to link on any columns as the worksheet will already be linked with the layer and the layer will have been made into an Excel layer. When I do this I get two messages(1)(2), click Yes on both:
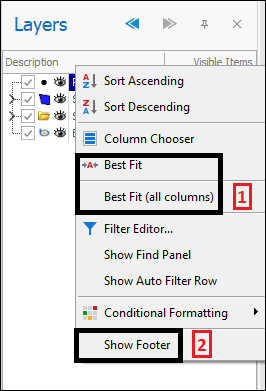
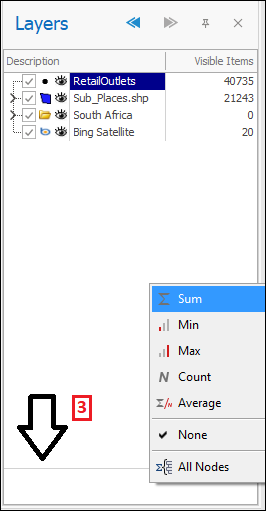
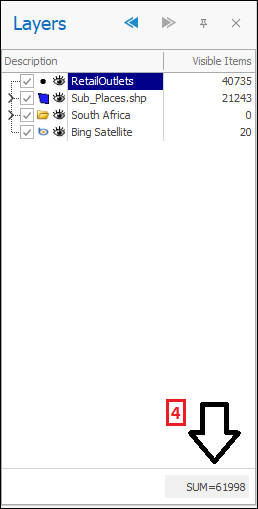
❖As one last additional note on the Layer Control, when right clicking in the column header area there are a range of things you can do that apply to all our data column interfaces but I will just mention a few more of them here. You can use Best fit and Best Fit(all columns)(1) to size the column/s in the best way so that the data can be seen clearly and by choosing to Show Footer(2) you can the right click in that area and get totals for your data etc.(3)(4):
