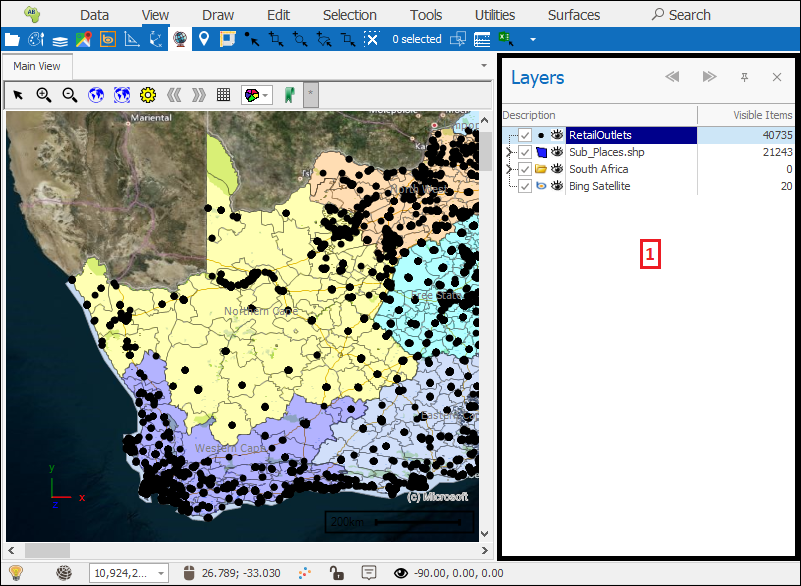
❖The Layer Control area (also known as Layer Description Box) is found on the right of the spatial pane in all our spatial products(1). It can be turned on or off by clicking Layers(2) in the View tab(3), when it is greyed it means it is on and displaying:

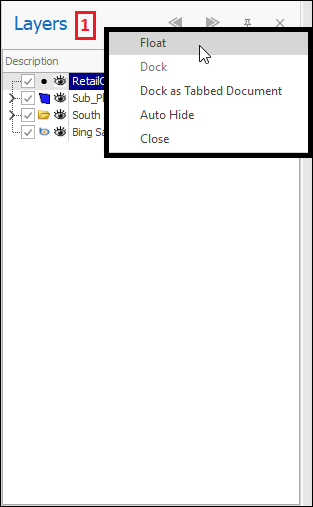
❖It can be floated or docked as a tabbed document etc. by right clicking at the very top and then selecting appropriately in the context menu(1):
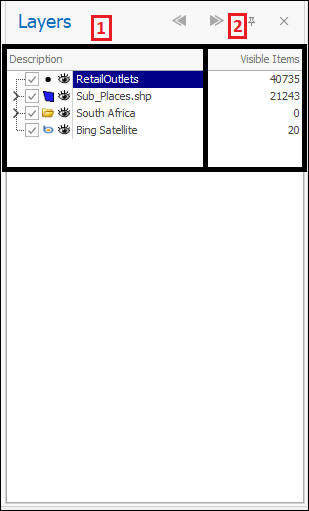
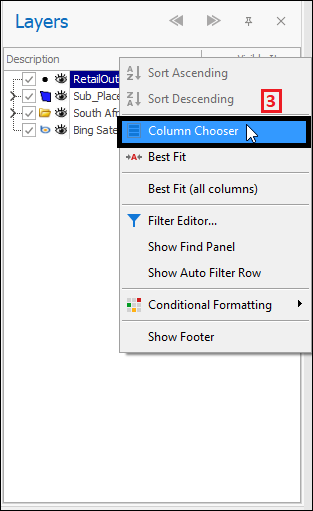
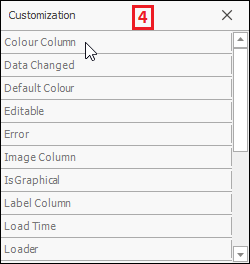
❖The Description(1) column is where your different layers are shown and the Visible Items(2) column specifies how many items are currently visible on the scene. There are many more other columns you can choose to add if you wish by right clicking in the column header area and then selecting Column Chooser(3) and then double clicking in the dialogue on the column you would like to add(4):
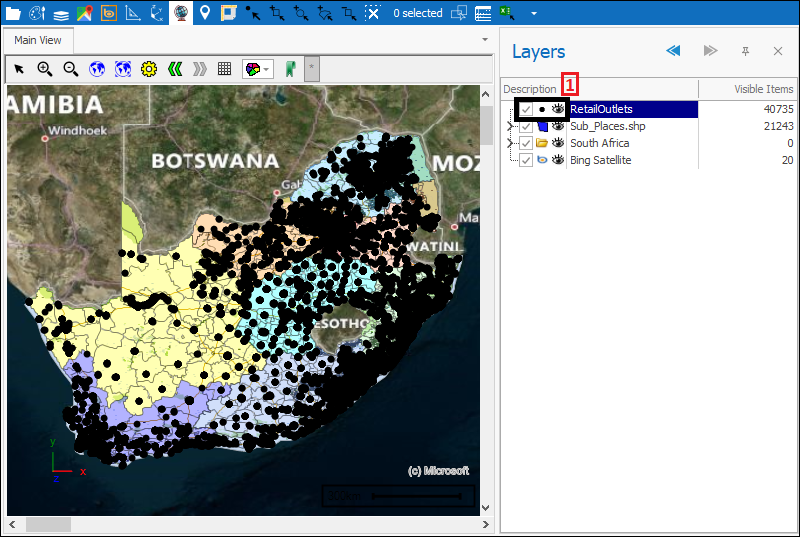
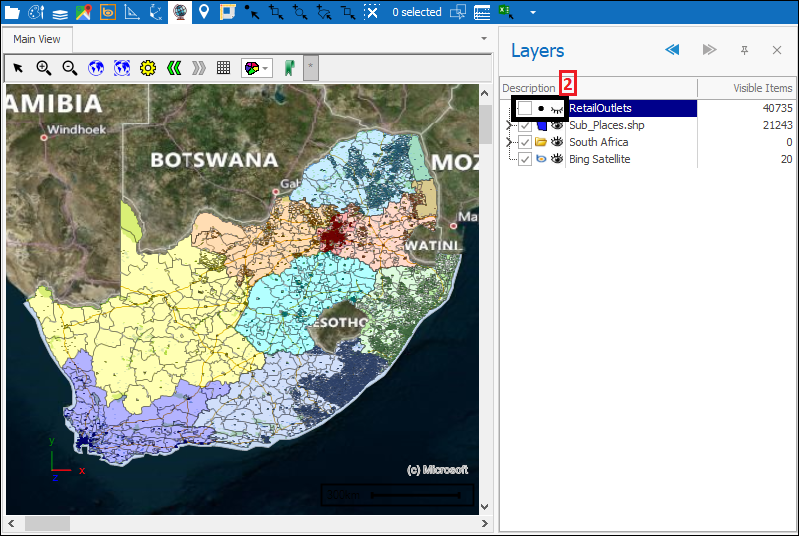
❖Layers can be ticked on or off to have them shown(1) or not(2) on the scene; when a layer is showing on the scene this is indicated by an open eye(1) and when it is not showing this indicated by a closed eye(2):
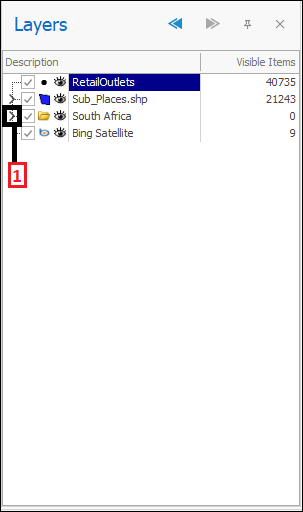
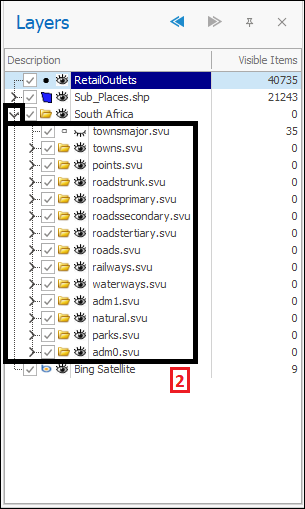
❖Layers can have other sublayers nested within them. By clicking the arrow next to a layer(1) you can expand it to see the sublayers it contains(2). Clicking it again will collapse the sublayers again:
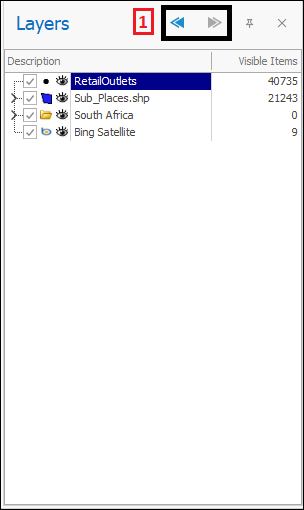
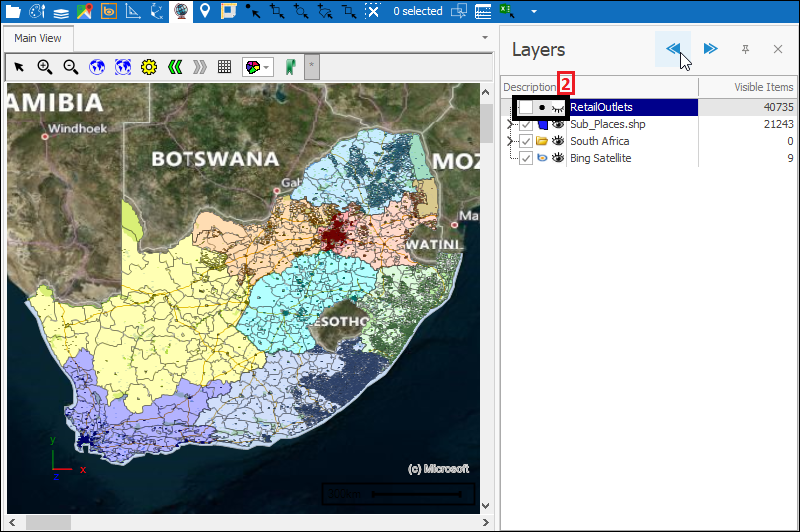
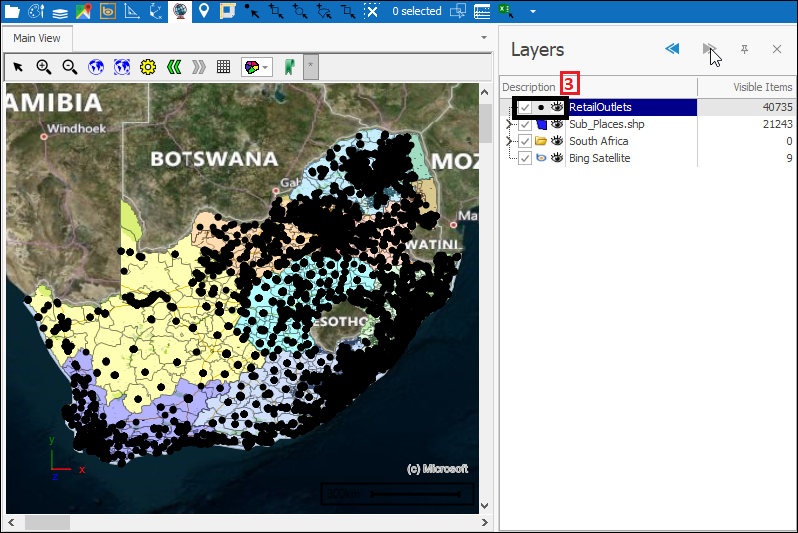
❖The Previous and Next buttons(1) can be used to display previous or following layer display states. In this example I previously had my RetailOutlets layer ticked off so if I click the Previous button it will take me back to this state(2). If I then click the Next button it will take me to the display state that followed that(3):
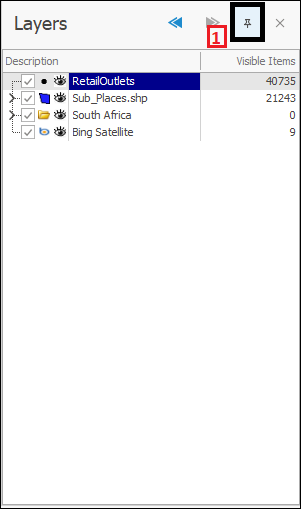
❖The pin icon(1) can be used to Dock or Auto Hide the Layer Control:
❖Layers can be moved above, below or inside one another, as a nested layer, by clicking and dragging:
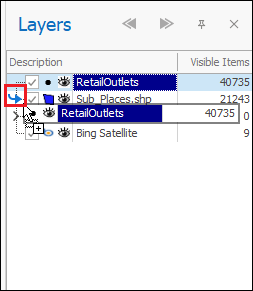 = Below
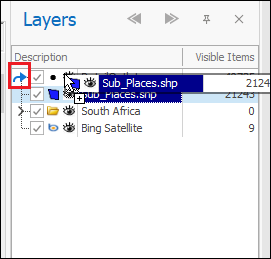 =Above
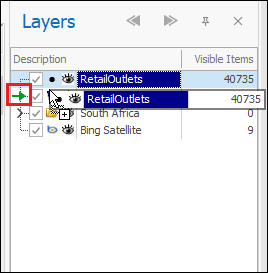 = Inside(nested)
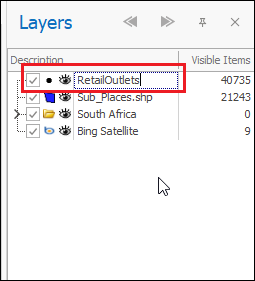
❖To change the name of a layer simply double click on it and then type it in:
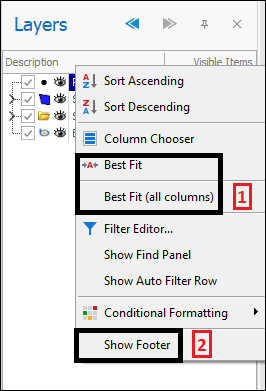
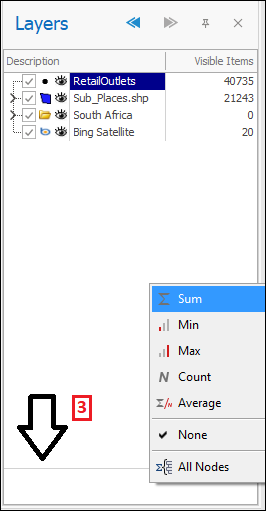
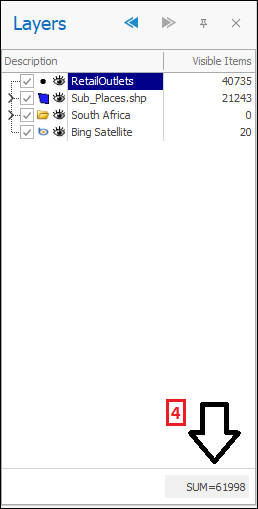
❖As one last additional note on the Layer Control, when right clicking in the column header area there are a range of things you can do that apply to all our data column interfaces but I will just mention a few more of them here. You can use Best fit and Best Fit(all columns)(1) to size the column/s in the best way so that the data can be seen clearly and by choosing to Show Footer(2) you can the right click in that area and get totals for your data(3)(4):
