
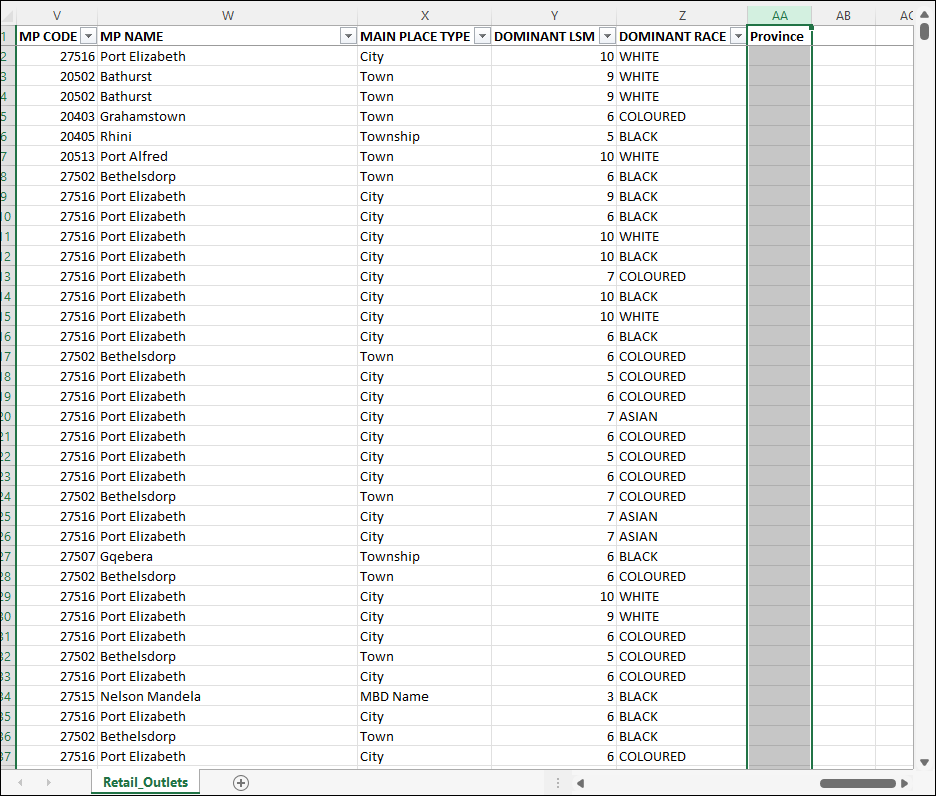
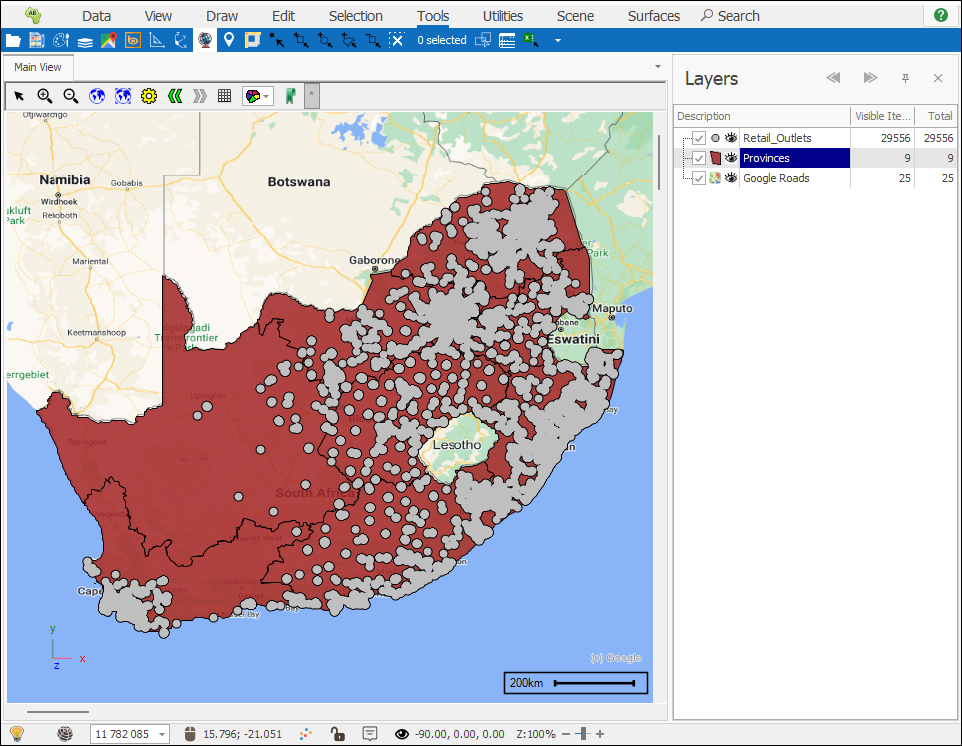
❖Before opening the tool, select the column or columns in your points sheet, that you have added as a layer in SpatialXL, where you want the assigned columns to populate, you can give these columns a name. I will call the column Province since the province name that my Retail Outlets fall in is what I want assigned in this example:
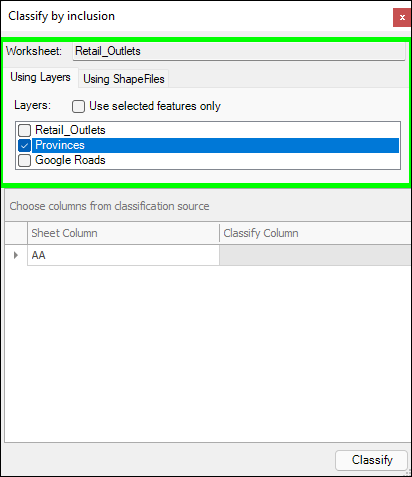
❖Open the tool. The worksheet you are currently on is populated by Worksheet. In the Using Layers tab below choose the area layer/s that you will be using to do the classify, in this case it is my Provinces layer:
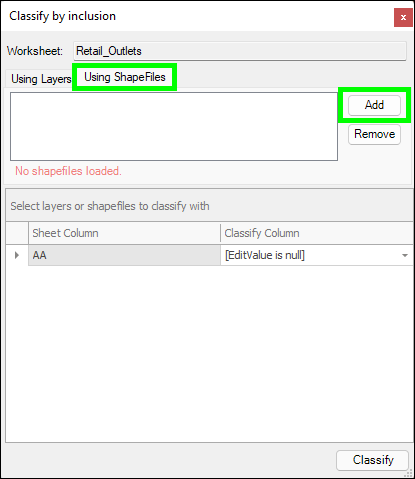
❖You can also browse to a shapefile/s, that you have not brought in as a layer, to use for the classification instead, in the Using Shapefiles tab:
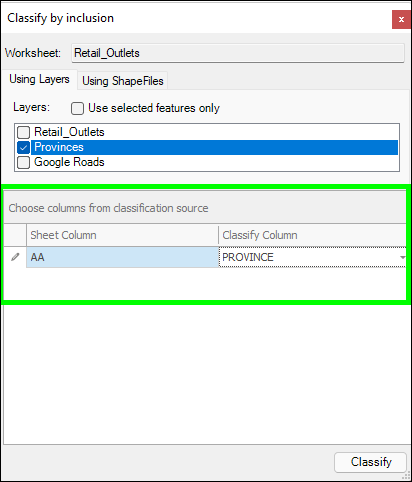
❖In the grid below, the reference of the sheet column/s you have highlighted is populated, next to this, choose the column/s in the area layer you want assigned in the classify operation, I will choose the PROVINCE column, which has the province name:
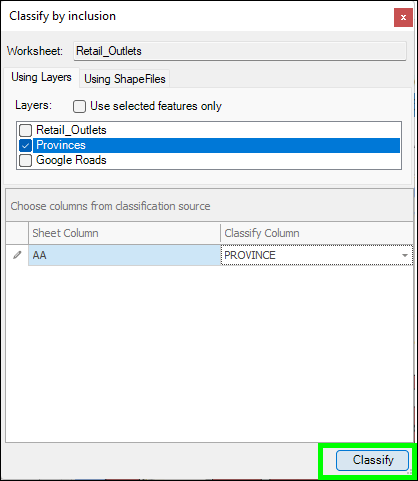
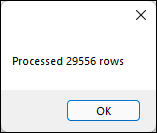
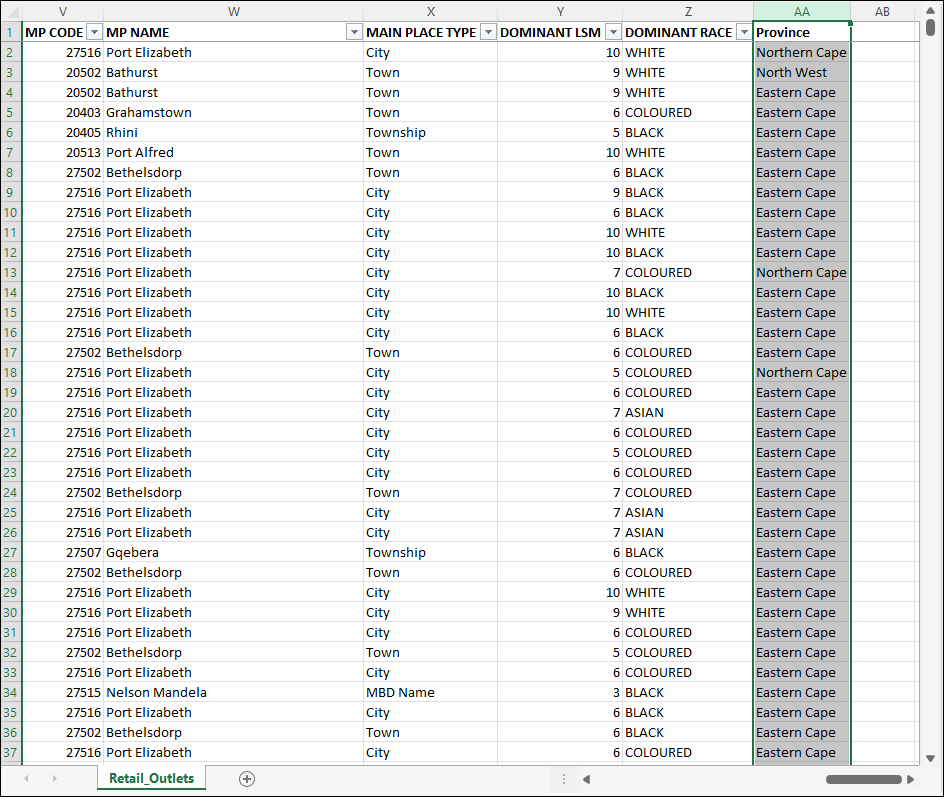
❖When you are done click Classify. Your columns have now been assigned in your sheet:
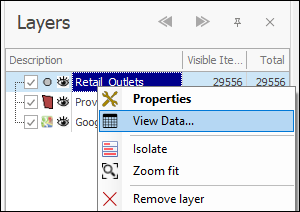
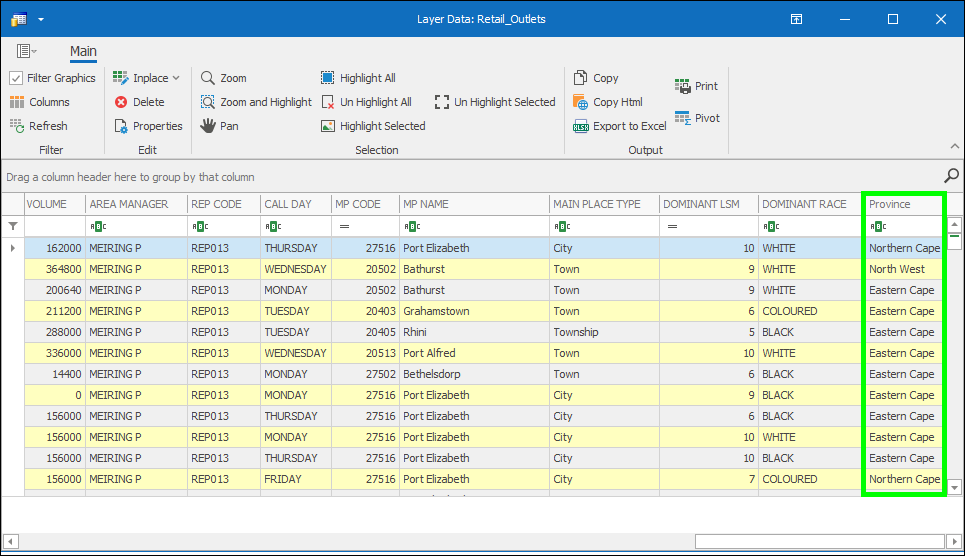
❖The columns have also been assigned in the Layer Data Grid of my Retail_Outlets layer as well:
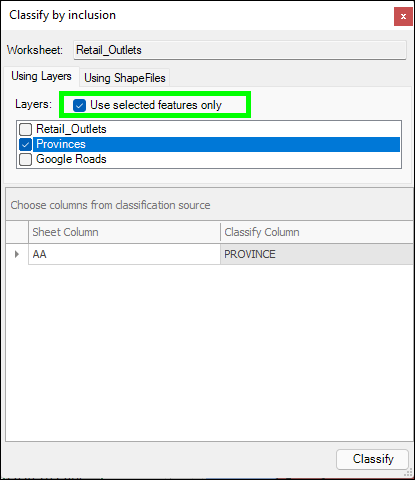
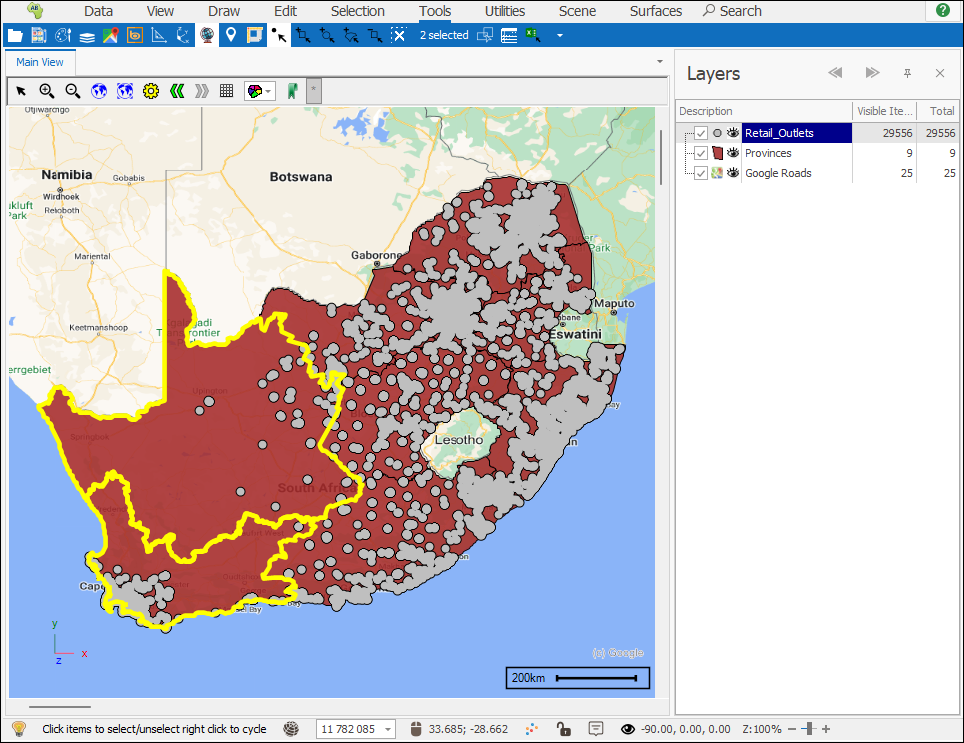
❖If you only want to use selected elements in the area layer to do the classify with, then tick on Use selected features only and select the elements in the scene with one of the selection tools, before running the operation:
