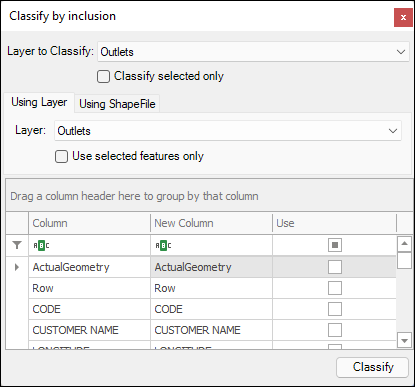
❖Clicking on the tool brings up the following dialogue:
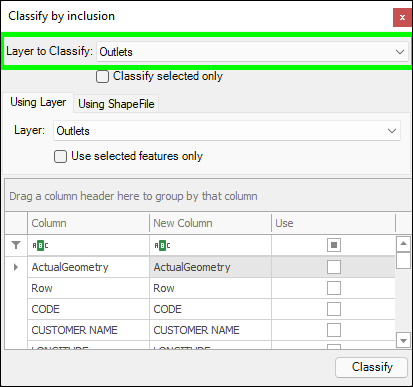
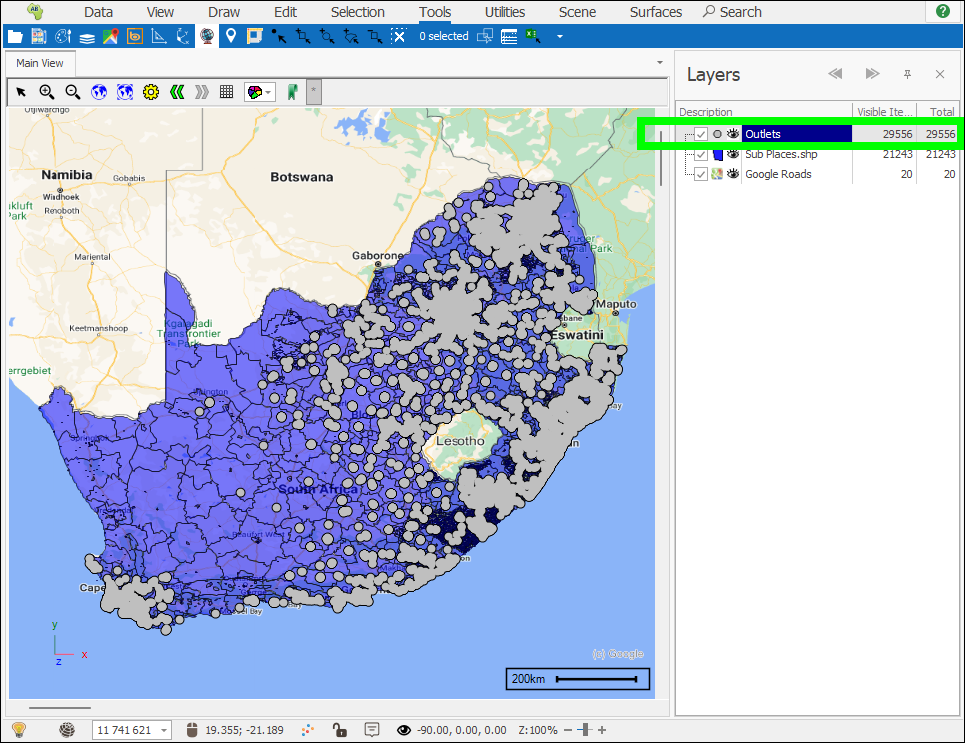
❖First, choose the layer you want to classify, this will be the point layer; in this example I have an Outlets layer which I want to classify:
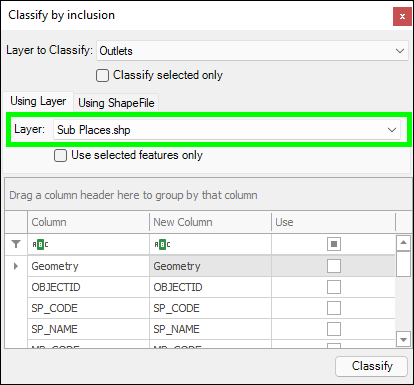
❖Then in the Using Layer tab below choose the layer you will use to classify and assign columns; this will be the area layer; in this example I have a Sub Places layer which I’m using to classify:
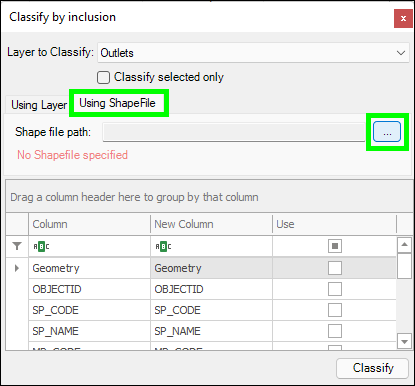
❖You can also browse to a shapefile, that you have not brought in as a layer, to use for the classification in the Using Shapefile tab:
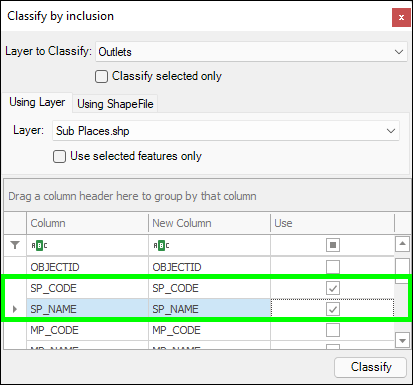
❖Then in the grid below, choose the columns from the area layer that you want assigned to the target point layer by ticking them on under Use. Under New Column is the name the column will have when it is added to the target layer, you can change this if you want. In this example, the columns I want assigned are the SP CODE and SP NAME, which will give the Sub Place code and name of the Sub Place my outlets fall in:
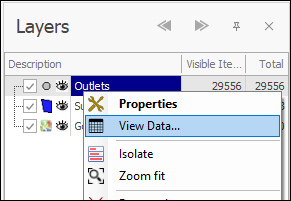
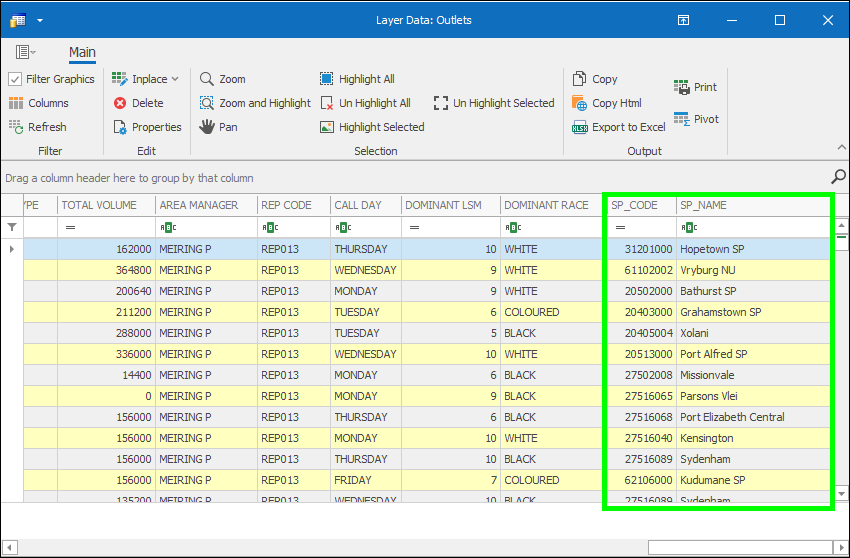
❖When done click Classify. Your target layer has now been classified, to see the result right click and View Data to open the Layer Data Grid, you will then see the columns assigned to the points:
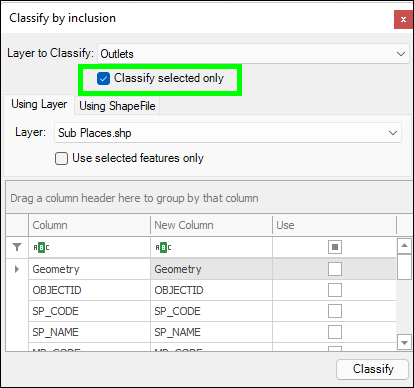
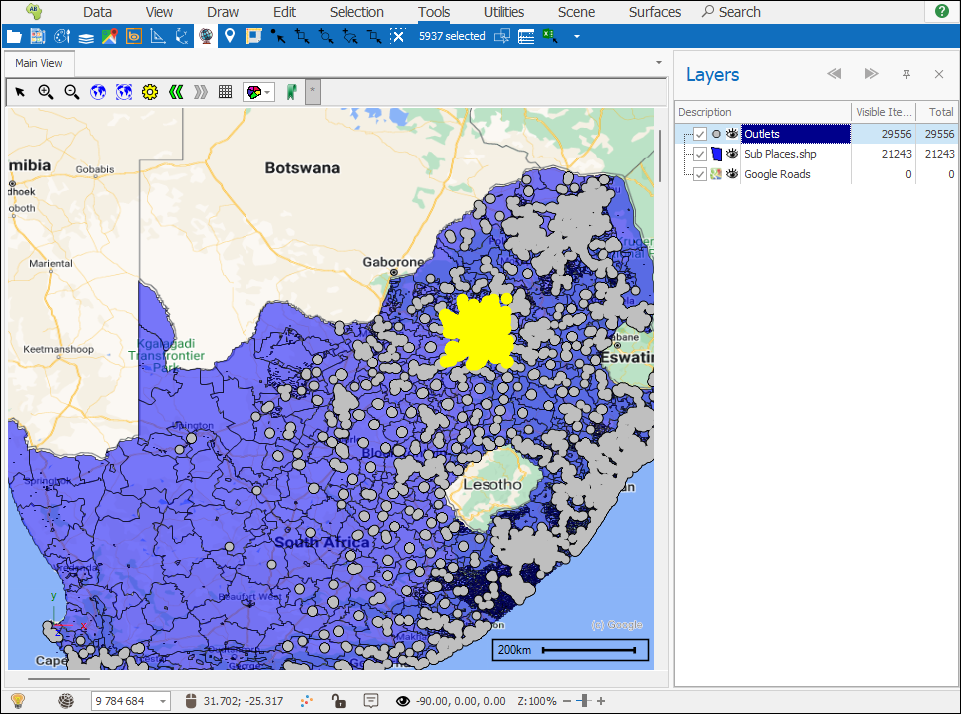
❖If you only want to classify selected elements in your target layer, then you would tick on Classify Selected Only and then select the elements in the scene with one of the selection tools before running the operation:
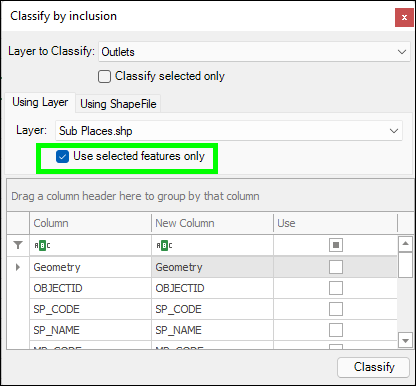
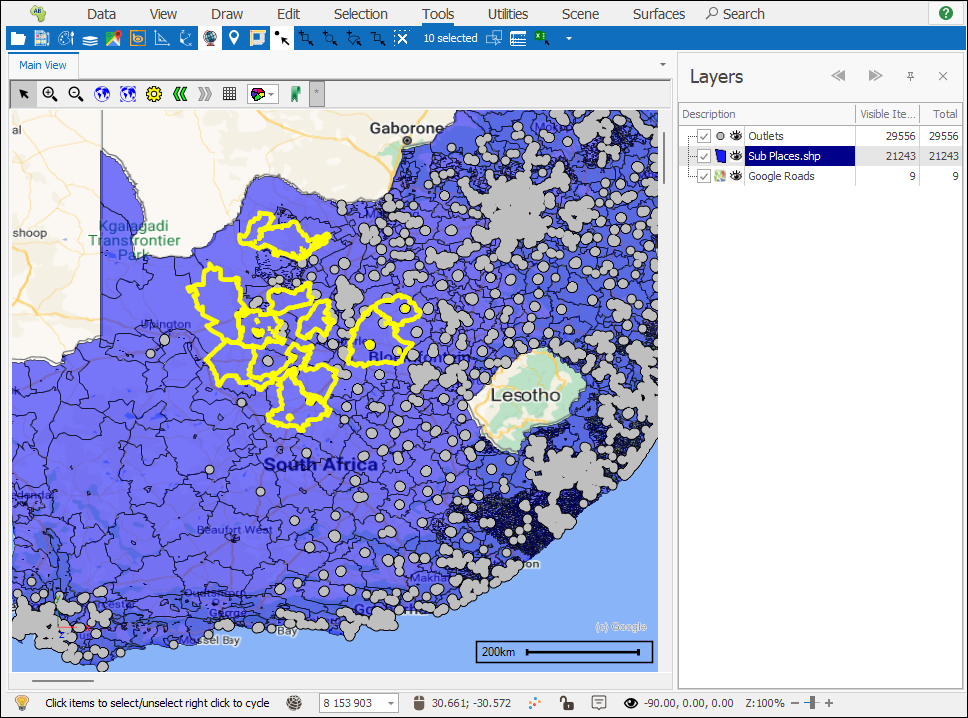
❖ Similarly, if you only want to use selected elements in the area layer to classify with, then you will tick on Use selected features only and then select these in the scene with one of the selection tools before running the operation:
