In the Section View tab you can edit and control your Section View. Your Section View is the graphical display of your sections to the right of your sheet:
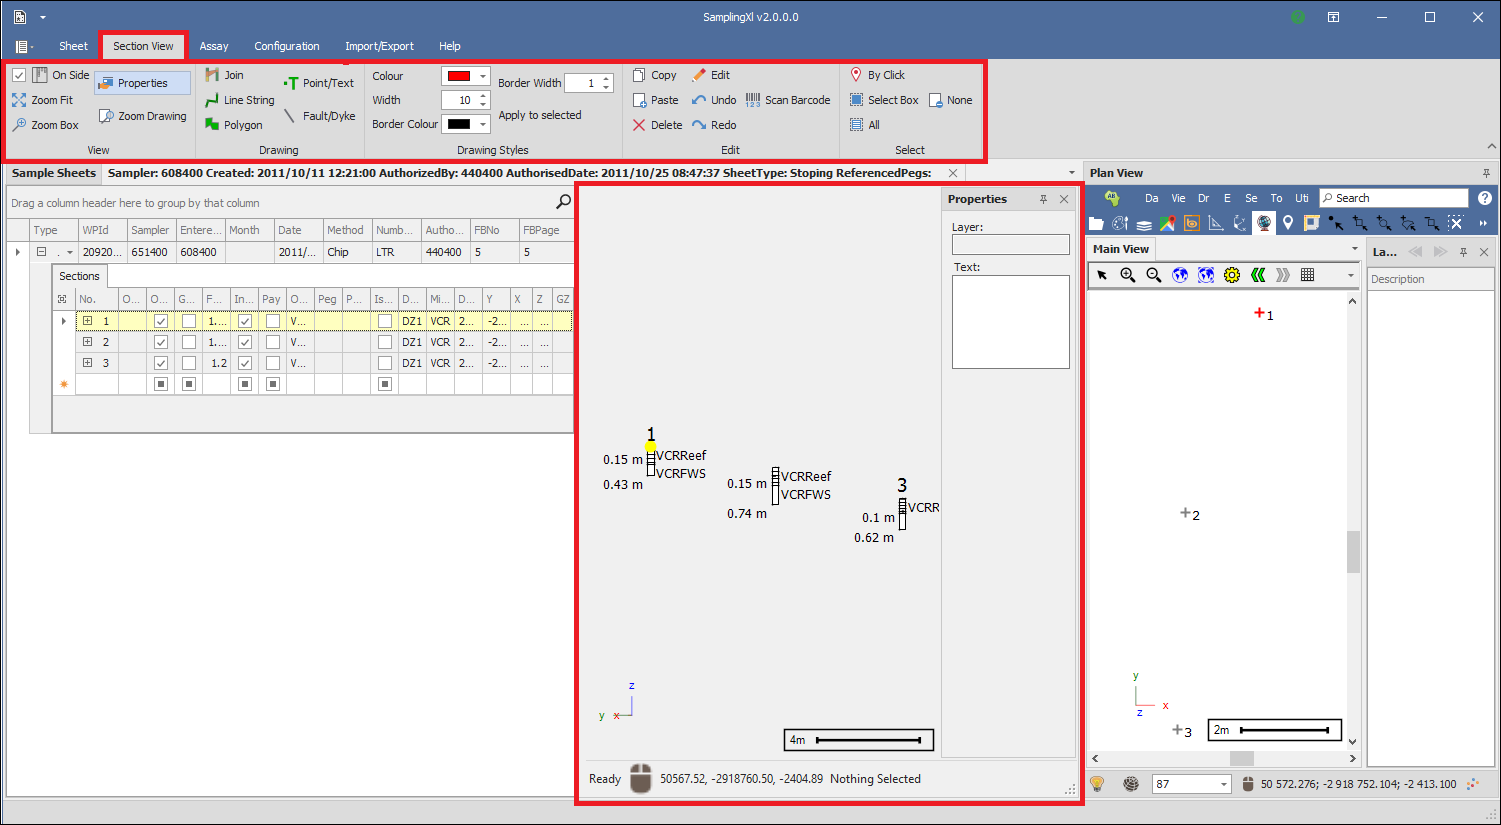
These sections are coordinated in the Section View exactly as they are in real life. You can pan around by clicking and dragging, and zoom by mouse wheeling in and out. As you hover in your Section View, the coordinates of your mouse location is shown at the bottom and the number of any selected items will be shown there as well. At the bottom left is also the status bar which says Ready and which will change as you do different operations, prompting you on what to do.
View
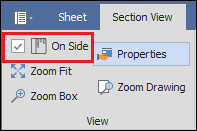
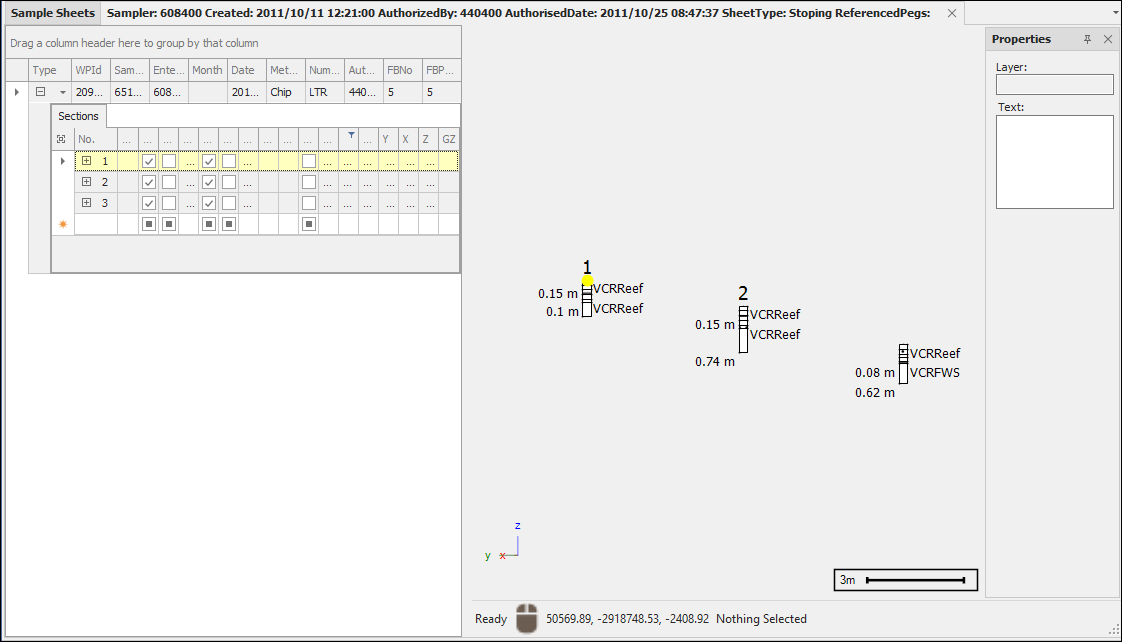
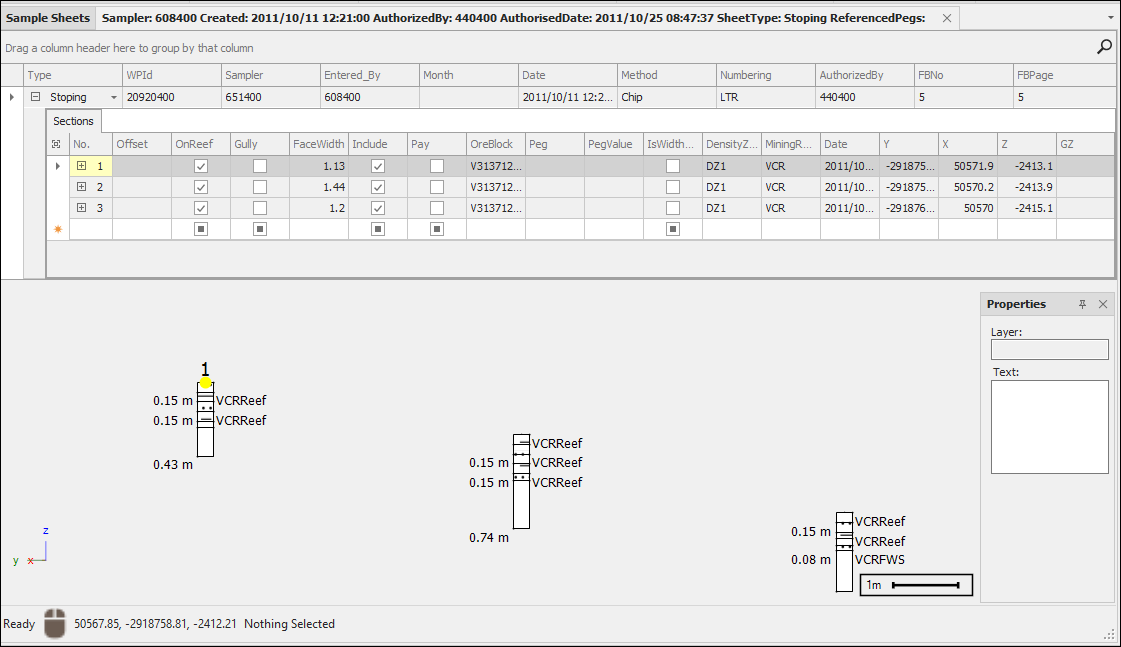
In the View section of the tab you can control the view, when On Side is ticked on, the Section View will display on the side of your sheets, when this is ticked off it will display beneath your sheets, choose whatever view is comfortable for you:
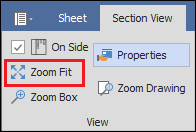
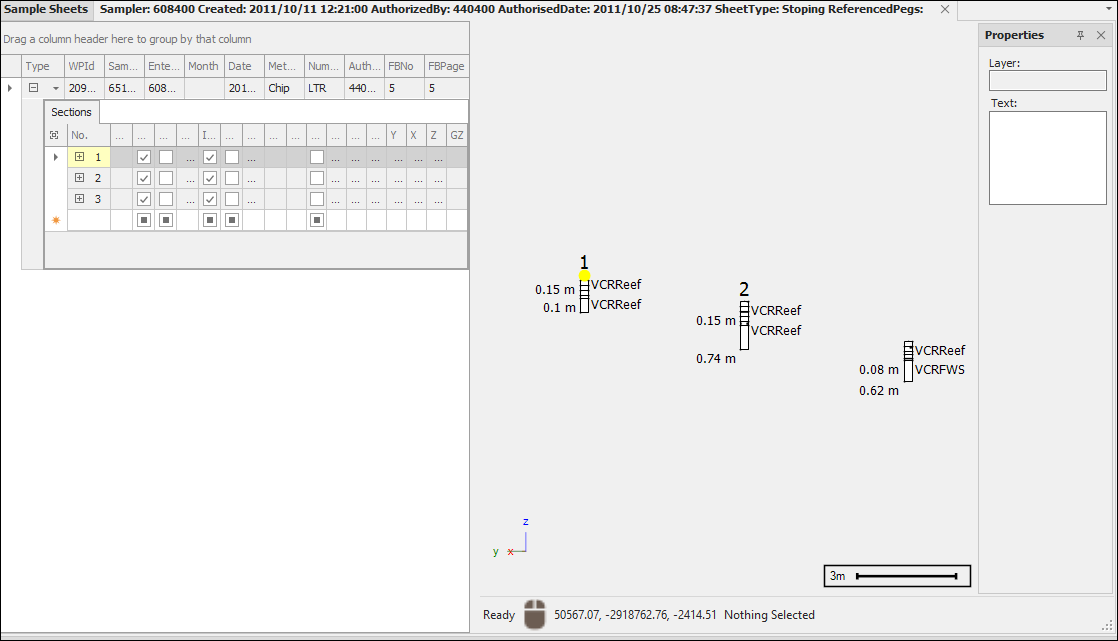
Zoom Fit will zoom to the extent of the whole sheet so all sections are in view:
Clicking on Zoom Box will make it active and when you hover in your section view you can then click or click and drag to zoom:
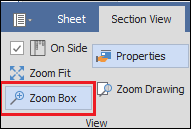
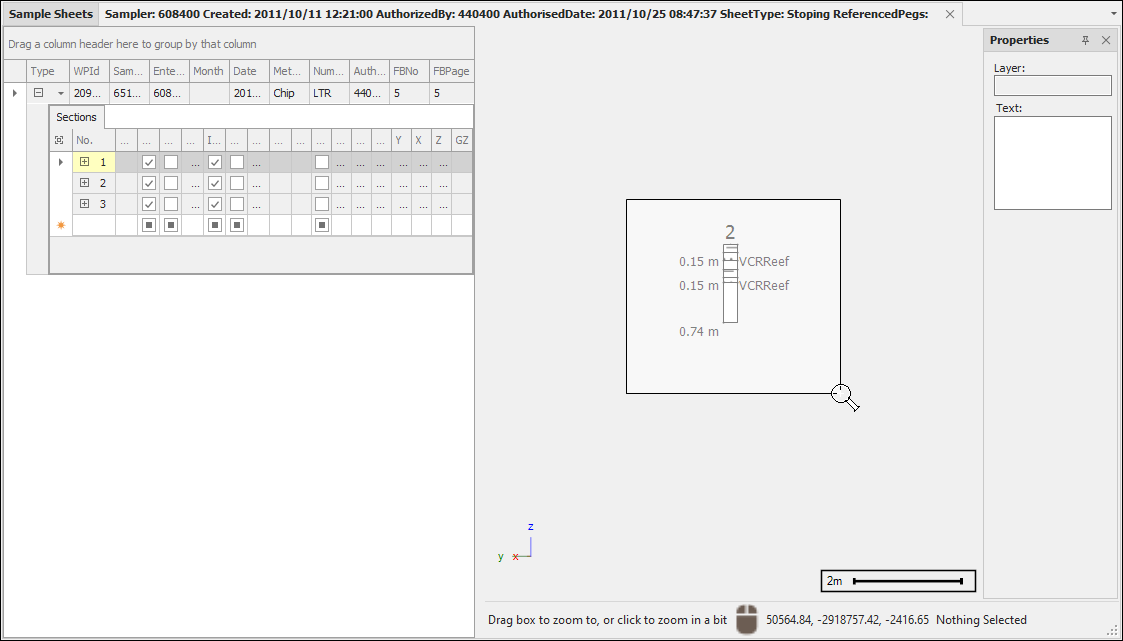
Click on it again to make it inactive.
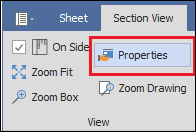
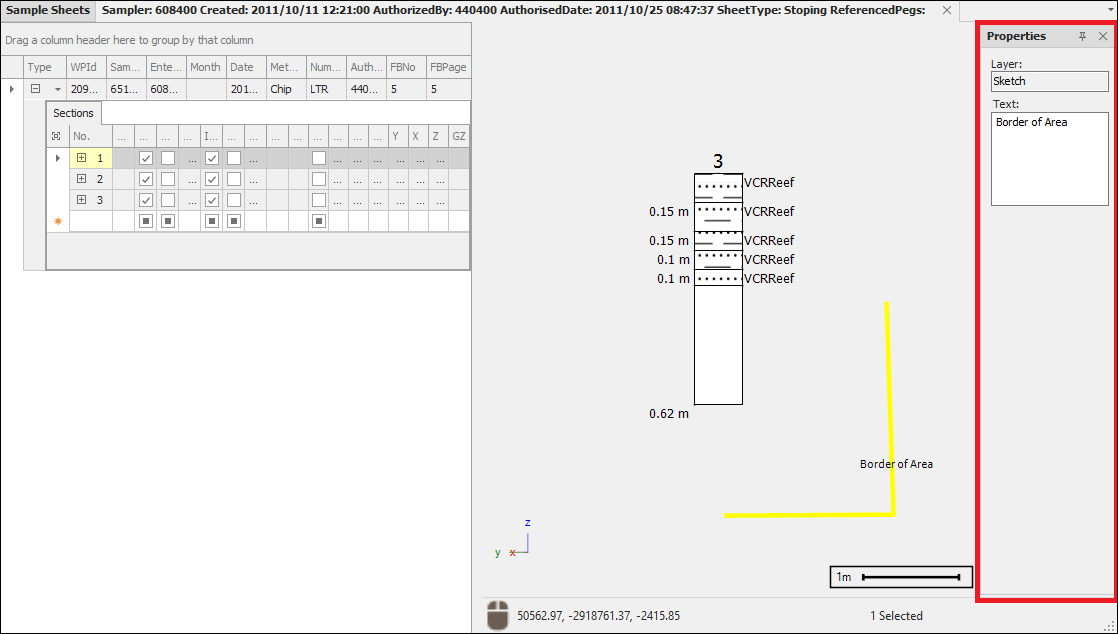
When Properties is active it is blue and this means the Properties box is showing in the Section View, this box will display the properties of any objects you have drawn when you select those objects:
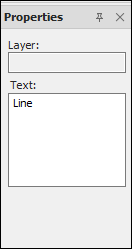
For example, I have selected a linestring I drew and it shows that it belongs to the Sketch layer and some descriptive text about it:
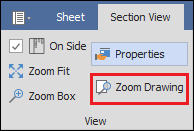
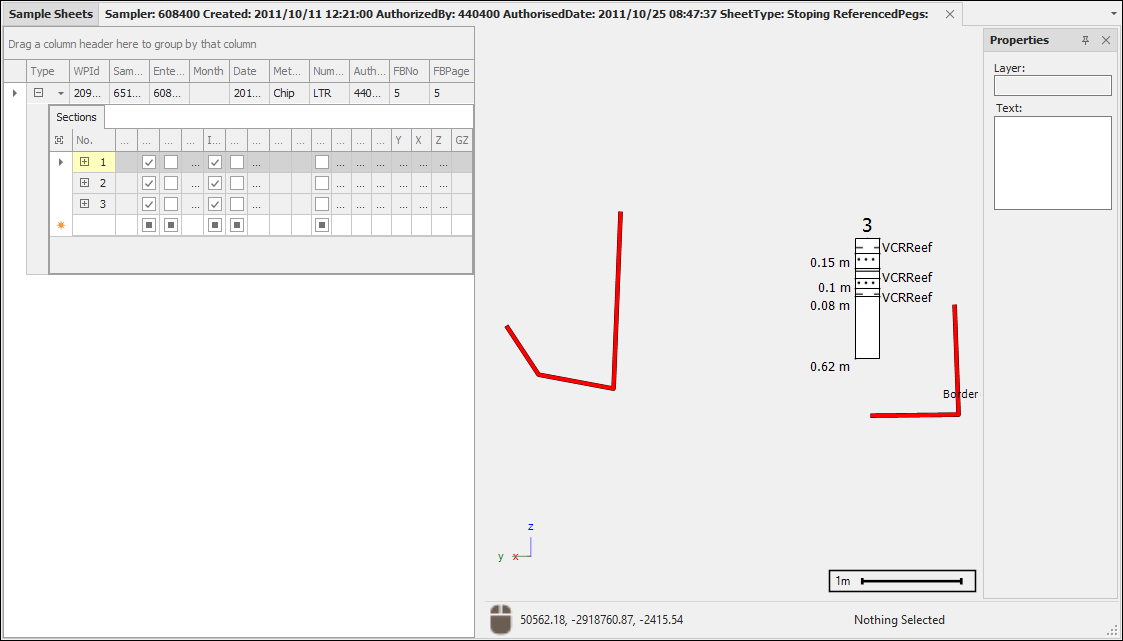
Zoom Drawing will zoom to the extent of all your drawings:
Drawing
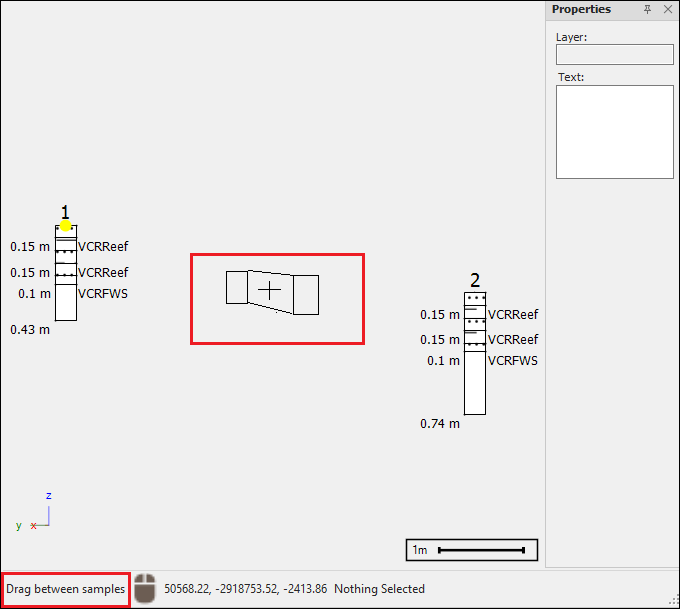
In the Drawing tab you can draw various geometries. Join allows you to create a connection between two samples, these samples must be of the same type. Clicking on it makes it blue which means its active, as you hover in the Section View you will see the Join cross hair and on the status bar you will see you are prompted to drag between samples:

If you want to join a full sample to a full sample, click in the middle of the first sample and then drag to the middle of the second sample, then release and the join has been created:
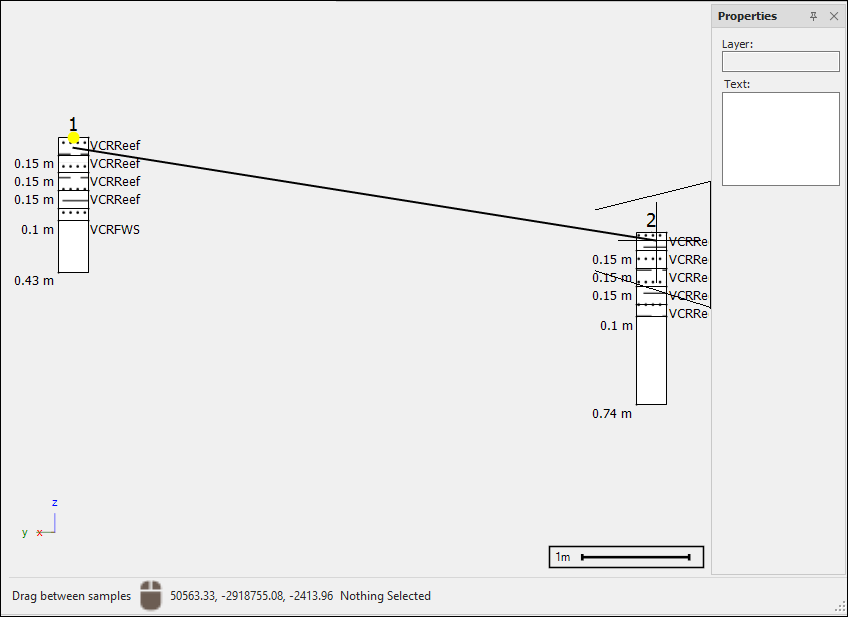
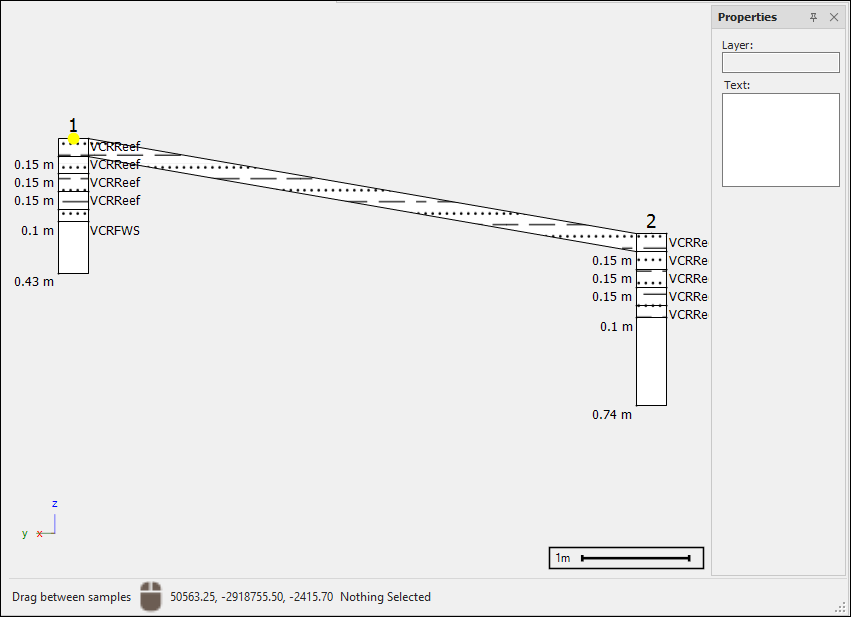
To remove a join you just redraw it and it will be taken away.
If you do not want to join a full sample to a full sample but want it to be pinched at one end to the top or bottom of a sample, then when drawing the join, click in the center of the sample towards the top or bottom, then drag to the center of the next sample, then release and the pinched join has been drawn:
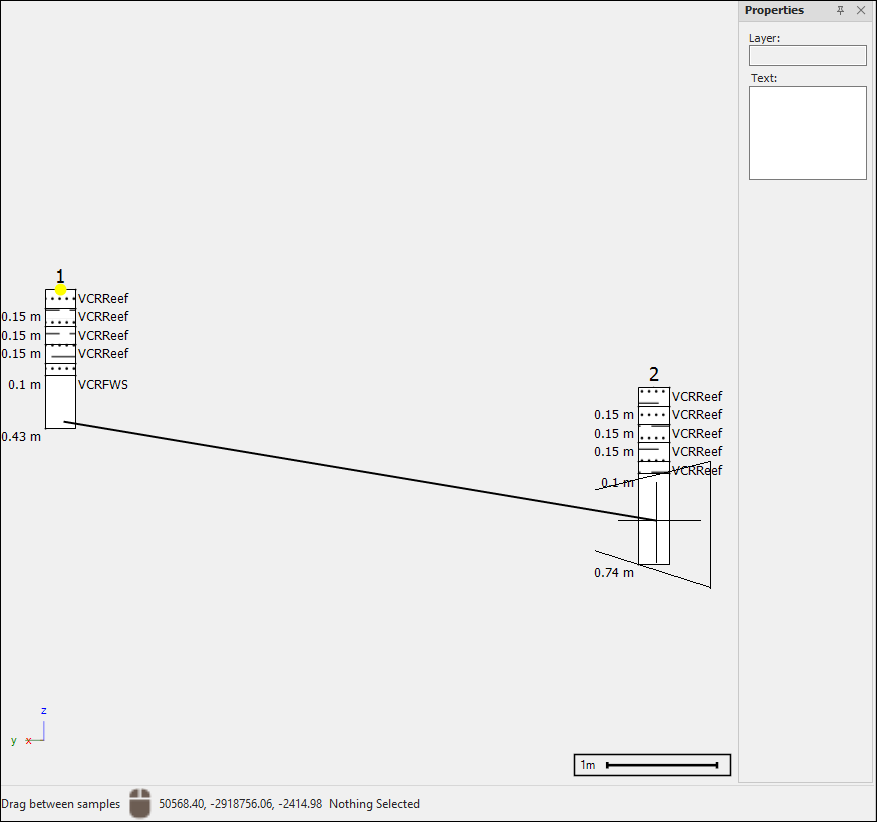
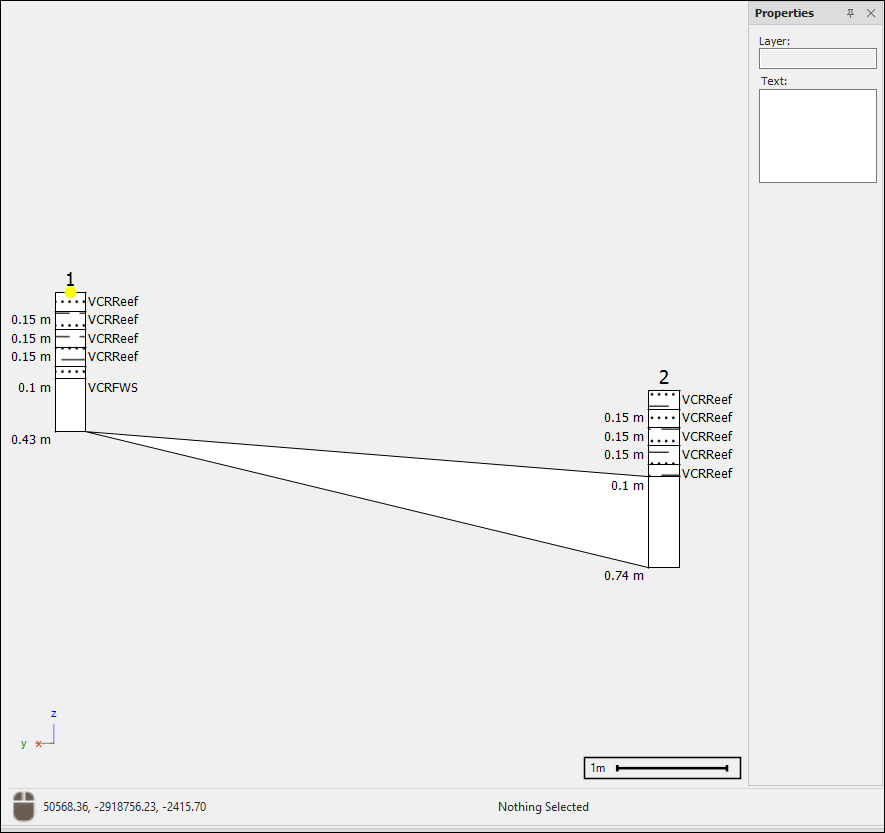
Conversely, you can start in the middle of a sample and then drag to the top or bottom of the next sample.
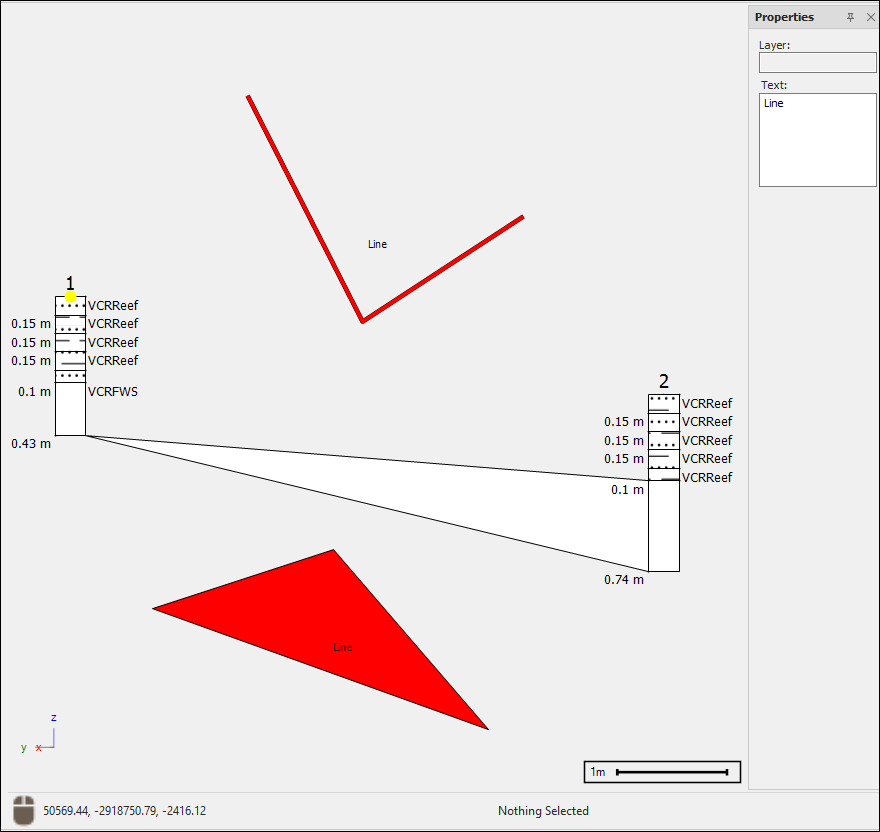
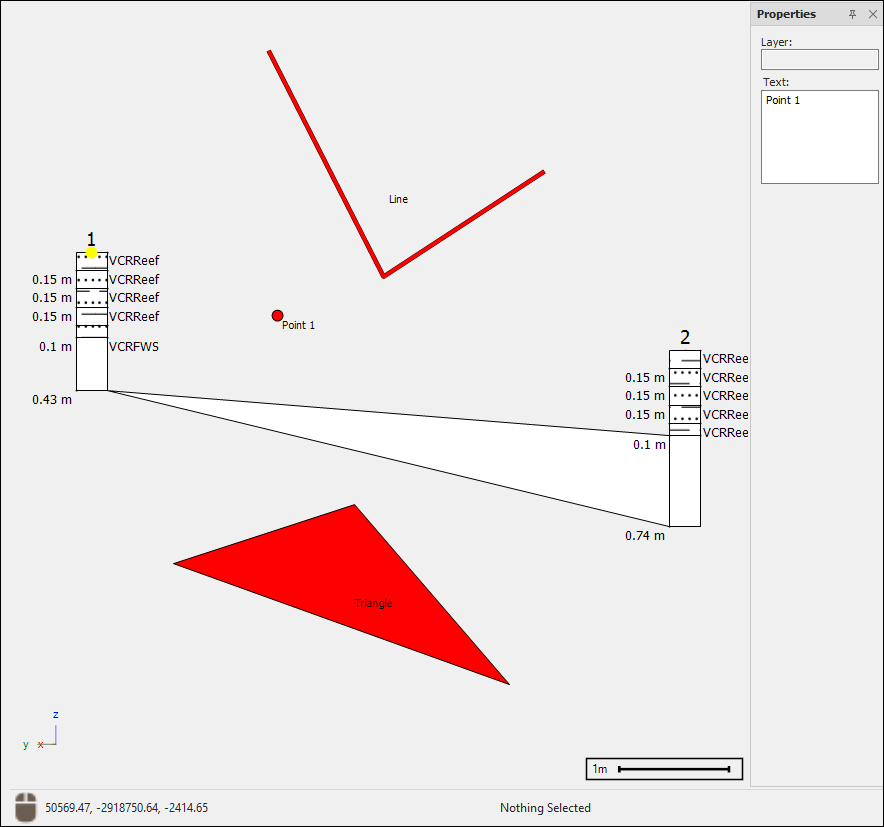
Linestrings and Polygons can be drawn too, just click on the tool to make it active and then click and drag in Section View to draw it, double click to end the drawing, all drawings are automatically added to the Sketch layer; if you want a text label to be added with the drawing you can enter it in by the text box on the right before drawing, if you leave this text in there, all drawings you do after will have that same text label:

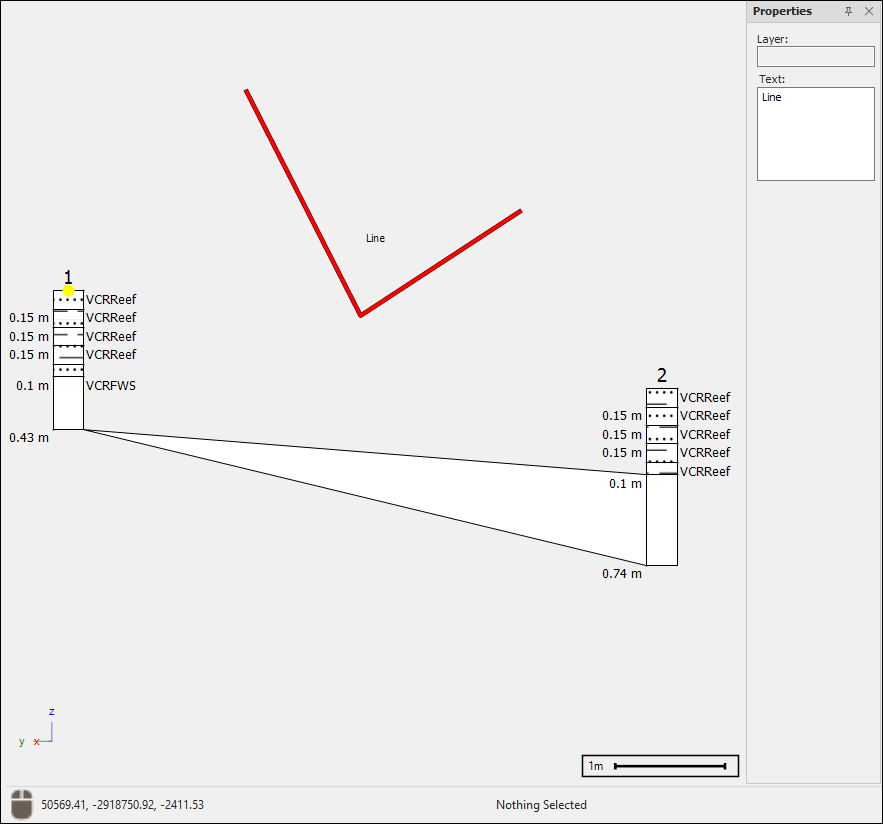
To edit the text labels for specific objects, you would first select that object using one of the selection tools found in the Select part of the tab and then type in the text in the text box:

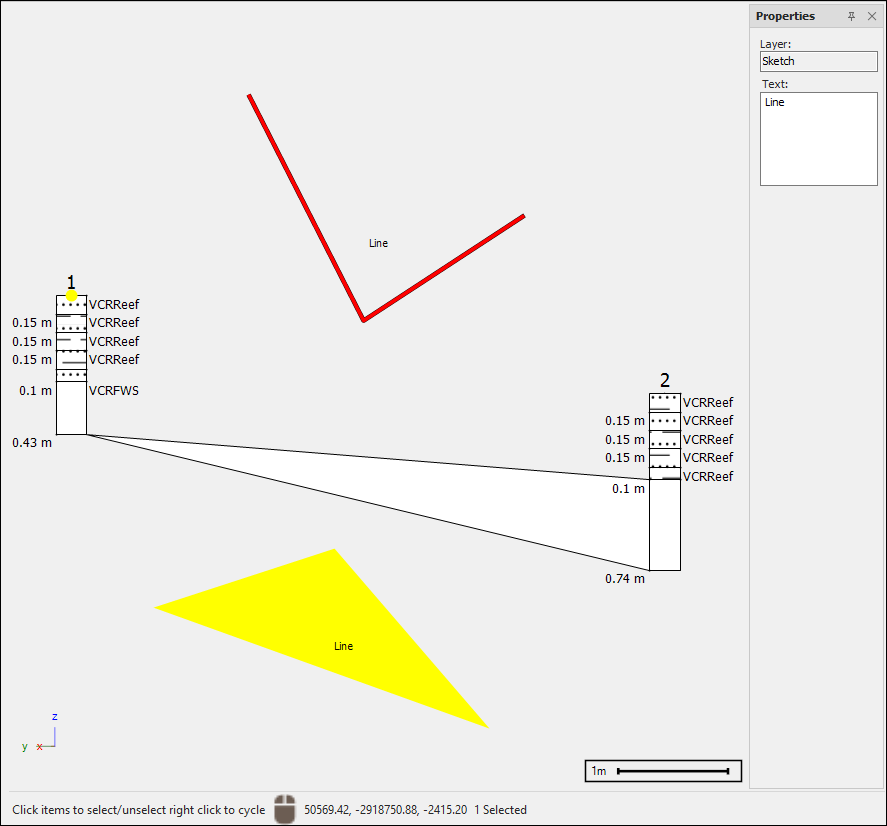
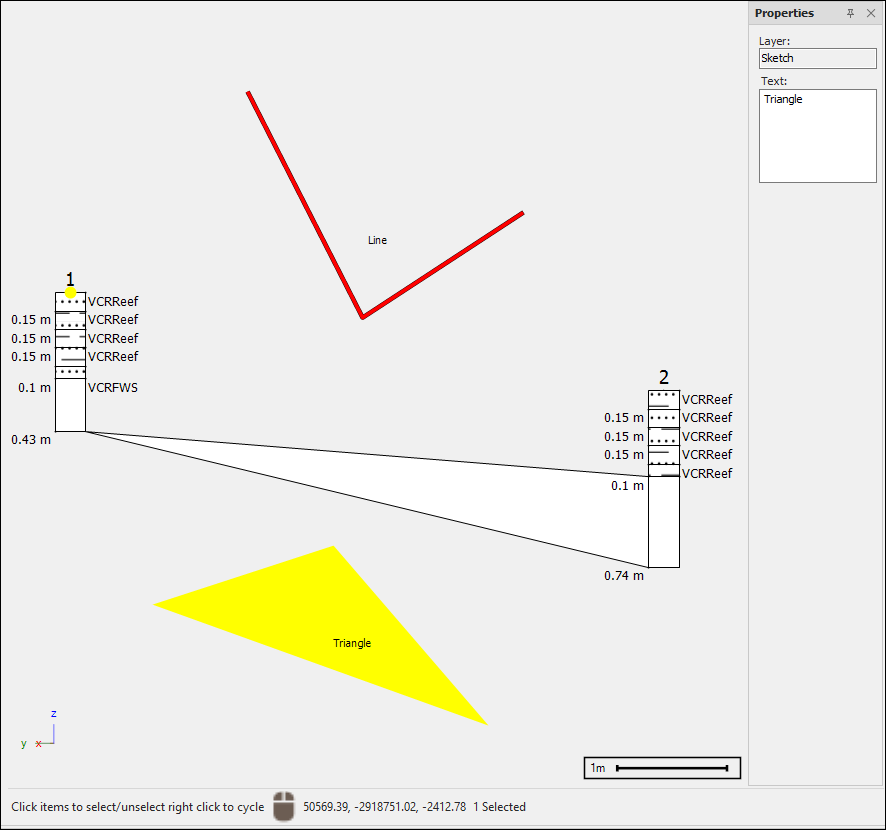
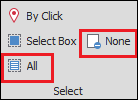
To have nothing selected you can click on None which will unselect everything. Similarly, All will select everything:
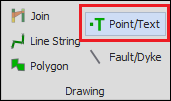
You can place a point with or without text using the Point/Text tool. Click on the tool to make it active, then click in the Section View at the desired point and the point is drawn; the text is controlled as above for linestrings and polygons:
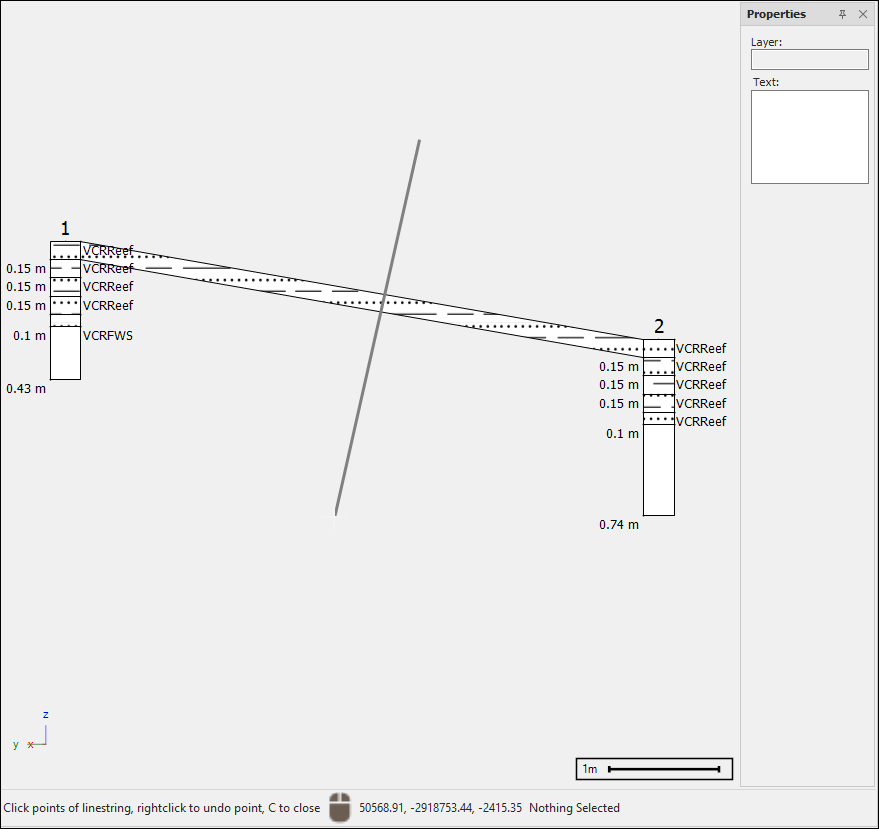
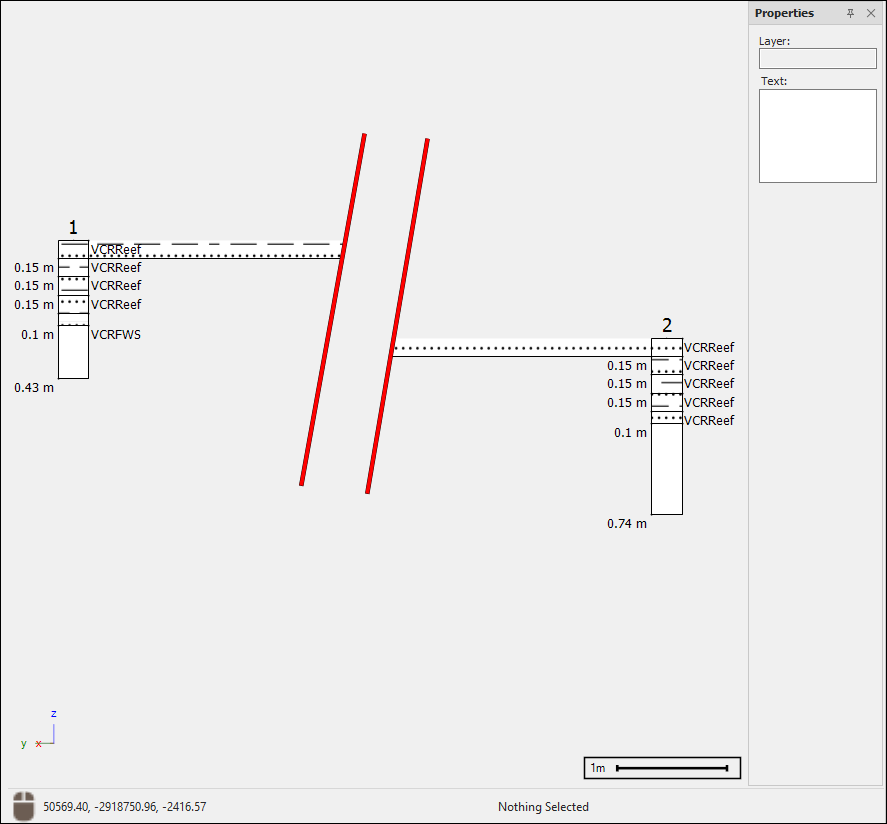
You can draw a fault or dyke between sections using the Fault/Dyke tool, all faults and dykes are automatically drawn to the Faults/Dykes layer. To draw a fault, click on the tool to make it active, then click and drag to draw at the desired location, then double click to finish. Your fault has been create and your sections are rejoined appropriately:

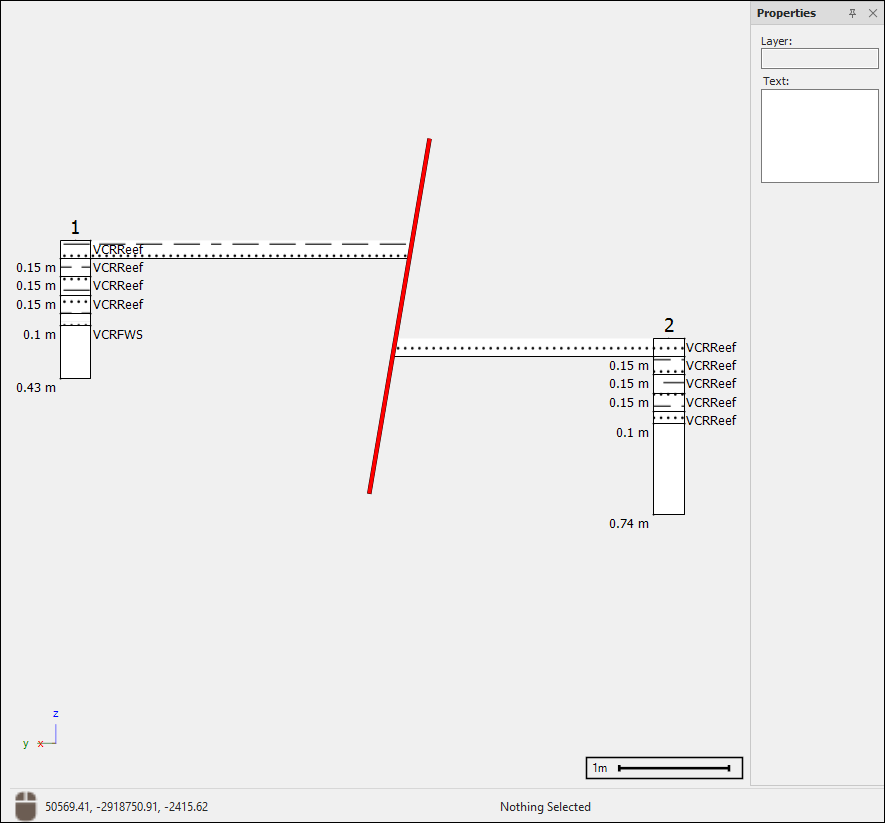
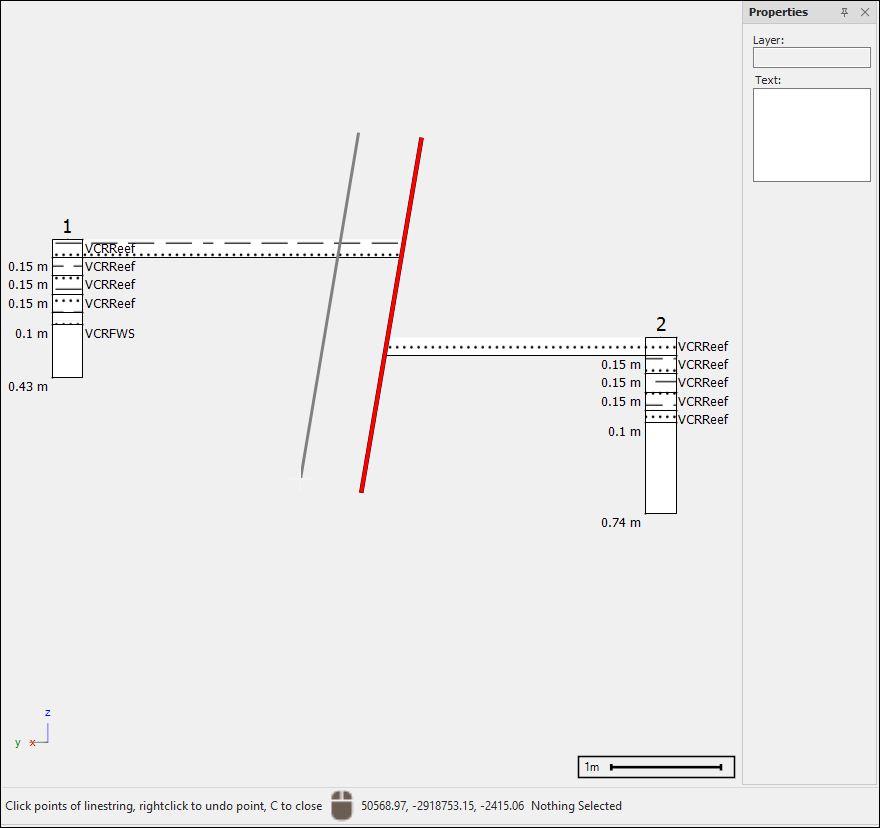
To create a dyke you draw another fault next to the one just made and the sections are rejoined appropriately:
Drawing Styles
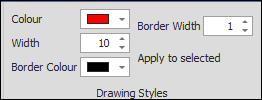
In the Drawing Styles tab, you can set the styles of the drawings that you do. You can set the Colour, Width, Border Colour and Border Width, all drawings you do after this will have these properties. To set the properties of selected drawings only, first select the drawing/s using one of the selection tools and then click Apply to selected:
Edit
In the Edit tab you can do various editing operations on your drawings. To copy an item, first select it then click Copy, then click Paste, you can then hover with your cursor and click to place the copied item at the desired location:

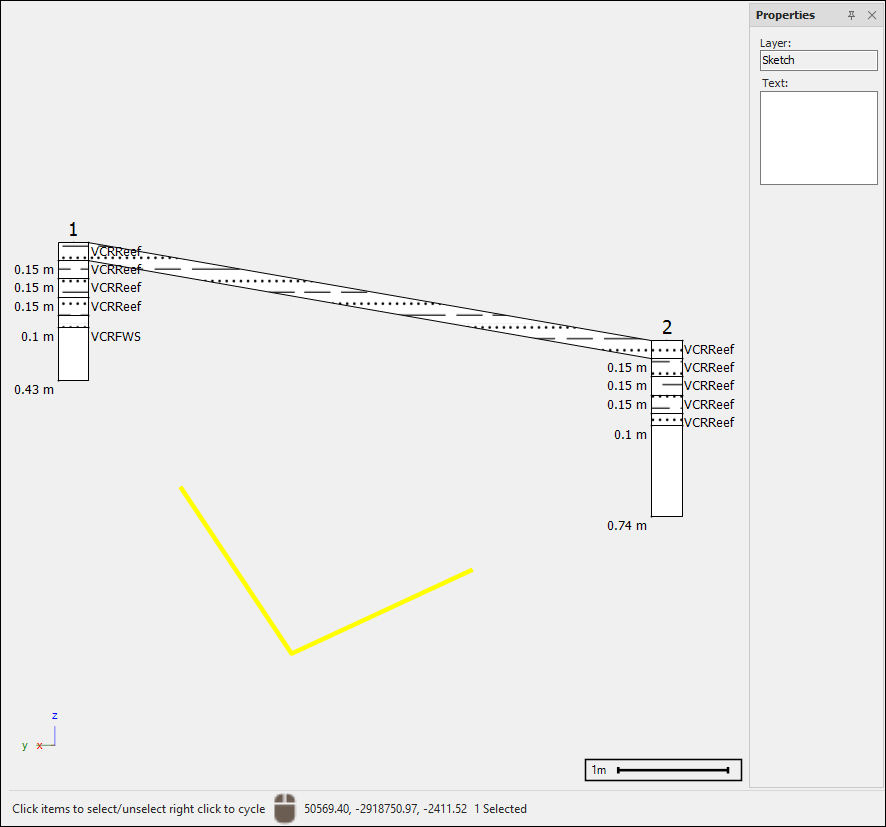
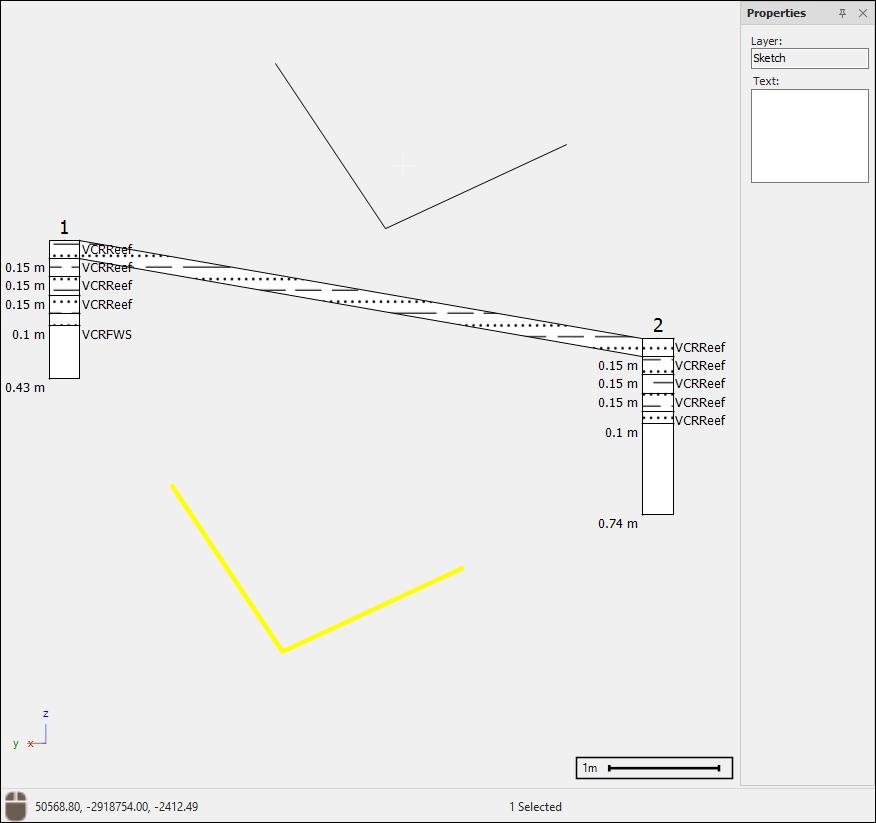
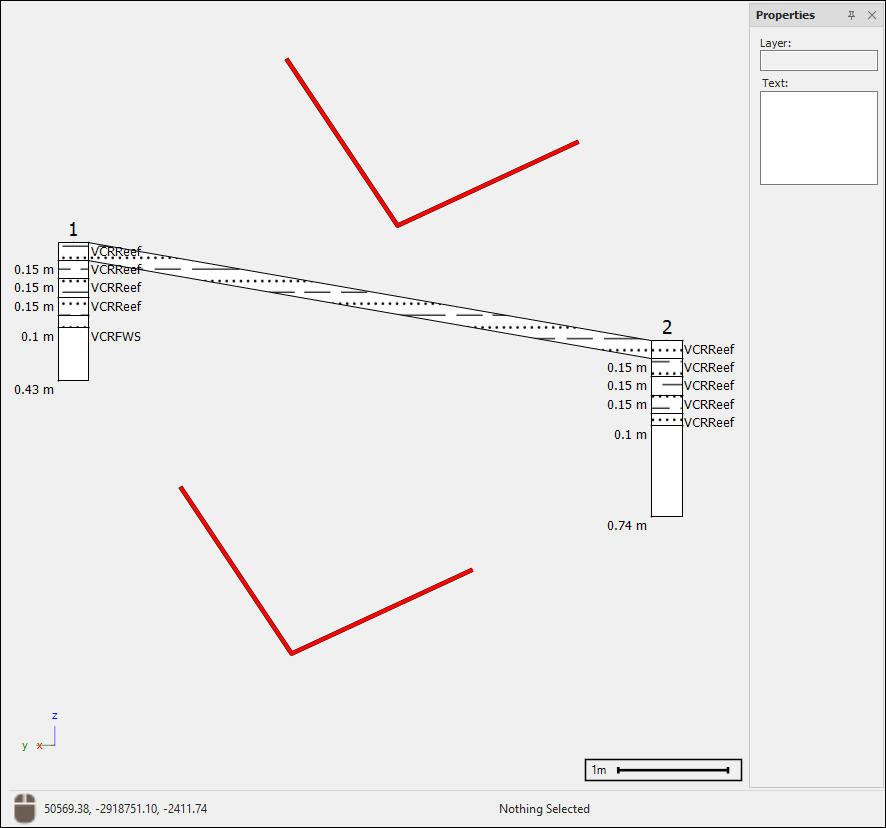
To delete an item, select it and then click Delete:

To edit an item, click on Edit and then click on the object, this will bring up vertex handles that you can then move to adjust the object as desired. Click on the Edit tool again to end editing:

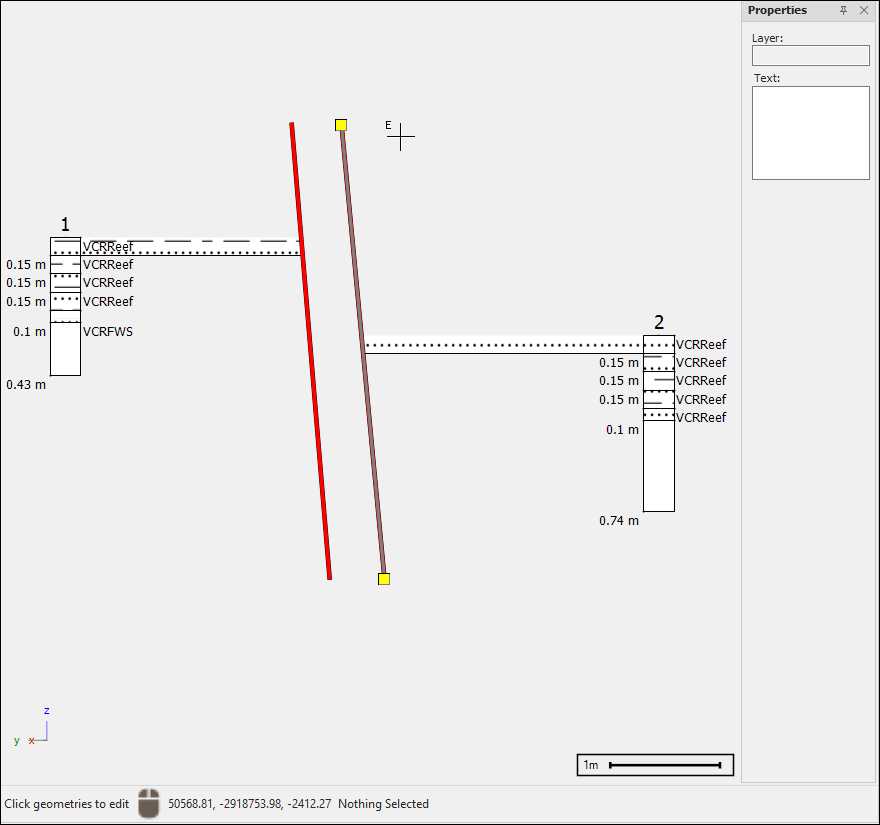
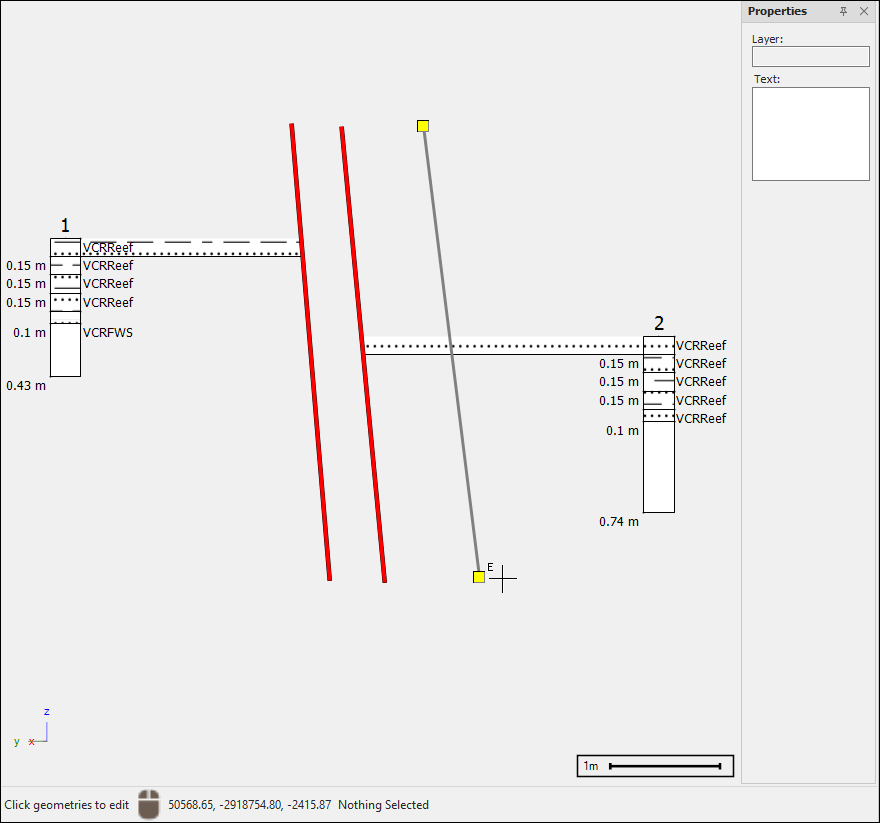
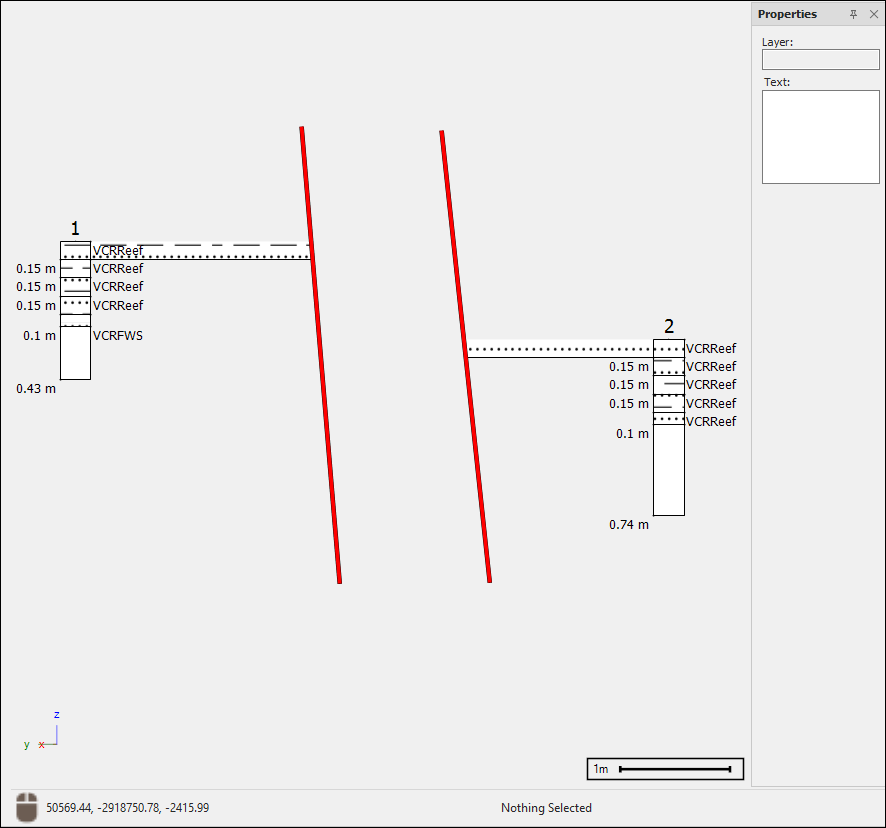
You can also undo or redo any actions with Undo or Redo:

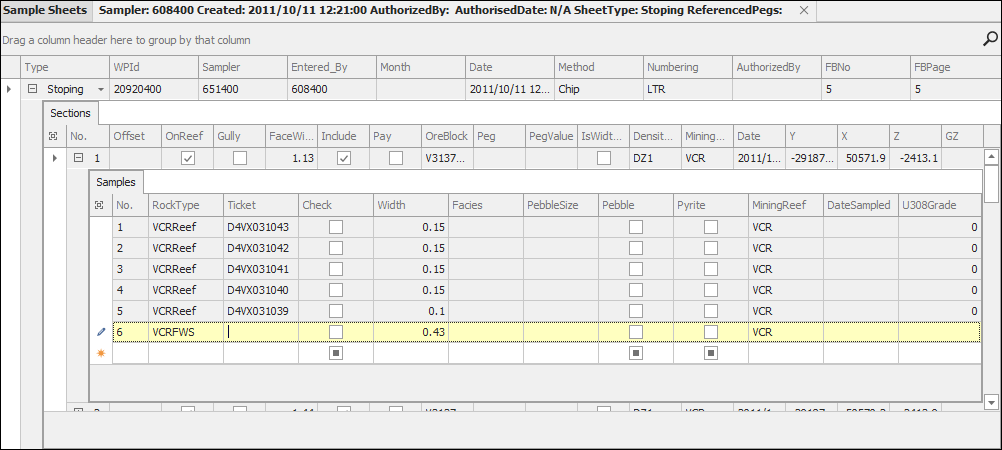
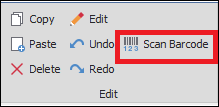
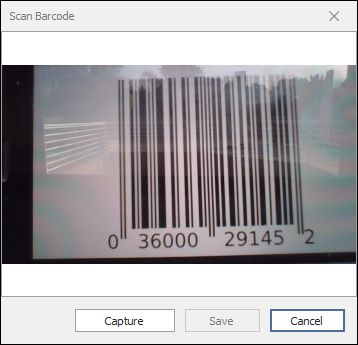
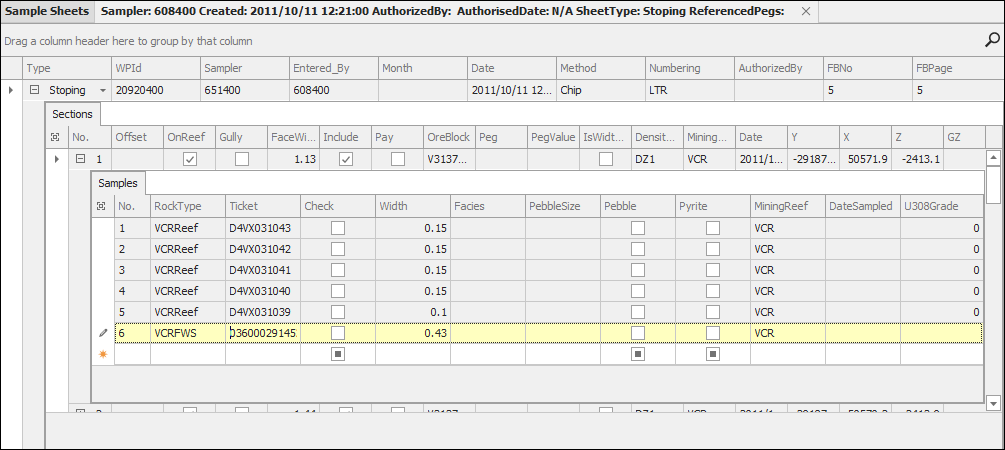
Scan Barcode allows you to scan the barcodes of samples which give the ticket number of the sample. This allows for the ticket number to be automatically entered in when capturing and minimizes any human error that could come from manually copying in the ticket number from a fieldbook. First make sure you are in the correct field in your sample sheet, this is where the number will be populated, then place the barcode in front of the camera of your PC clearly in sight and then click Capture, the ticket number will populate:
