There are many ways to coordinate sections in SamplingXL.
The simplest is to just click on a location in plan view.
To show the plan view window, click on "Show Plan View":
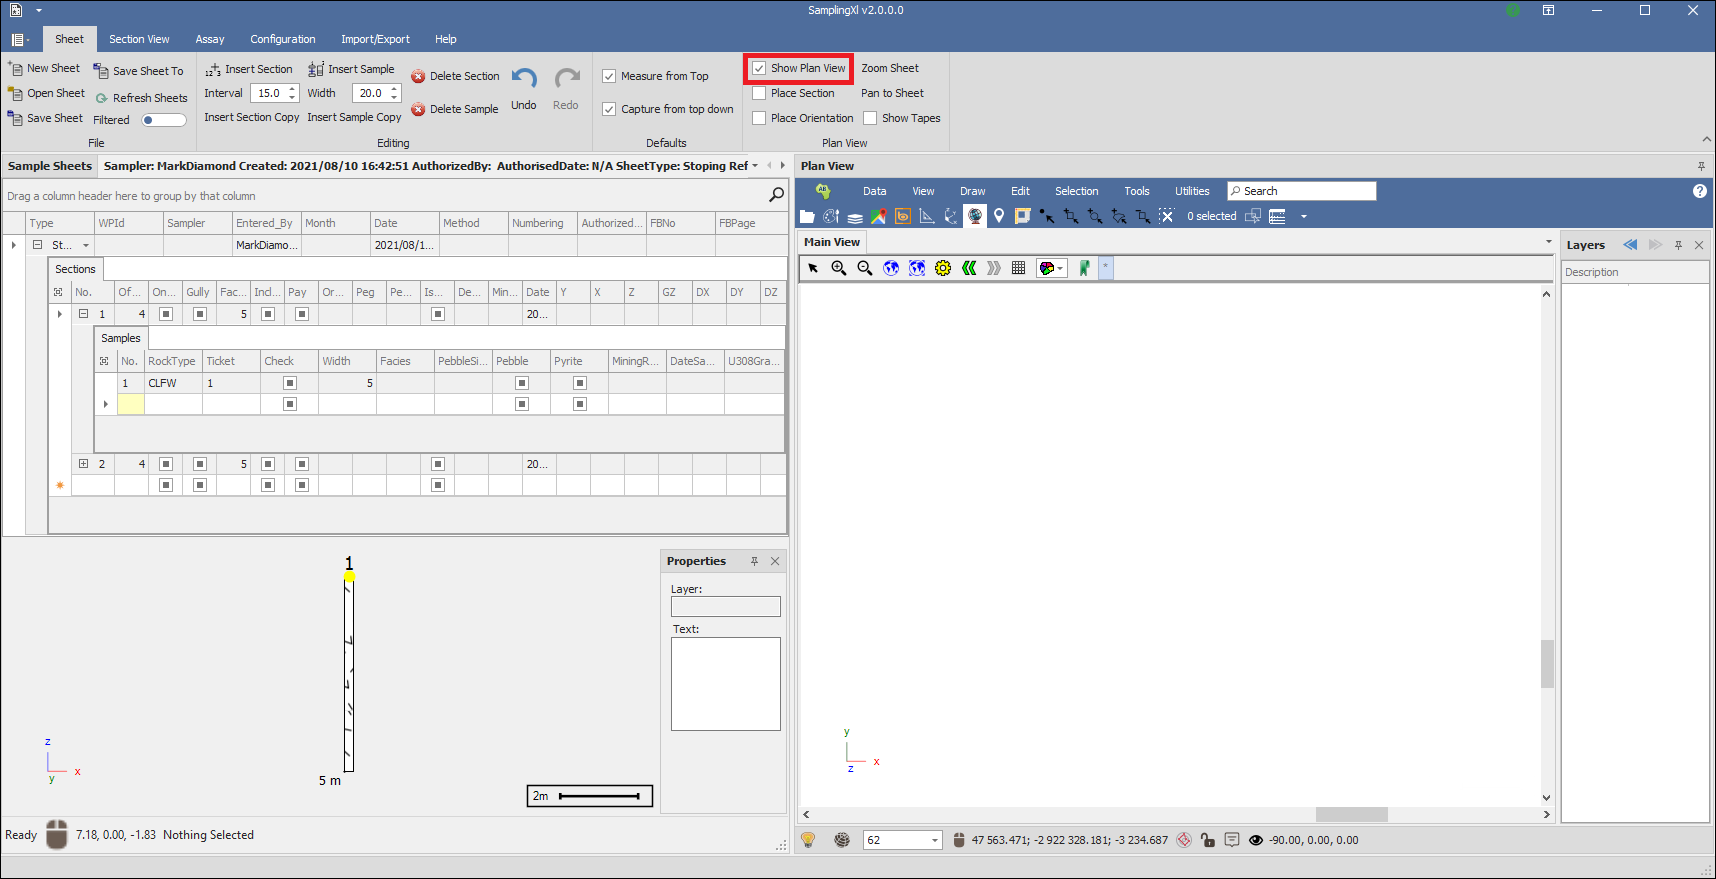
You can now open the mine design or stopes and pillars from design files or even a spatial database.
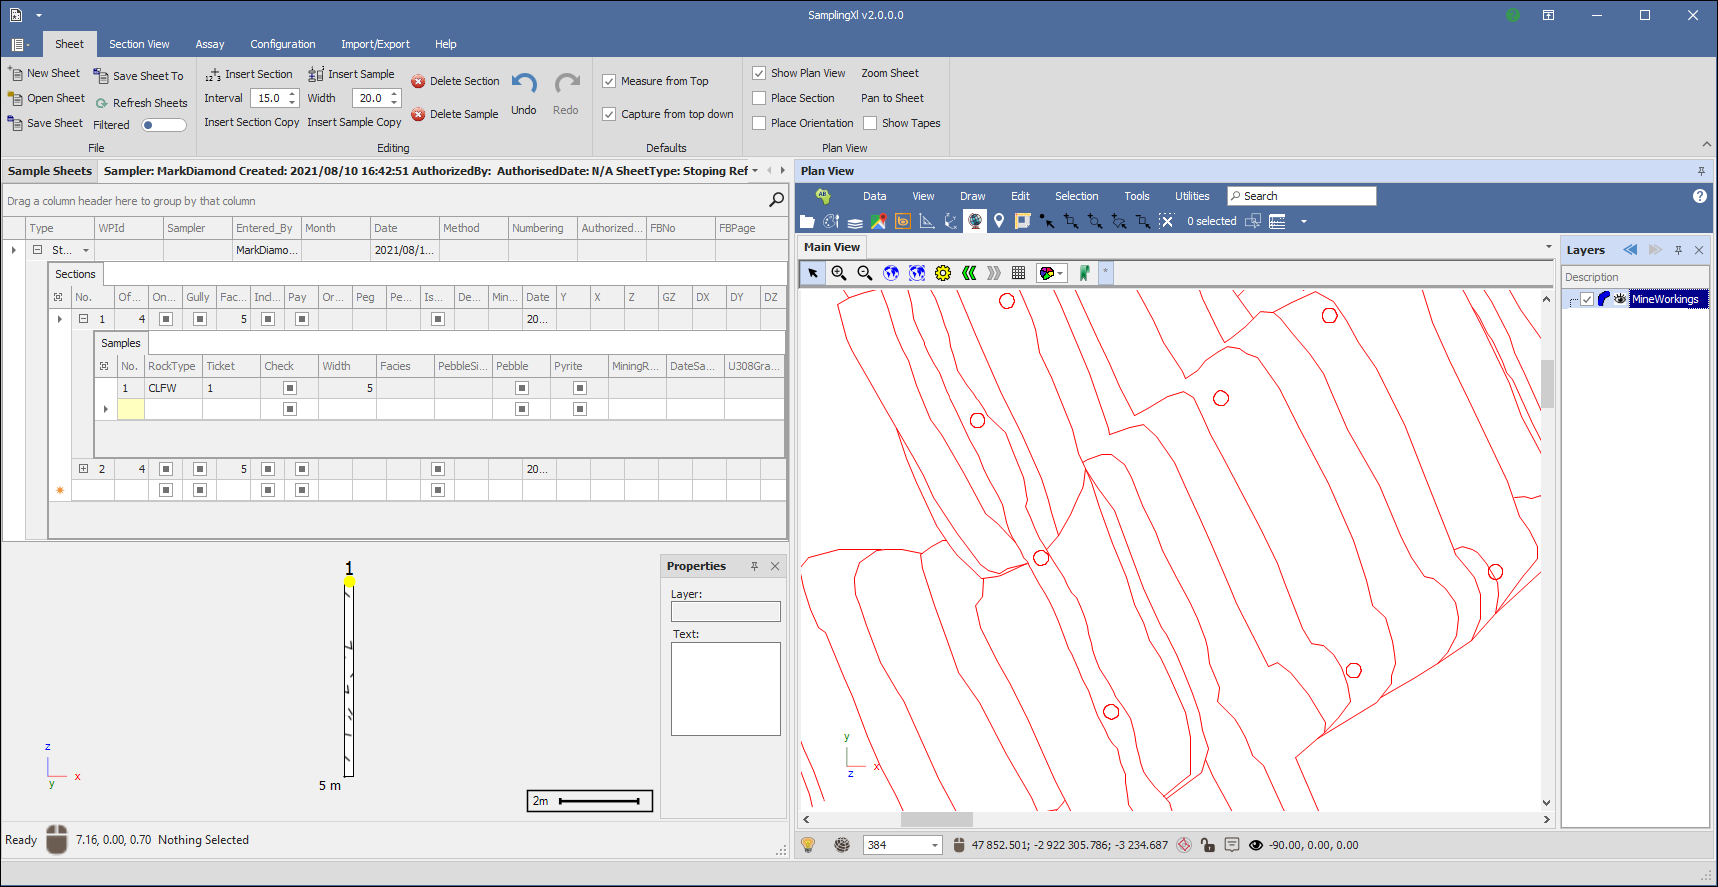
You can just drag a Microstation design file, Autocad DWG/DXF file onto the plan view to load it. Then using the navigation tools you can navigate to where you are sampling:
First make sure you are on the section you want to place in your sheet, now you can click the Place Section button and click on the plan view where you want to place it:
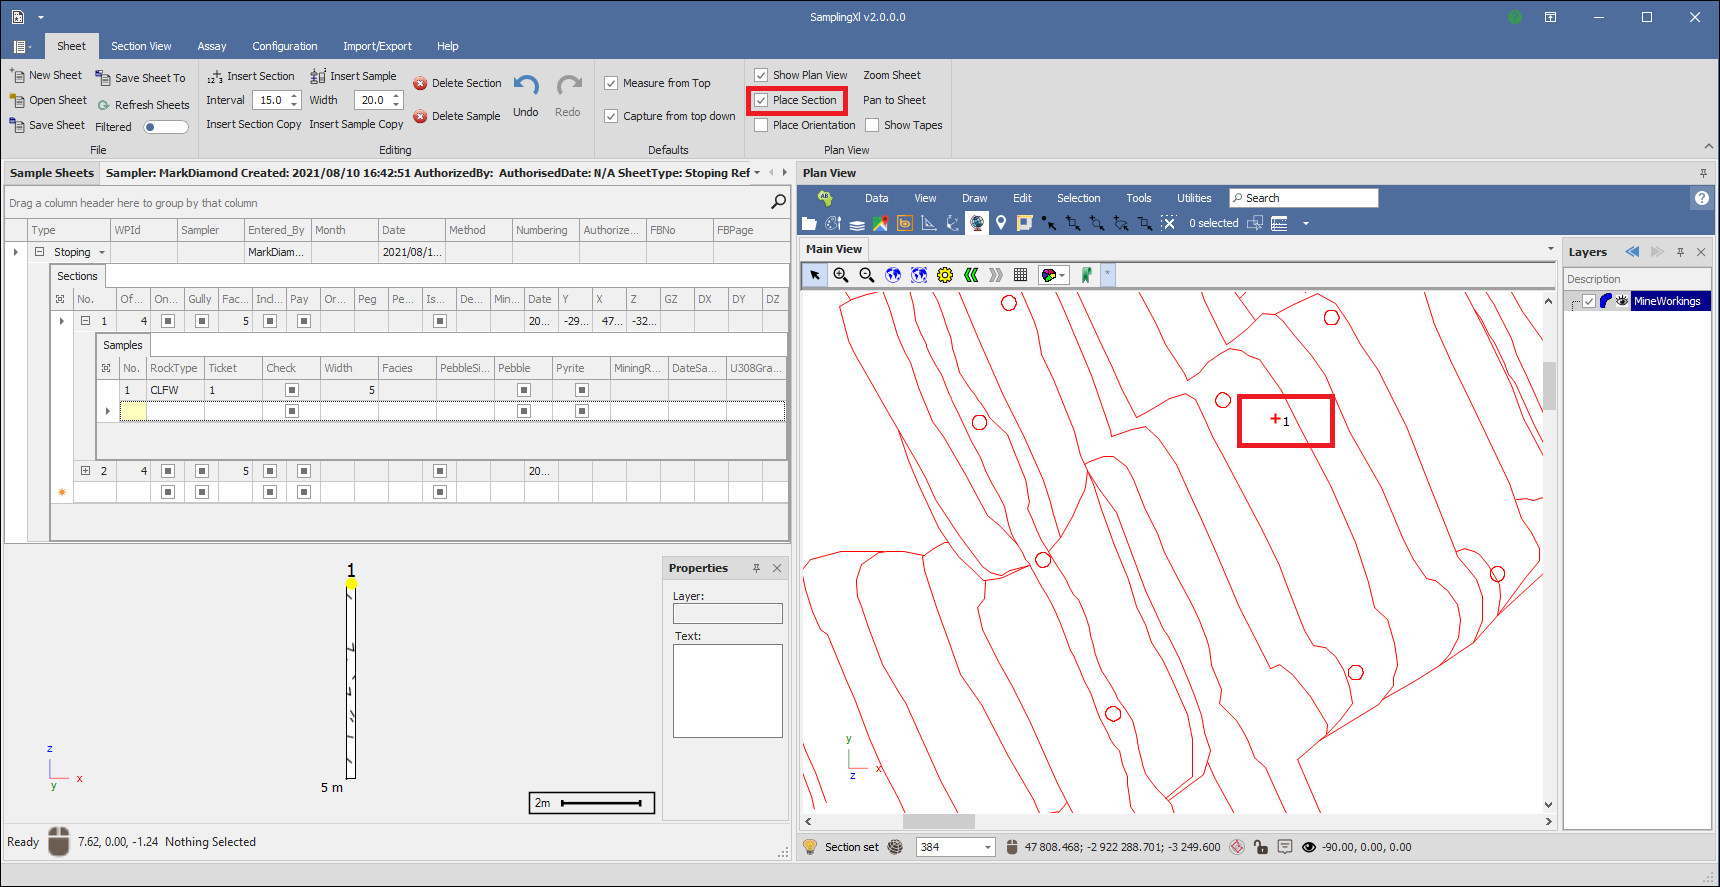
You can then select another section and place it too.
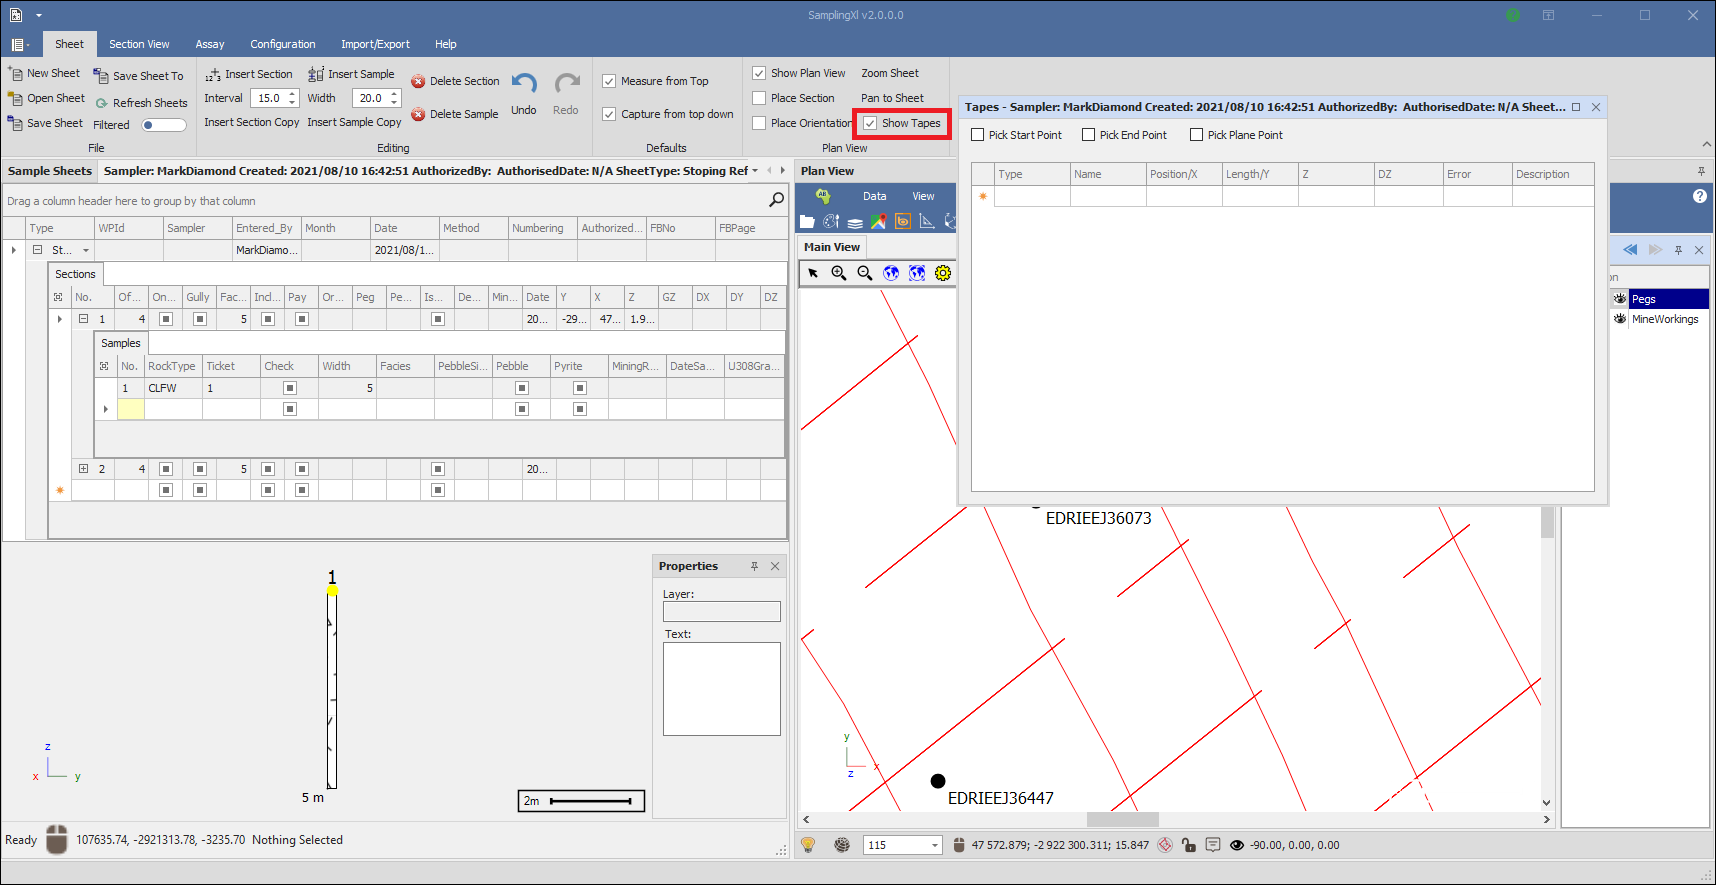
Another and more precise way of placing sections is by placing Tapes. Click Show Tapes, this will bring up the Tapes dialogue, this window can be docked for convenience by dragging it positioning it:
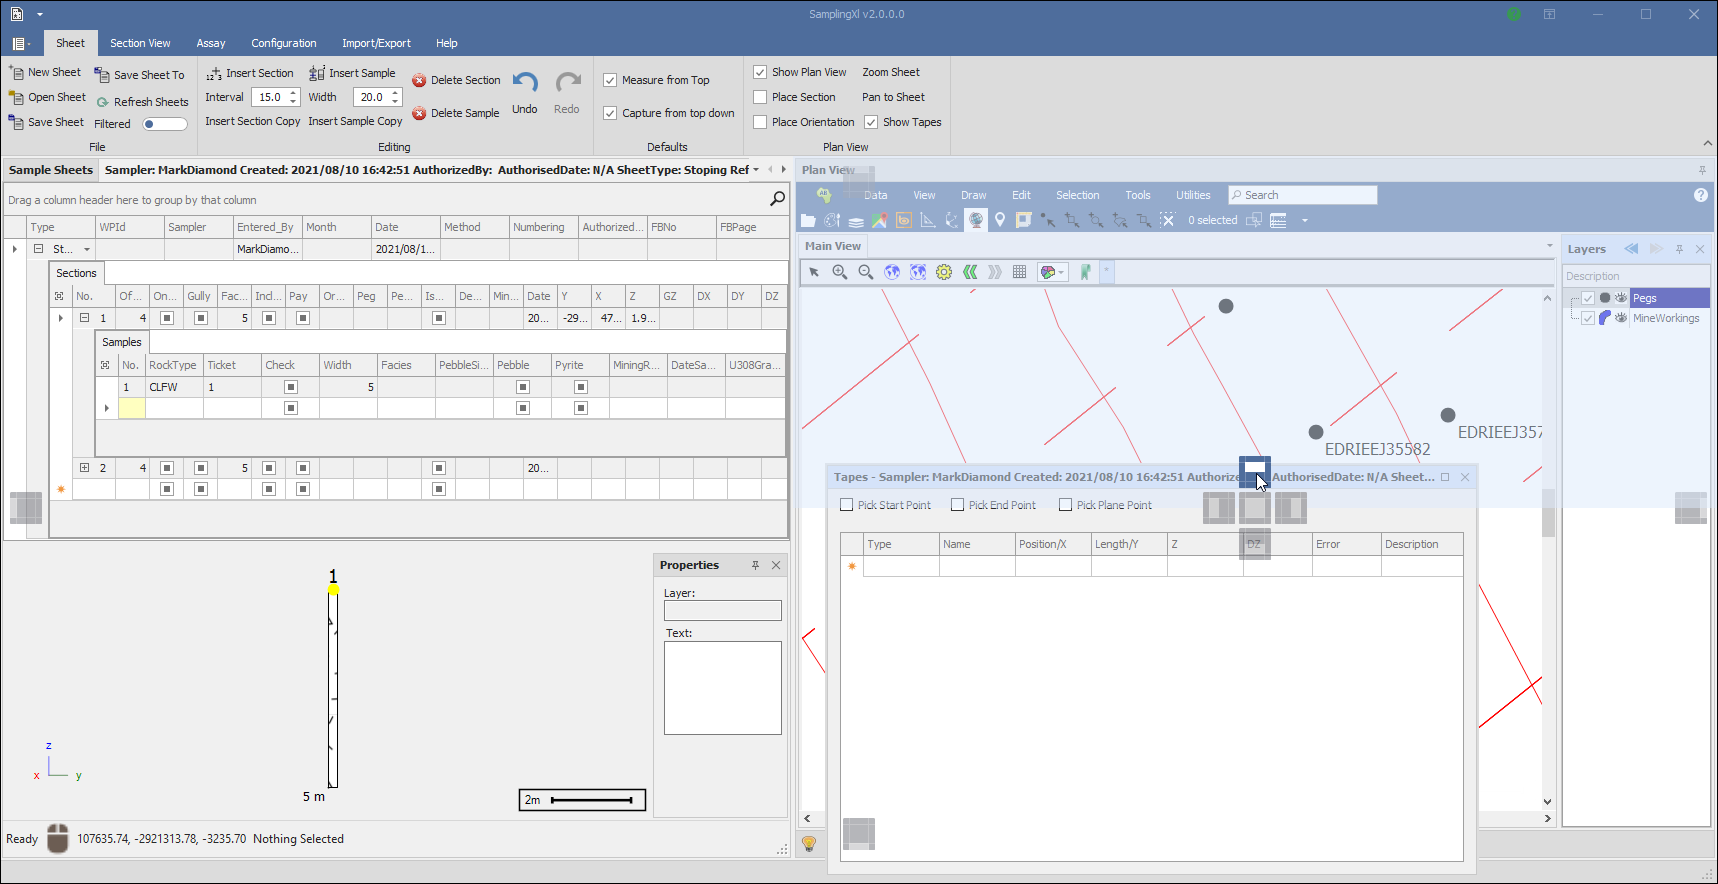
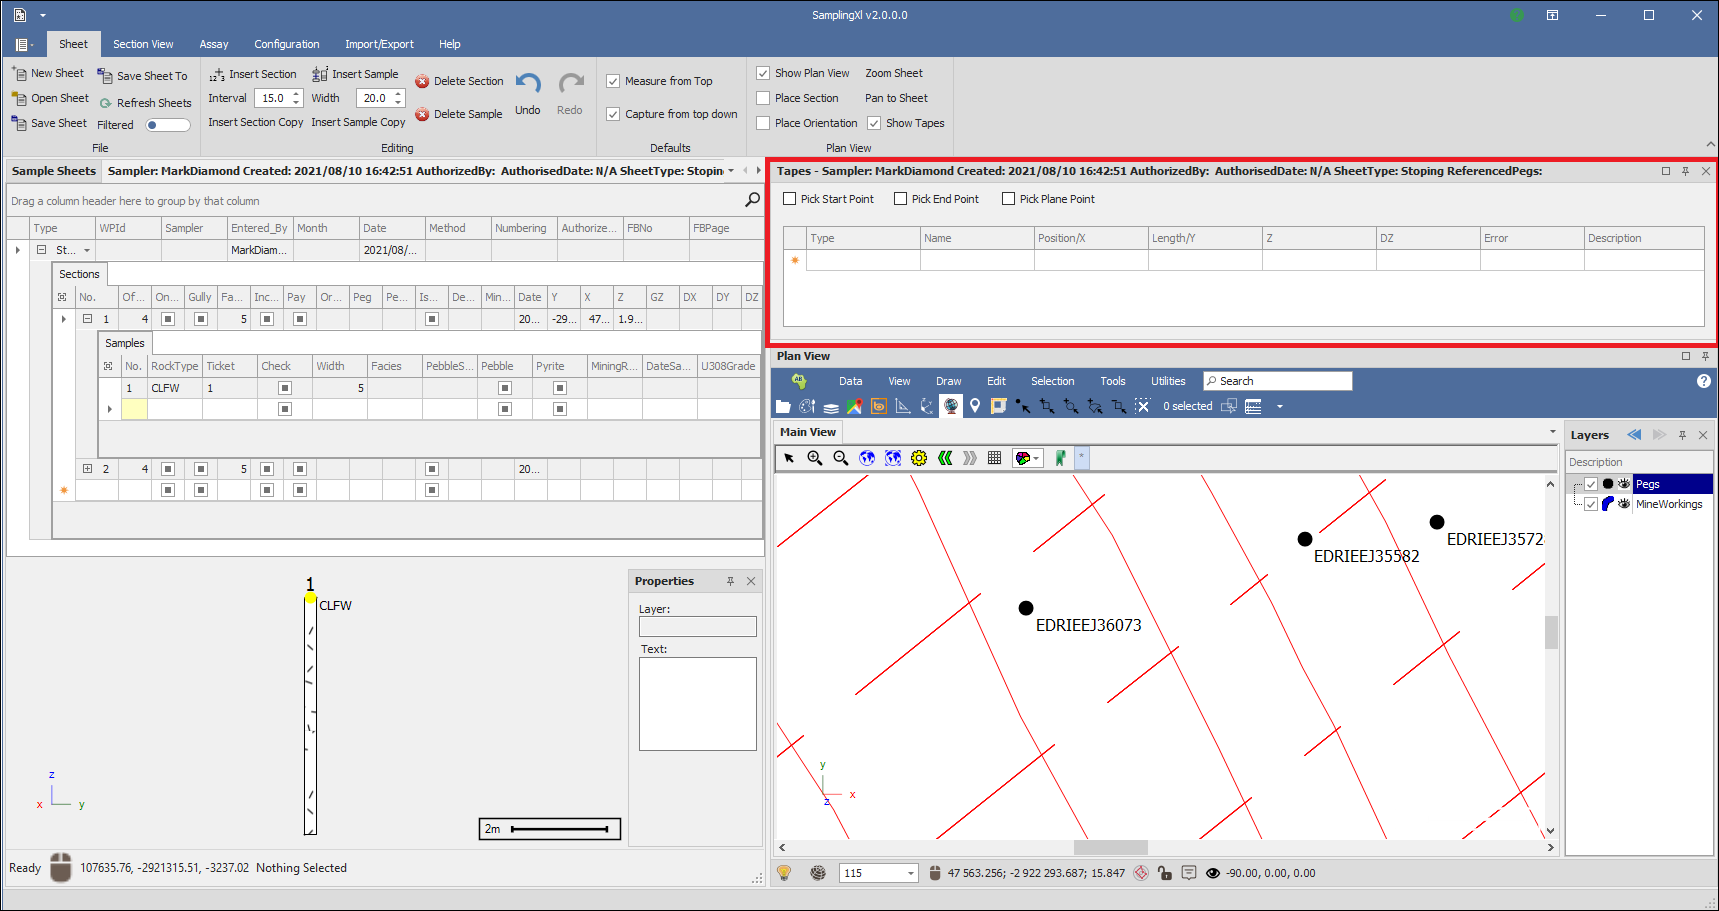
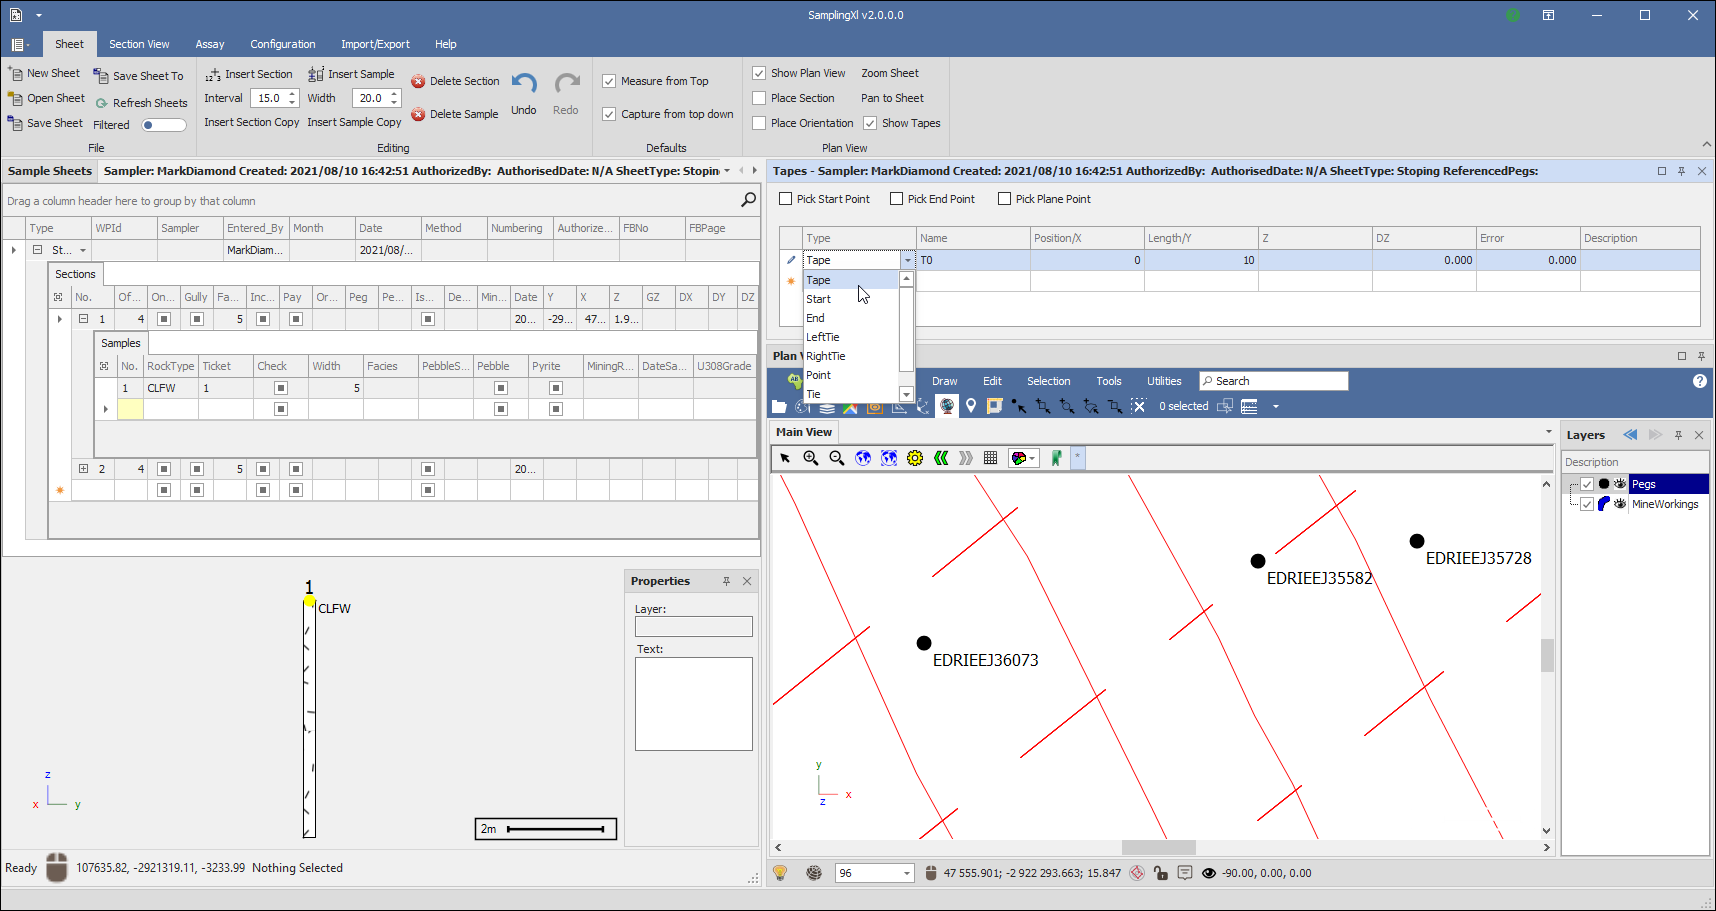
Now, in the first row click on Type and choose Tape, you can then choose the length of the tape as well, here I made it 10 meters:
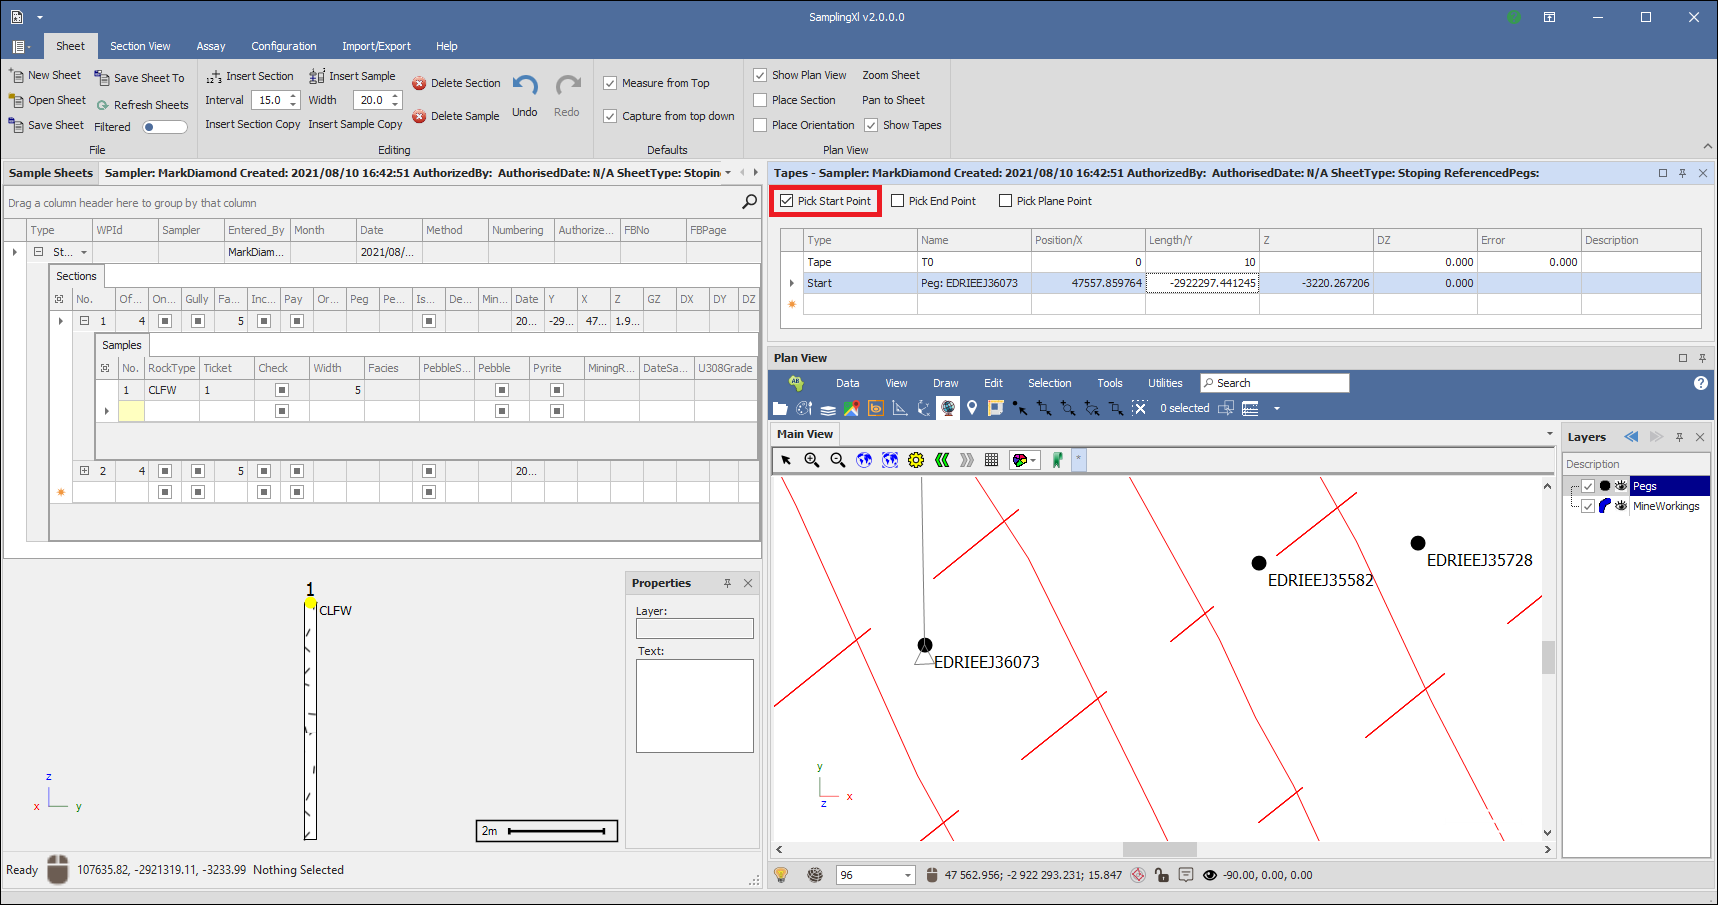
Now tick on Pick Start Point and click in the Plan View at the start point, the Start is then populated in the row below (as you can see it picked up the peg I clicked on as a start point) and you can see the Tape in the scene as well :
(Note: to precisely snap to objects in your Plan View scene when clicking you can use one of the snap tools found at the bottom of the pane: 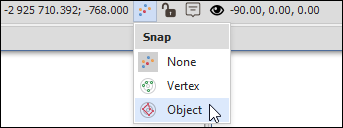 )
)
Now tick on Pick End Point and click in your scene at your end point:
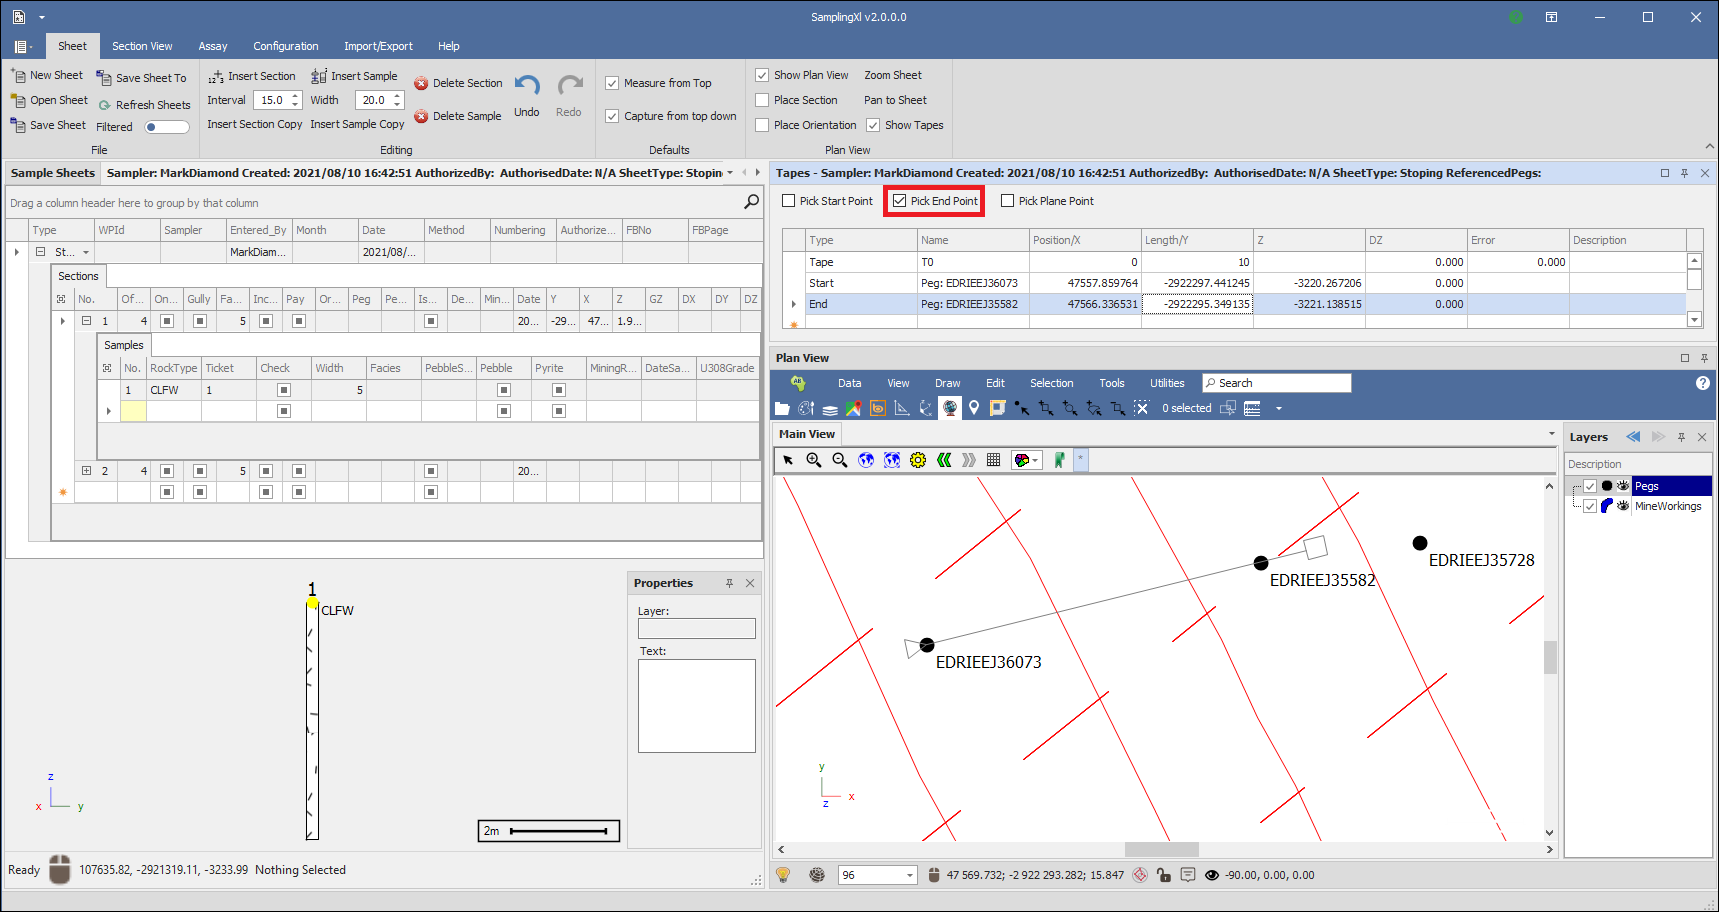
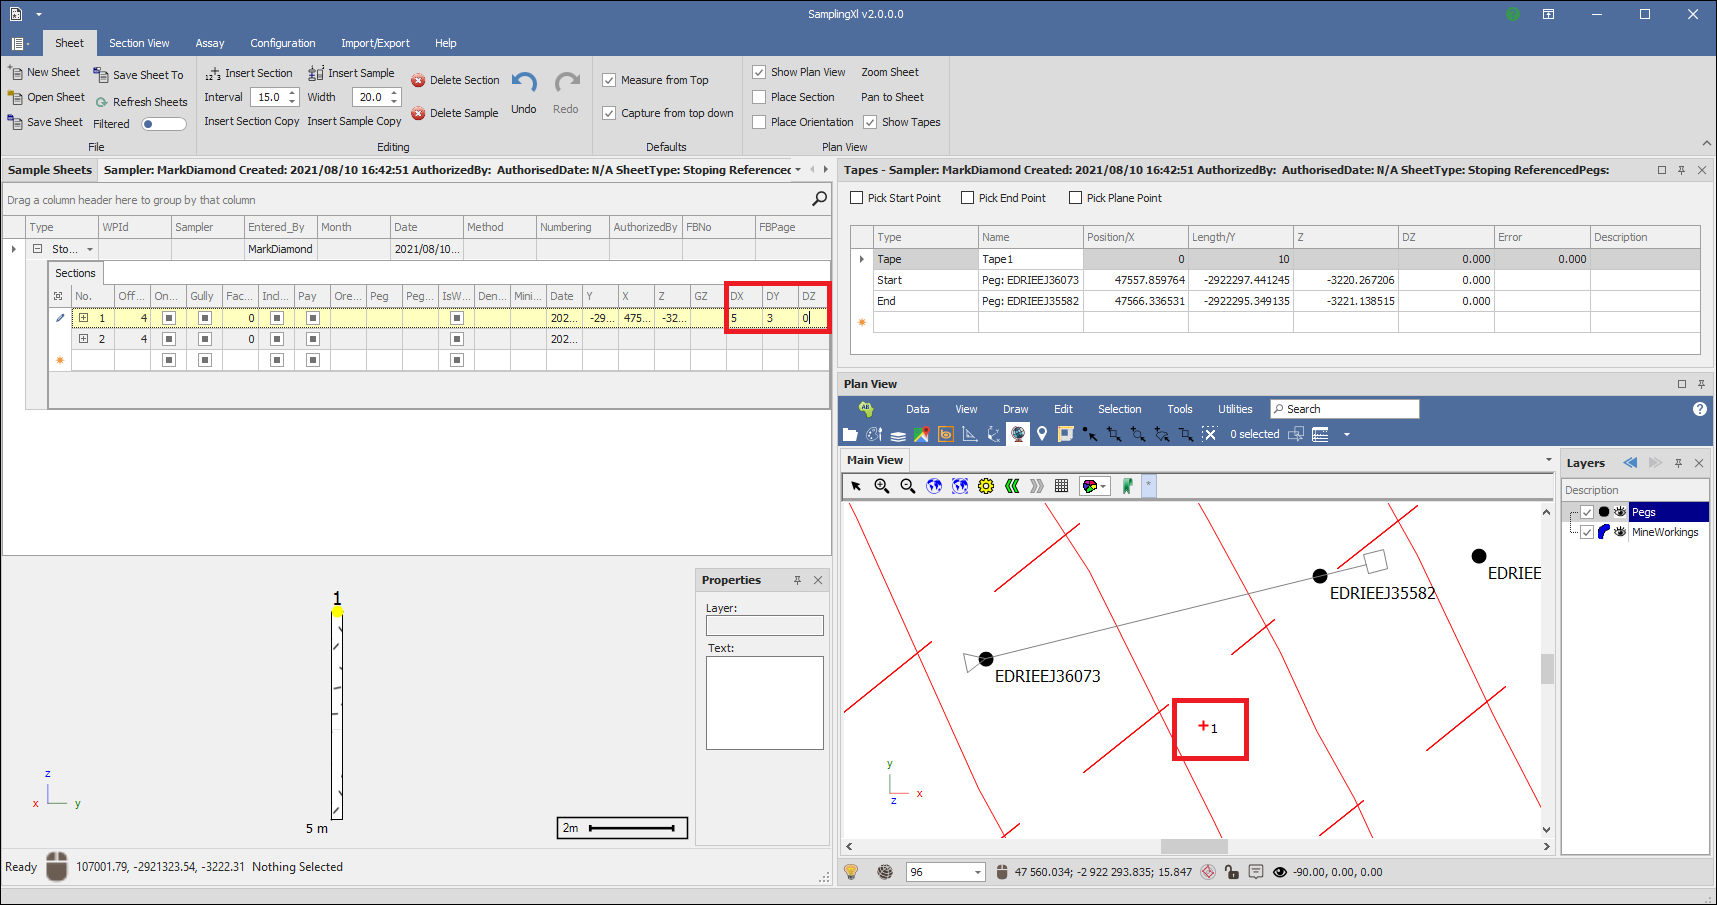
Now that I have placed my tape I can coordinate my sections according to this tape, I can type in my X and Y offsets on my sheet and the sections will be placed accordingly:
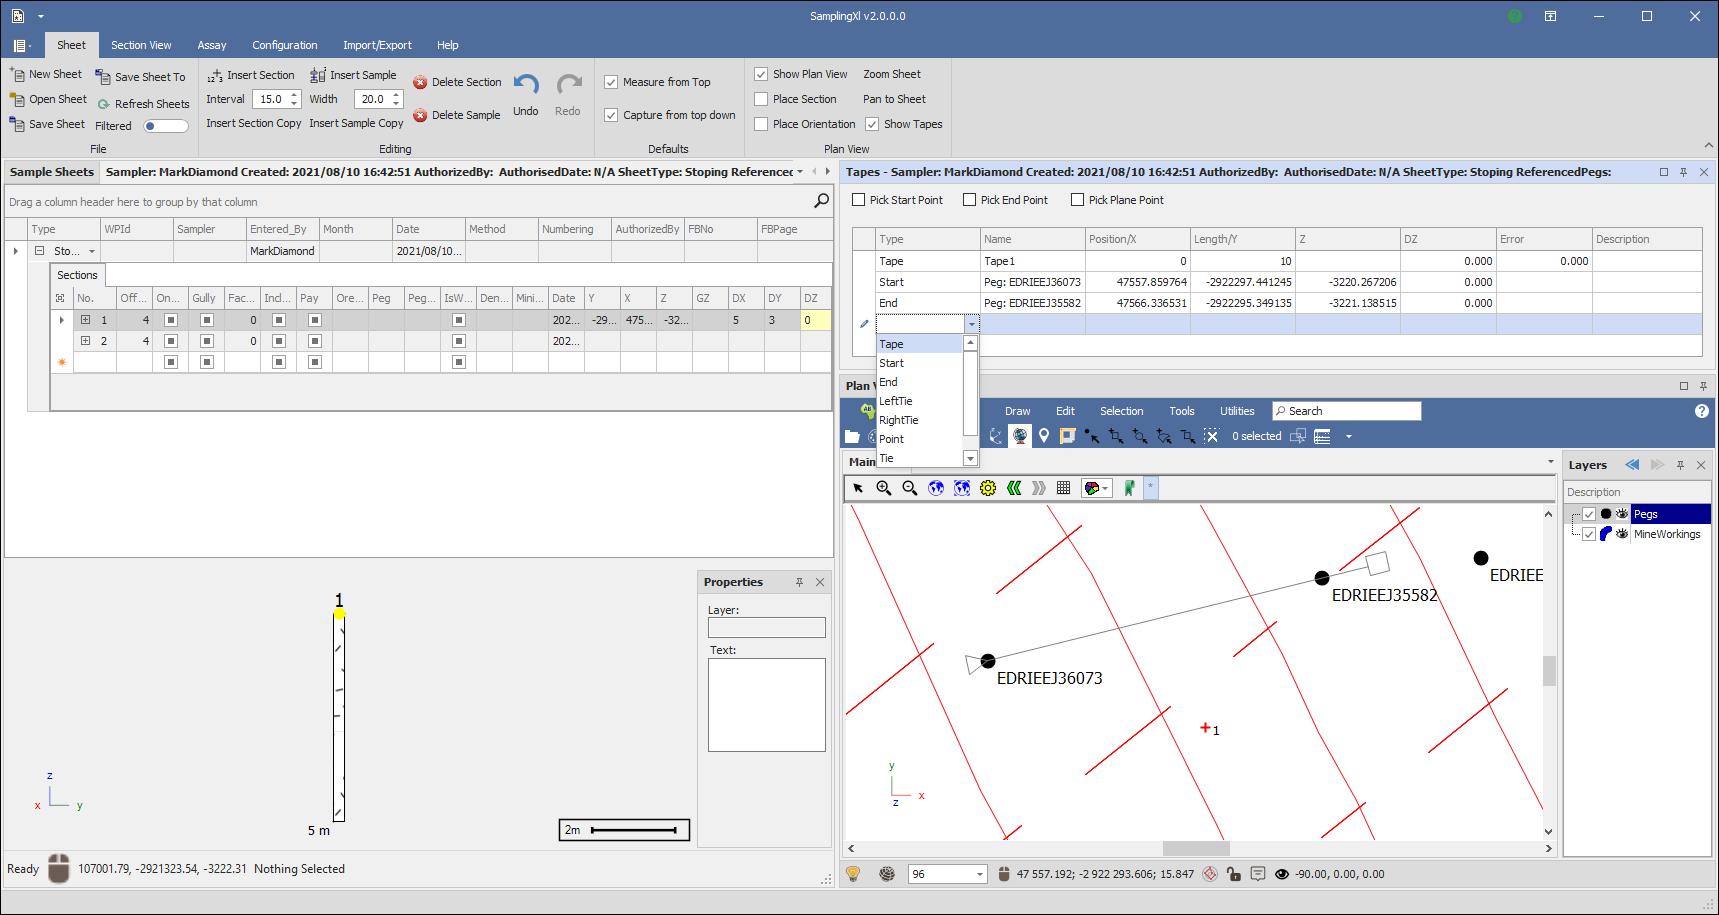
Further tapes can be placed based on previous tapes and the final tape will be taken as the main tape. Ties can also be place as well as Points etc.:
Your tapes are saved with the sample sheet so you can always see how your sections were coordinated.