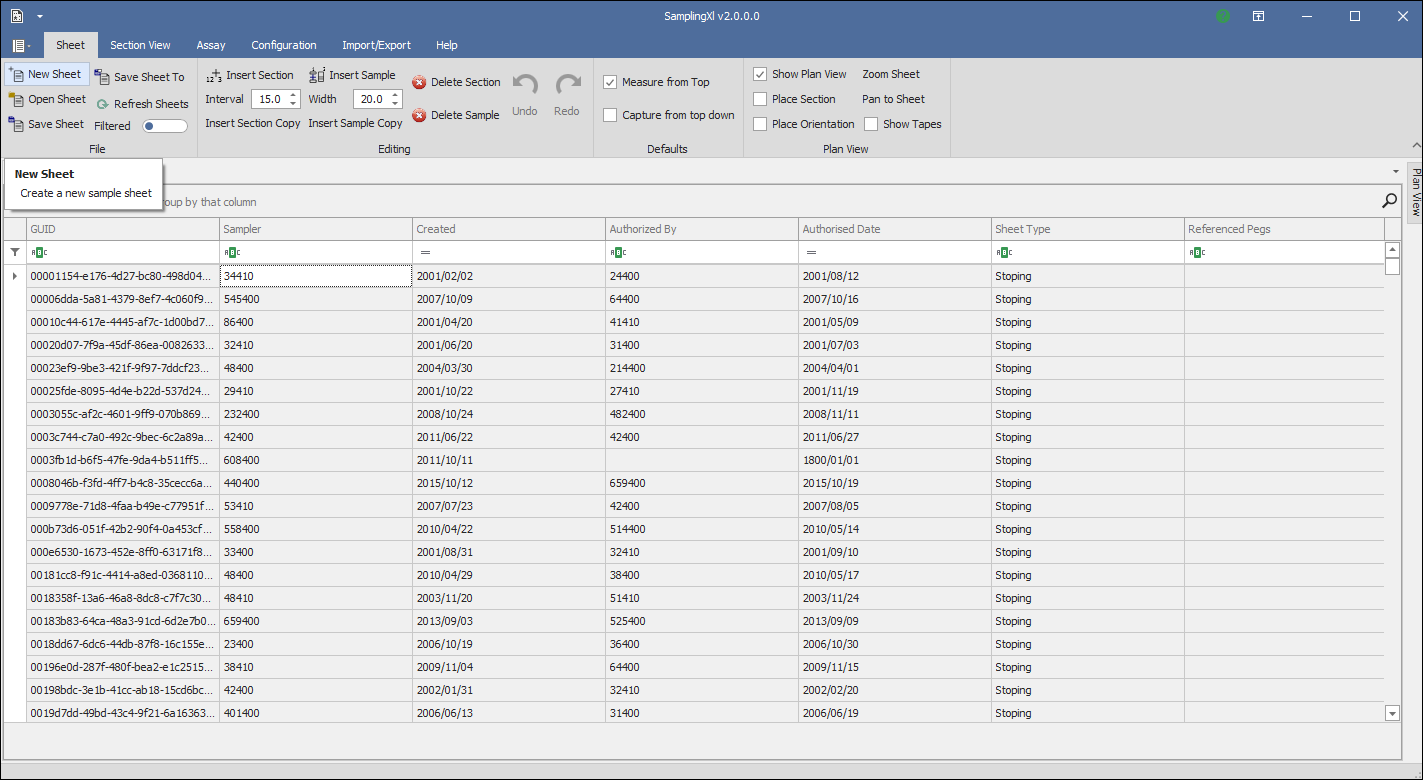
To capture a new sheet click the New Sheet button on the Sheet Ribbon:
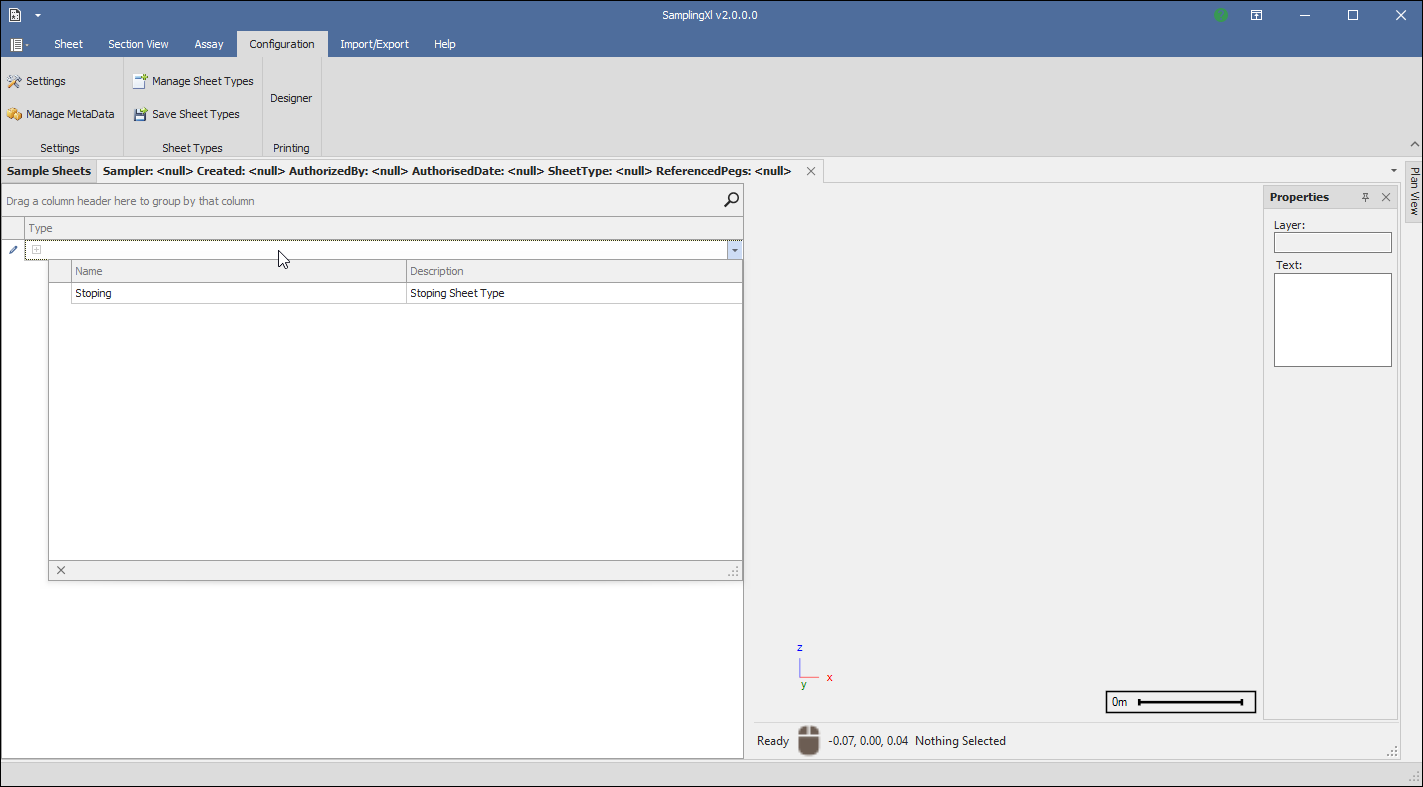
Then click in the blank area for type, to display the list of available sheet types:
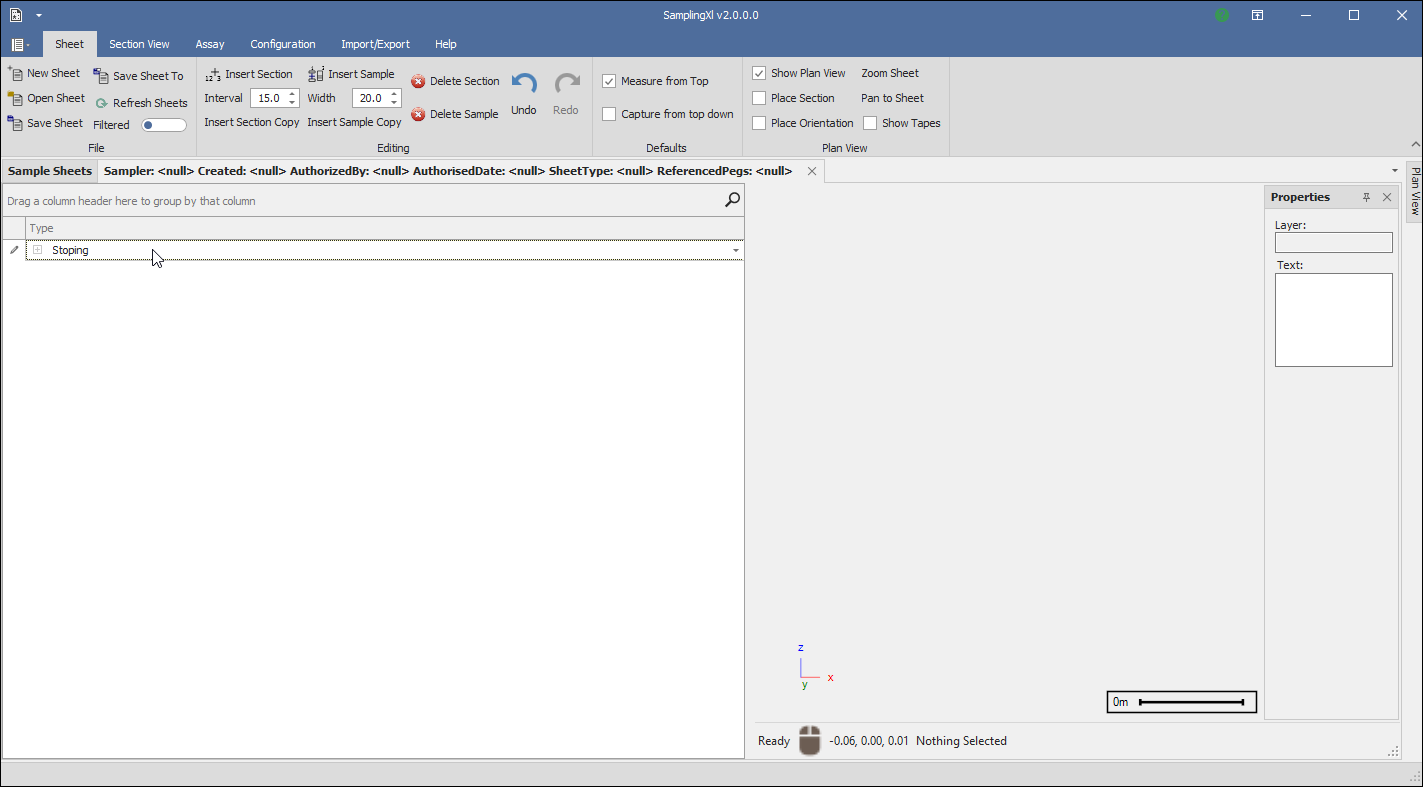
Choose the Sheet type. The sheet type will be displayed in the sheet type area:
Click on the + sign to expand and show the Sheet fields.
You can now enter the sheet fields:
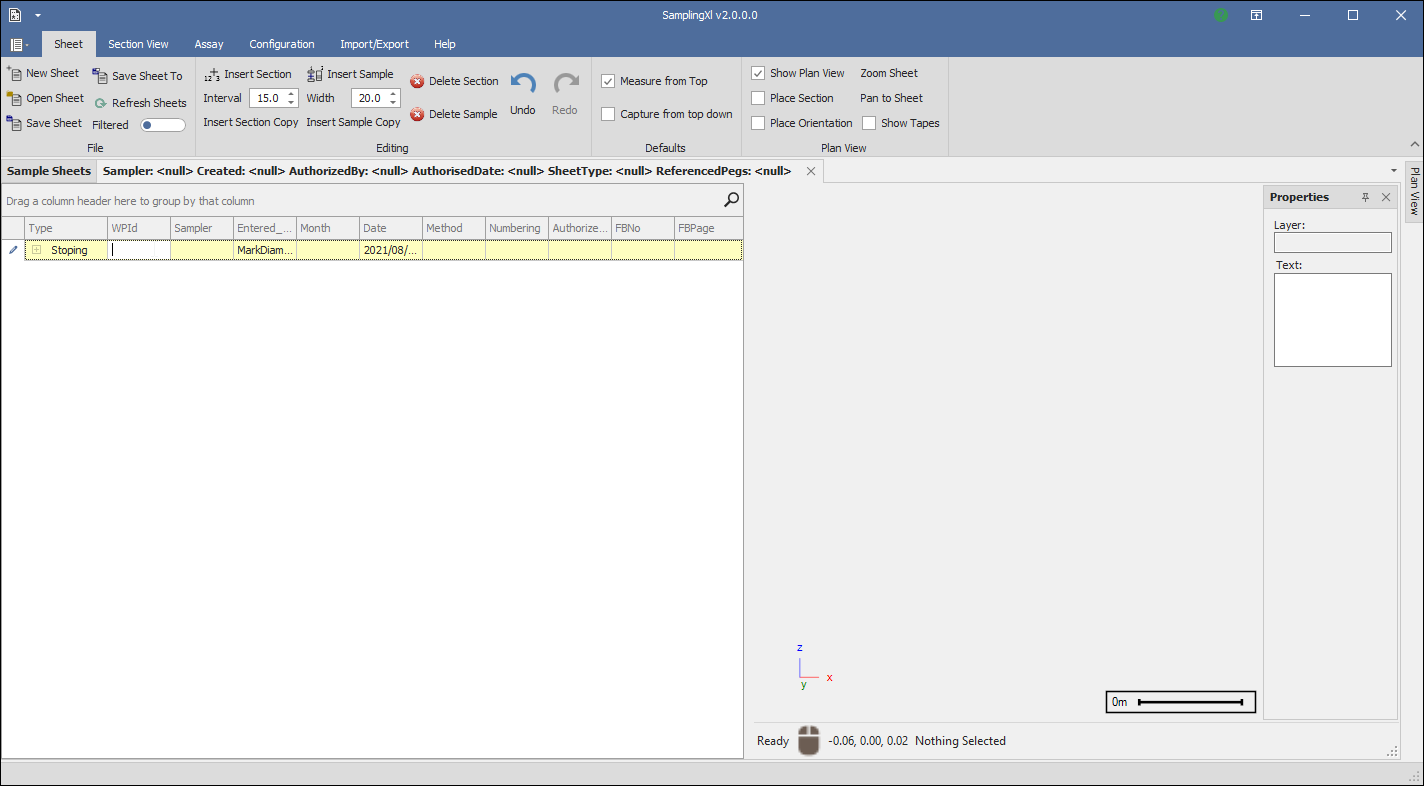
Click on the plus to open further where you can enter the Sections:
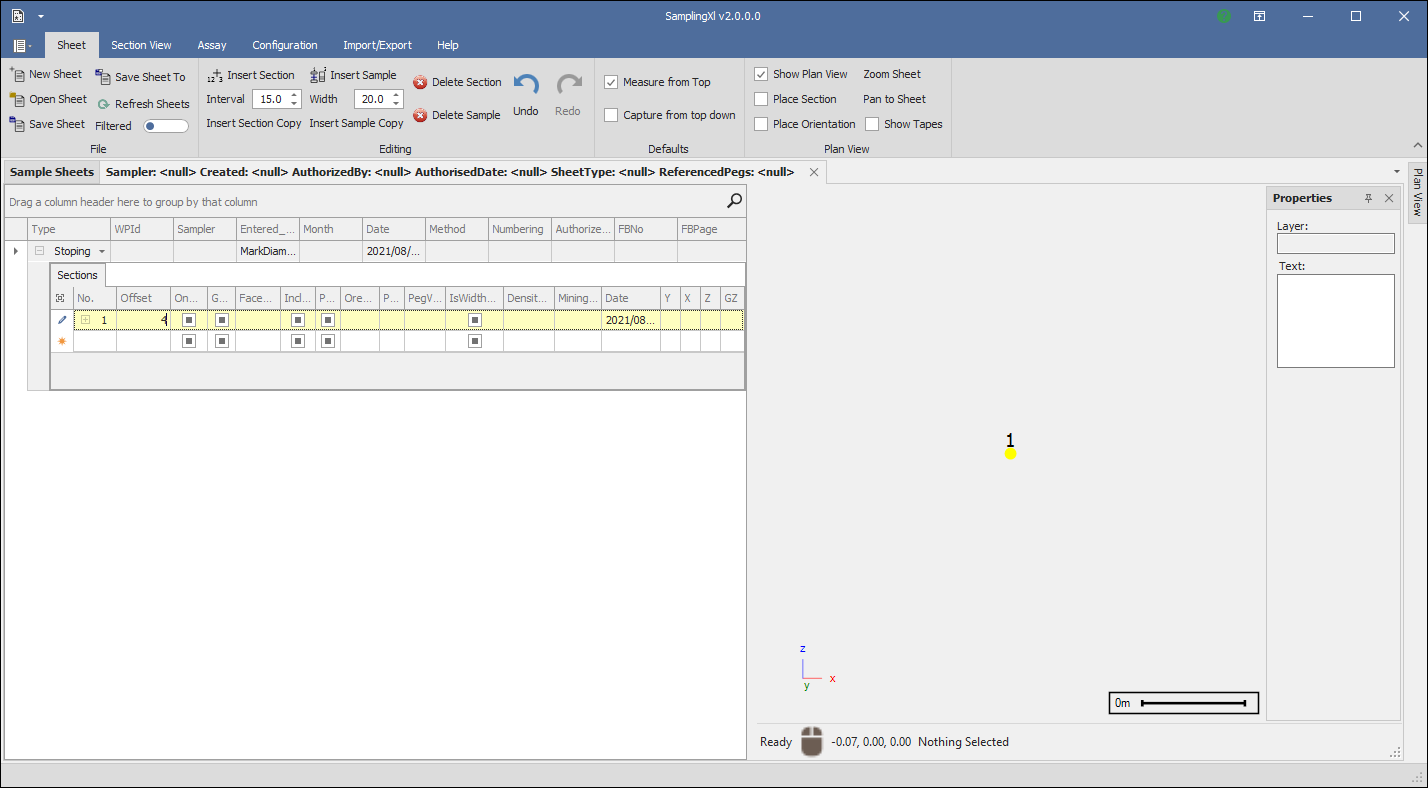
Type down arrow or tab through the fields and enter values as needed to go to the next section:
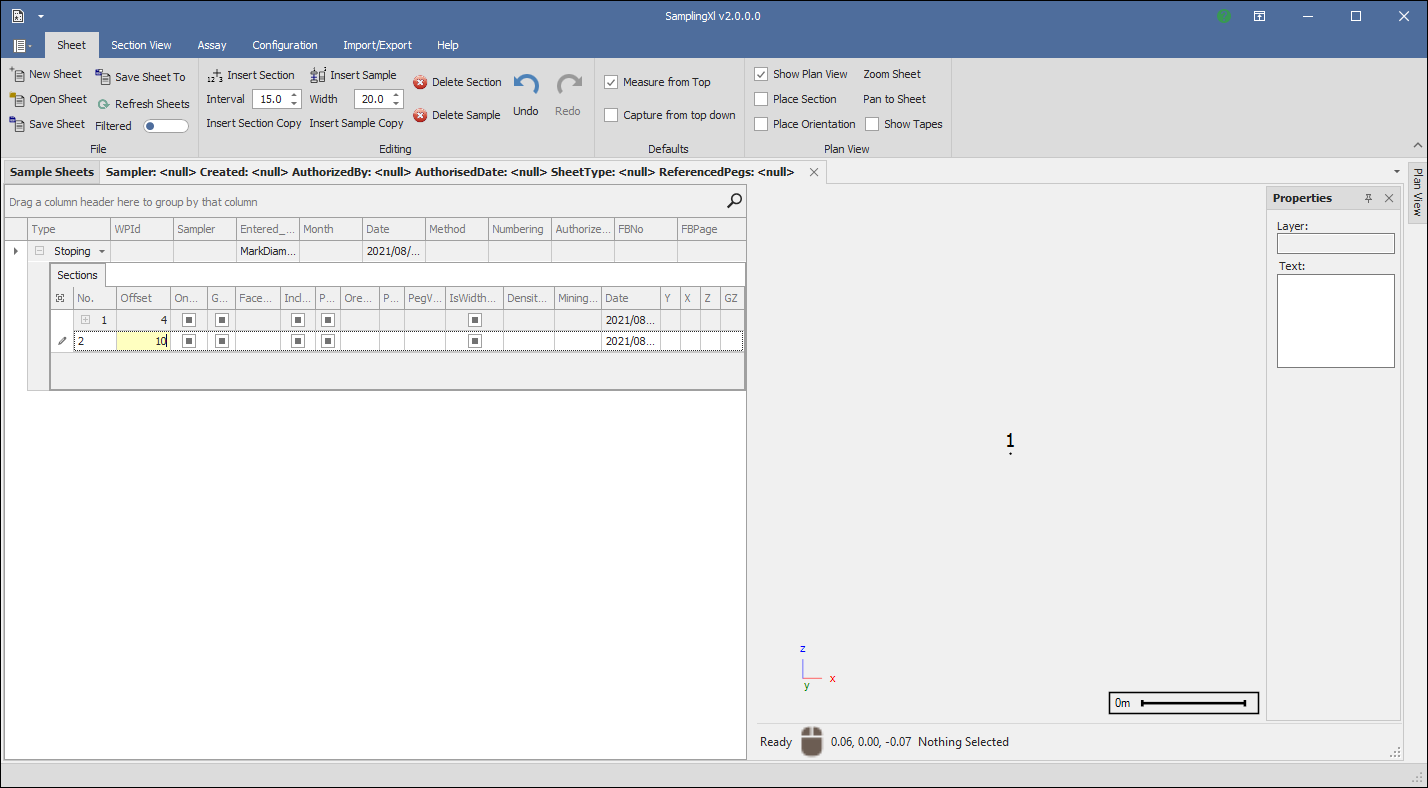
You can add samples by clicking the + sign at the start of the section:
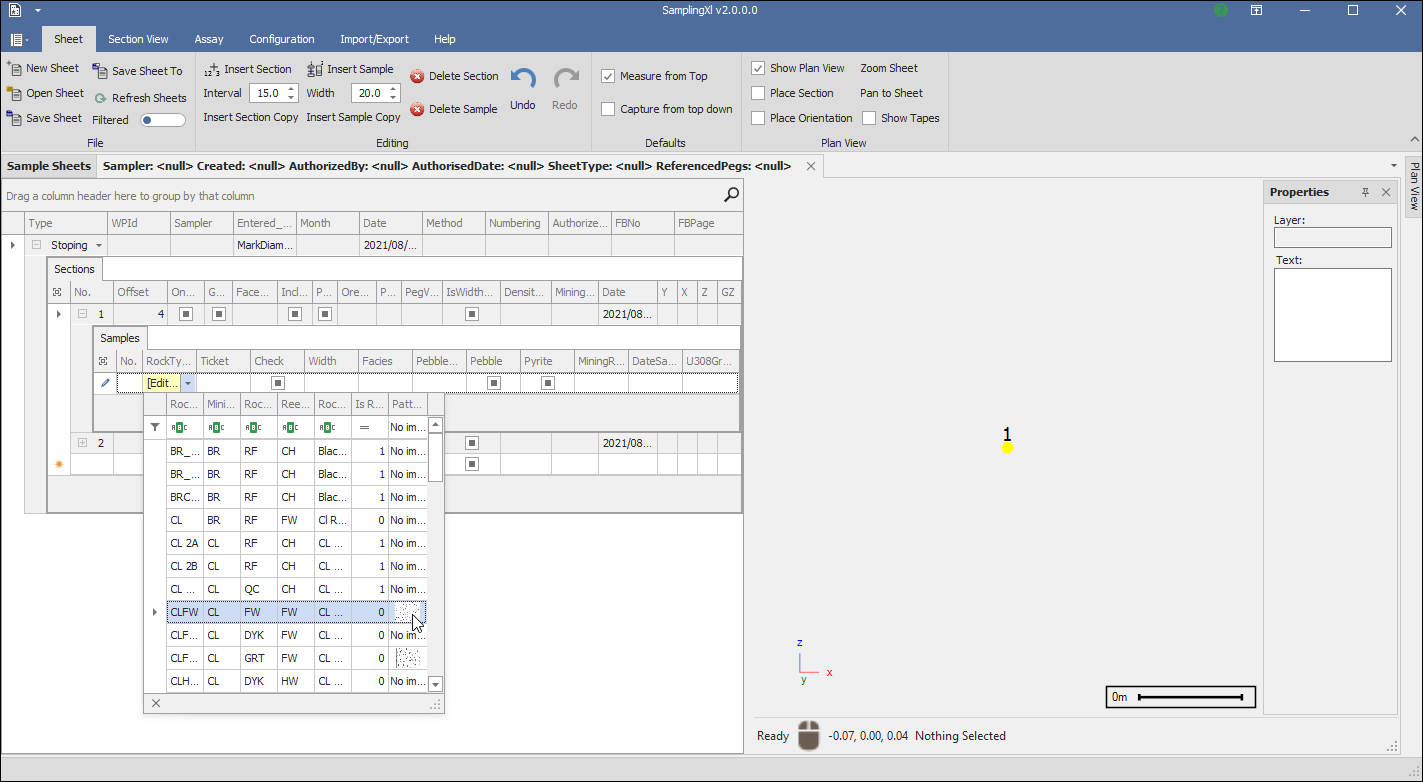
Note as you add samples that they are drawn on the section view on the right:
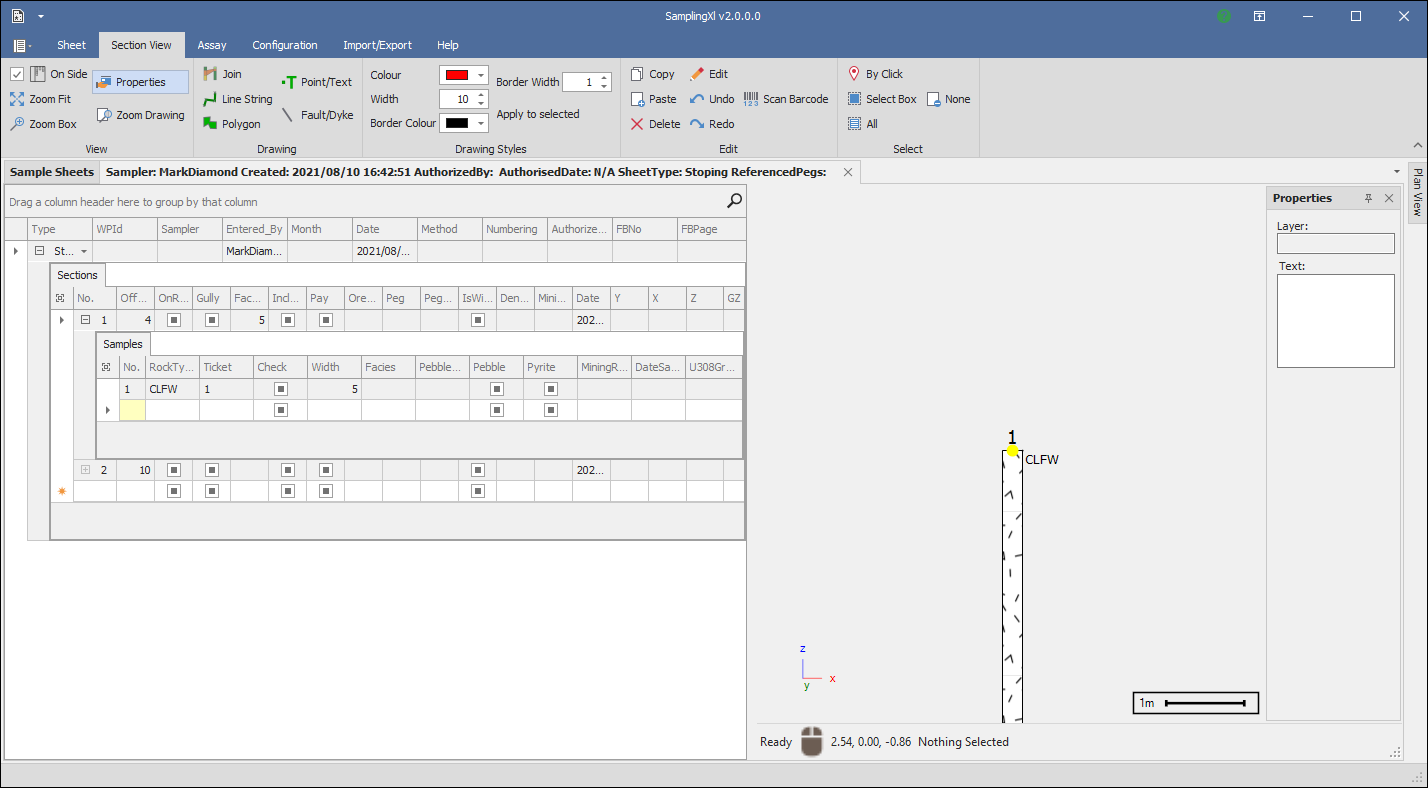
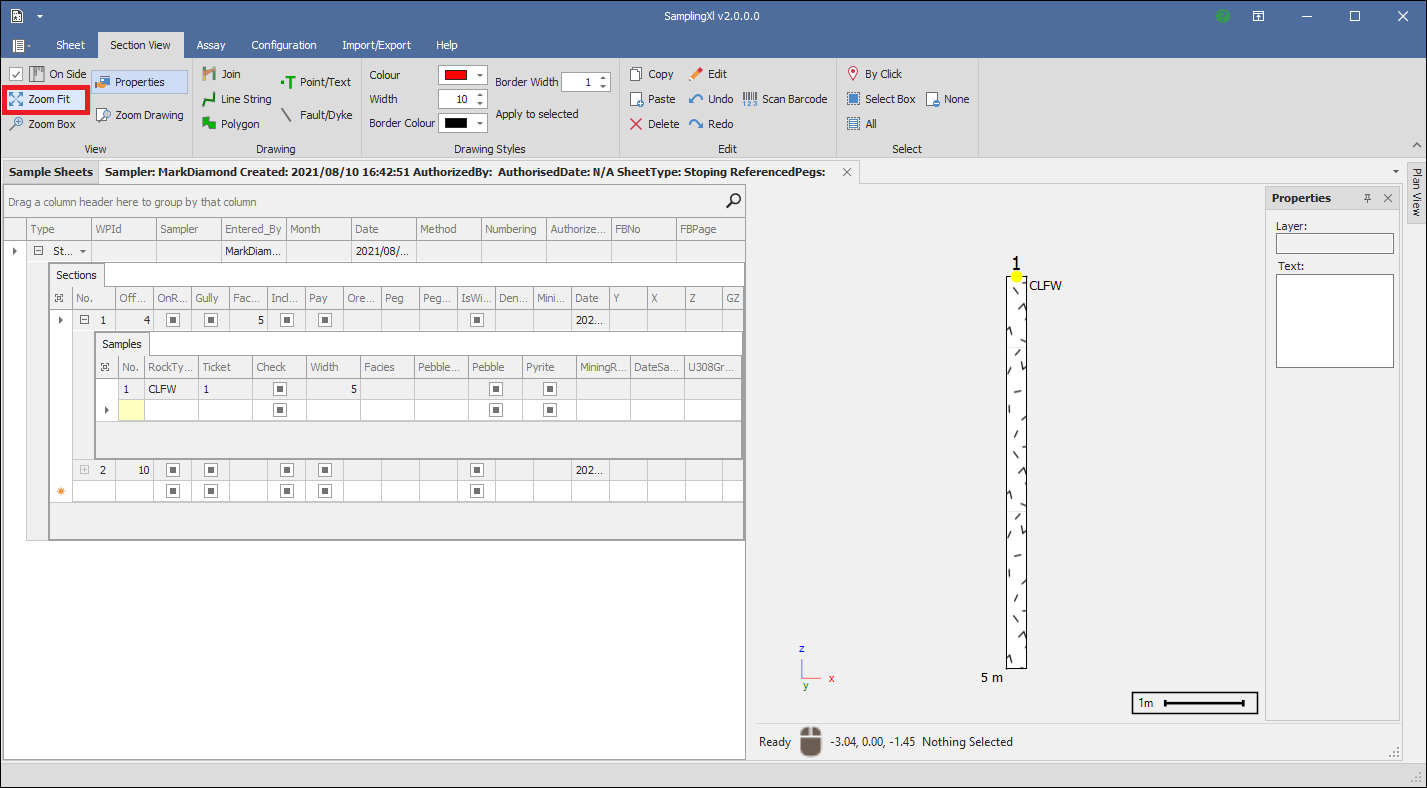
You can get the section view to fit optimally to your sections by clicking the Zoom Fit button:
In the Defaults section of the Sheet tab you can choose to have the sections measured from the top , meaning the base coordinates are taken as the top of the section, and you can choose whether the samples in the section are captured from top down or down up:
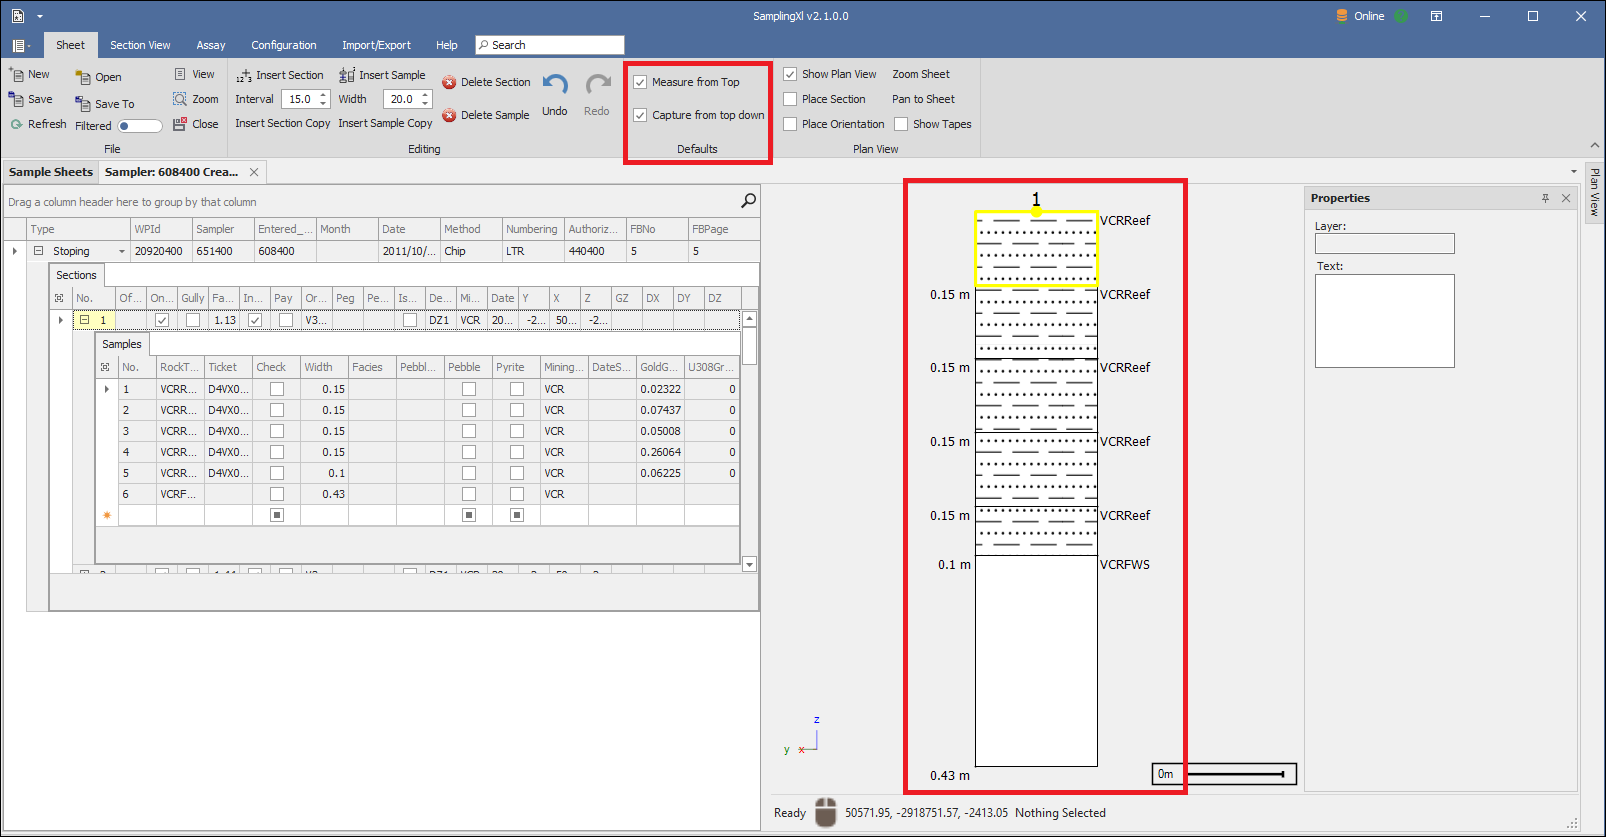
When I tick off Measure from Top you will see the direction of the section will change as the base coordinates will now be the bottom of the section:
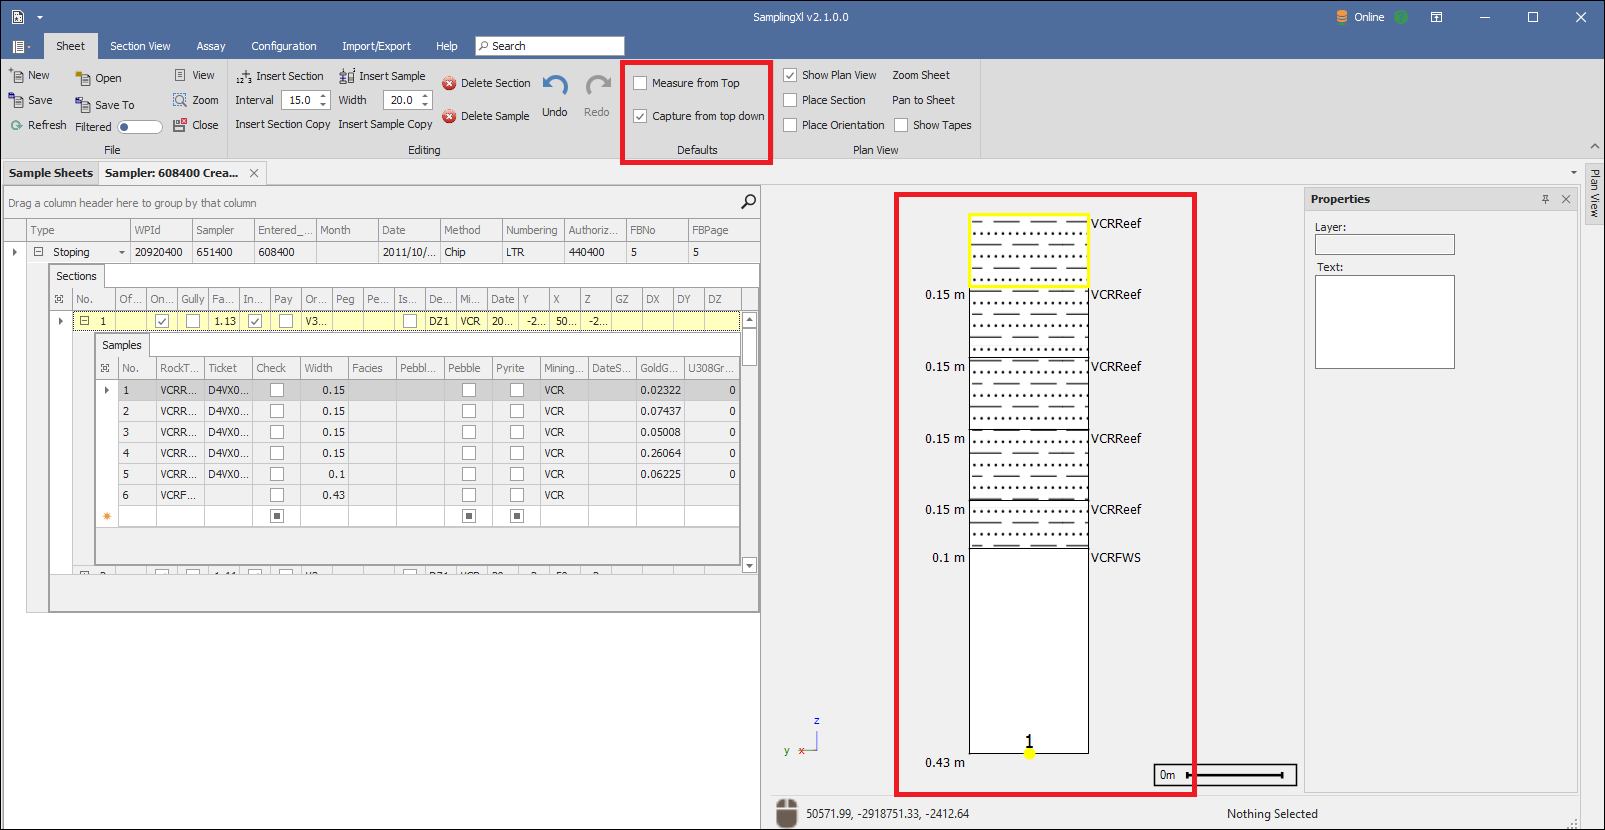
And if I tick off Capture from top down the order of my samples will change, being captured from the top up now:
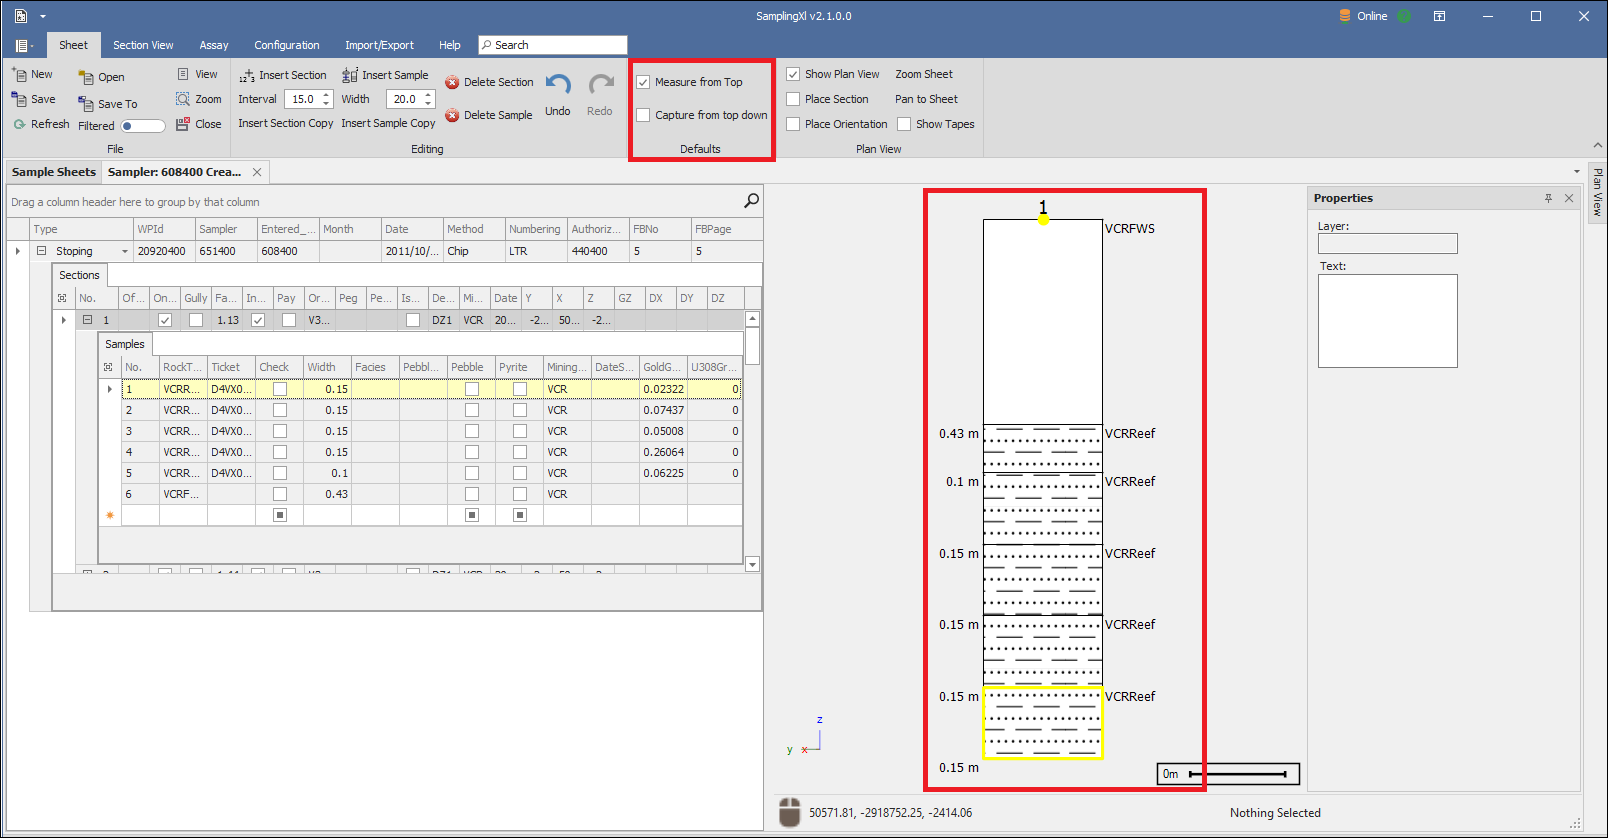
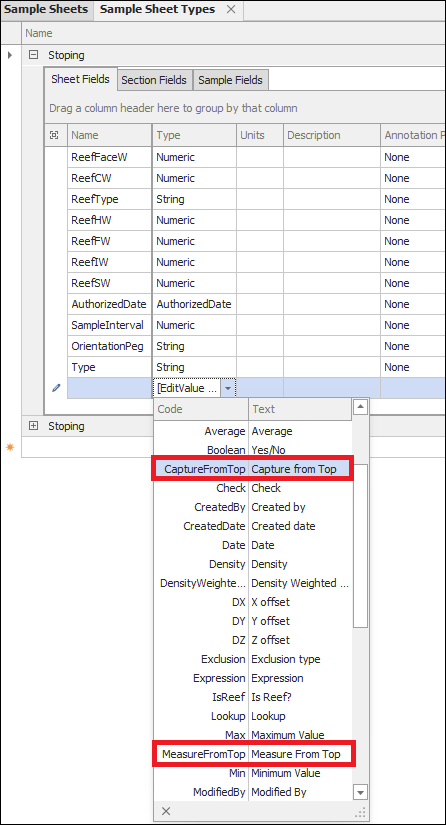
Whether your sections are measured from top or captured from top down can be configured when setting up the sheet types. There is a special field type for it that you can specify at Section level or at Sheet level, it is a Boolean value saying whether it is or isn't measured from top etc.; if it is specified at Sheet level, all sections in that sheet will automatically be captured in that way; if it is specified at Section level then only the sections that you specify will be captured in that way. Note that if you have configured this in your sheet types then the Defaults area in the Sheet tab where you can check these options on or off, will have no effect:
