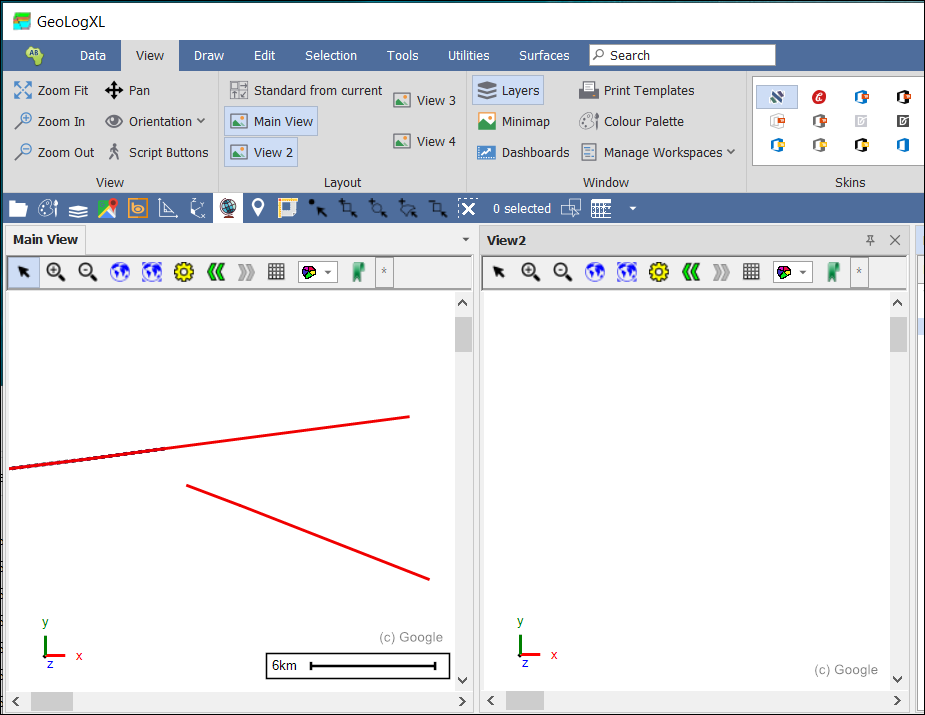
❖ GeoLogXL has 4 views in the View tab of the GeoLogXL ribbon.

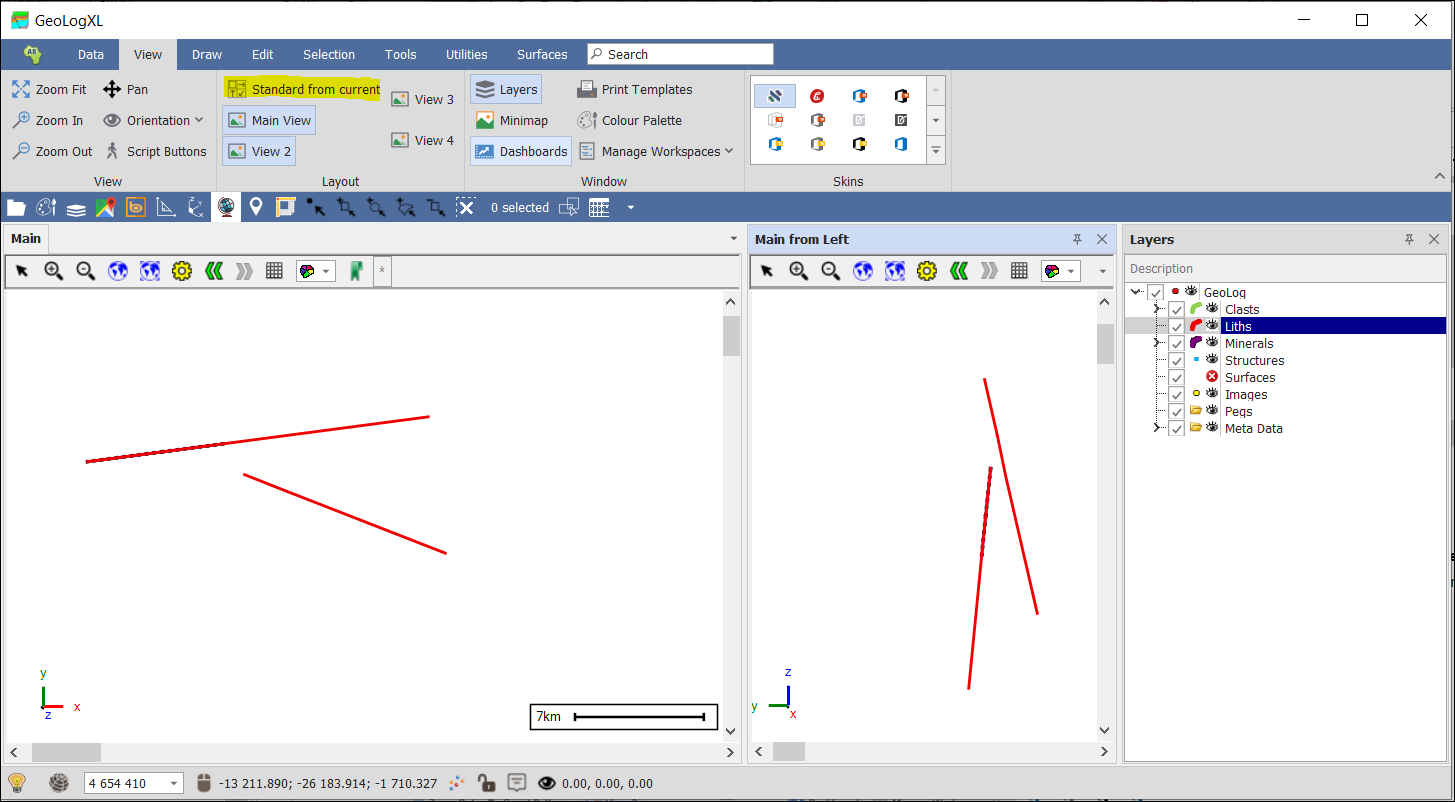
❖ When you click on a particular view in the heading area, this will activate that particular view. (Main View is the default view which is selected.) In the screen-shot below, View 2 is selected.
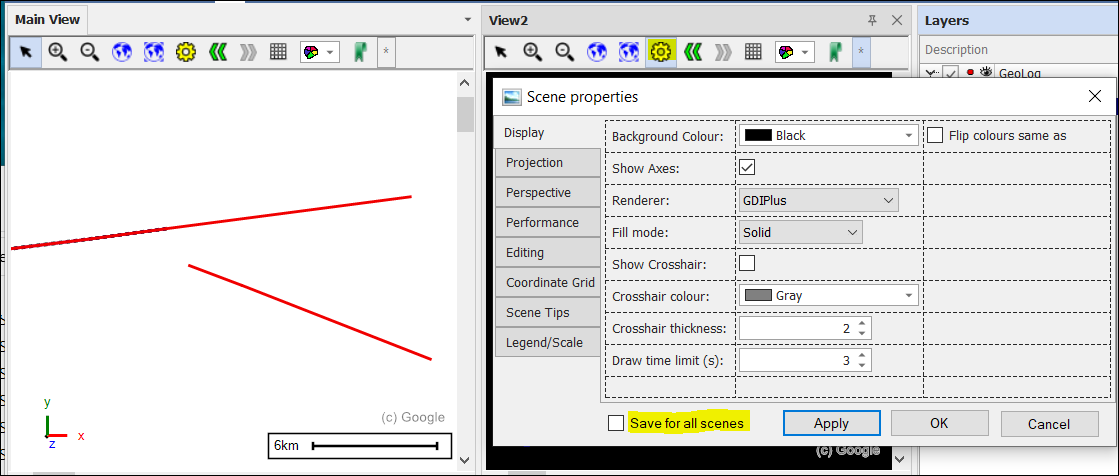
❖ To set the background colour etc for the views, you can do that on the Scene Properties dialog which you access by clicking the Scene Properties button. You can also save the settings you set for all scenes.
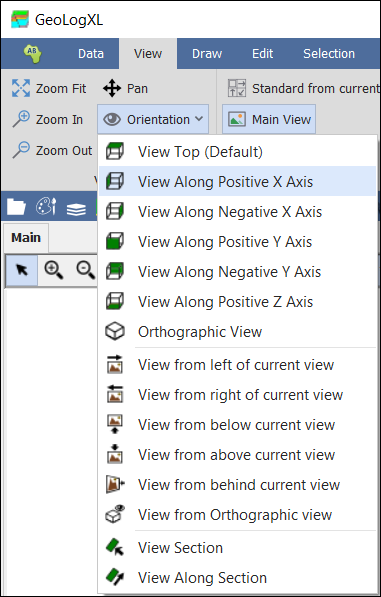
❖ You can set the views by selecting a particular view by clicking in that view's scene and then clicking on the Orientation button in the View ribbon. Then you can choose each view's orientation.
❖ To get standard views from your Main View, first select the views you want (Only View 2 is selected in this example). Then select Standard from current in the View tab. The views present now are Main and Main from Left. If you had all 4 views selected and selected Standard from current, the 2 additional views present would be Main from front and Main Orthographic.

❖ Here at the bottom of the GeoLogXL window you will find the projection used, the scale, the mouse position (x, y, and z values respectively) and the View Orientation which includes Dip, Direction, and Rotation. (Note: If you have more than 1 view, make sure you click in the scene in the view that you would like to set or see the orientation for. Per the screenshot above, View Orientation Main is being looked at.)
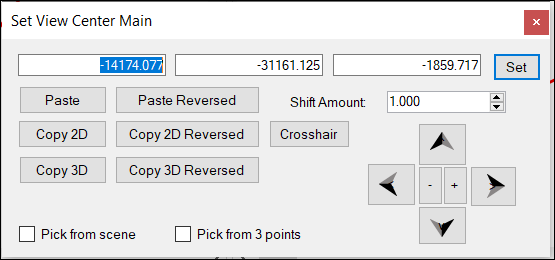
❖ You can also set the view center by setting it from coordinates that you type in or picking from scene or picking from 3 points. If you have more than one view, you need to ensure that you are on the correct view to set the view center for.
❖ You get this from clicking the mouse button ![]() on the navigation toolbar at the bottom of the GeoLogXL window.
on the navigation toolbar at the bottom of the GeoLogXL window.
