
Launch Tool
❖The Launch tool is a tool in the SpatialXL Ribbon which you can use to do geocoding operations for a small amount of items. It can be used to geocode( provide coordinates for an address) and reverse geocode( provide an address for some coordinates):
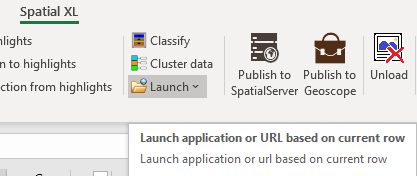
Geocoding is what you would normally use it for but like it says in its screentip it can be used in general to launch an application or URL based on the current row in Excel( the example I will be using in this manual will be for geocoding).
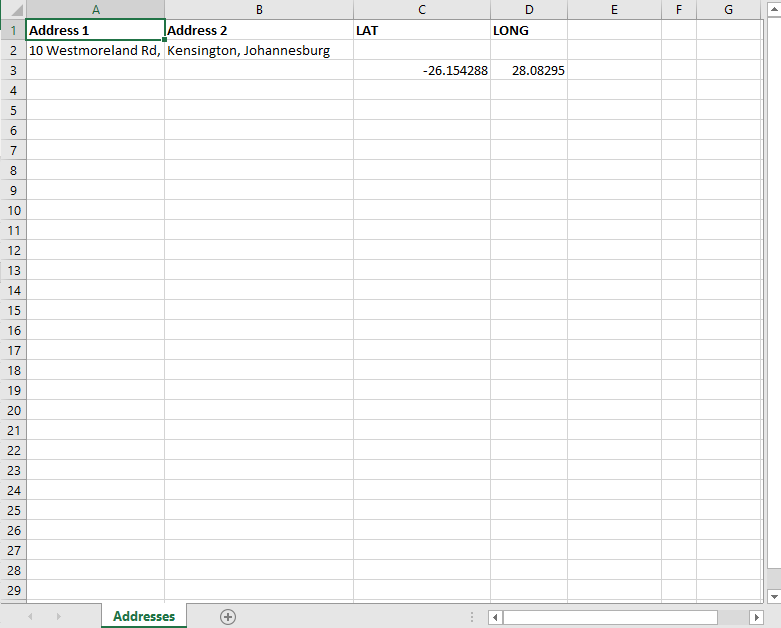
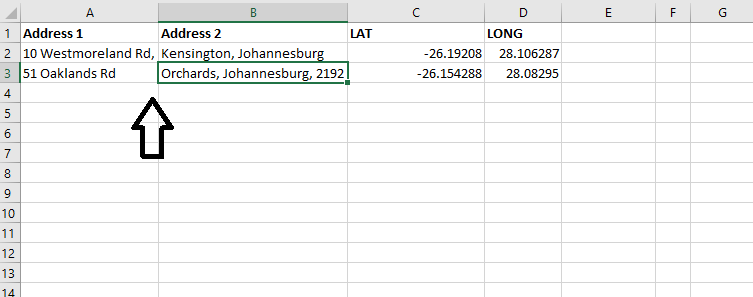
❖First you must have your data set up in your Excel worksheet:
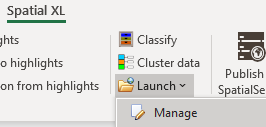
❖Then you select the tool which will bring up the following dropdown menu where you will select Manage:
This brings up the following dialogue:
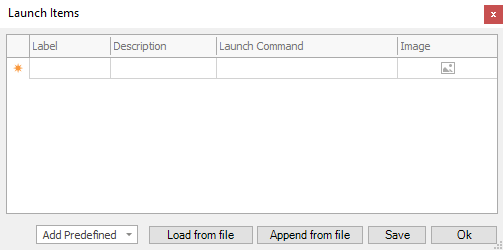
❖For geocoding operations, you can click on Add Predefined where you can choose a predefined launch command:
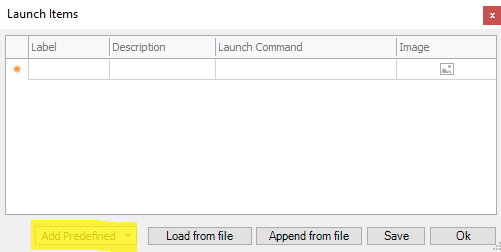
This will bring up the following dropdown menu where you can choose to do an Address Search( which will search the address you have in the Excel worksheet so you can get its coordinates) or Coords( which will search the coordinates you have in the Excel worksheet so you can get the corresponding address):

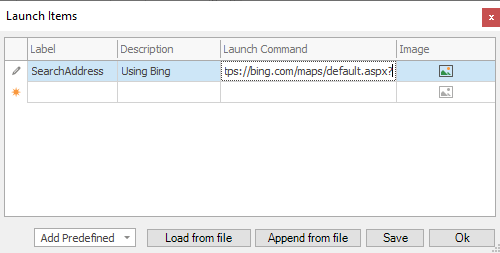
❖I will choose Address Search and you will see the command added in the grid above:
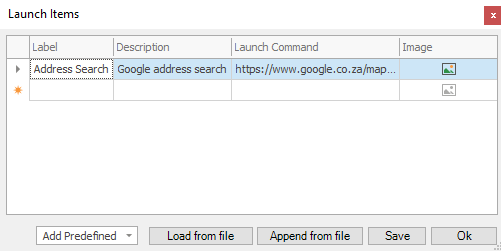
(The default search the tool does for you in the predefined commands is with Google Maps, but this can be changed of course if you want.)
❖Click in the box under Launch Command to specify which columns in your Excel worksheet to search:
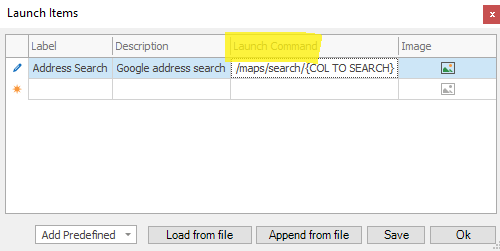
❖Type in the column between the curly braces where COL TO SEARCH is written:


If your address data is in more than one column then you would add a comma and then open another set of curly braces and write the next column in and so on:

❖You can now click OK:
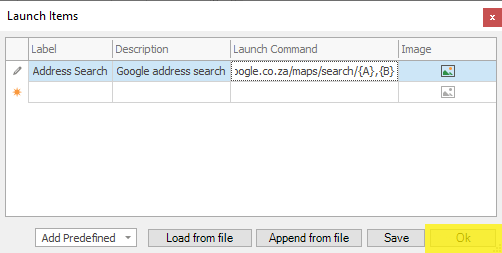
Your launch item has been added and you can then click on the Launch tool again and you will see it in the dropdown menu:
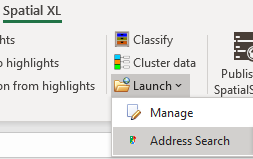
❖Before executing this Launch item make sure your cursor is in the correct row:

❖You can then go ahead and click on your launch item to execute it:

You will then be taken to that address on Google Maps:
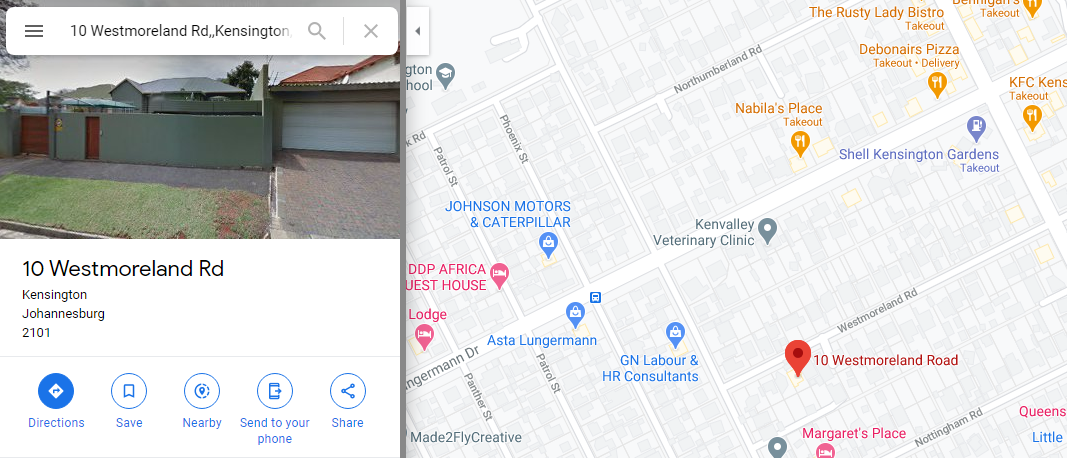
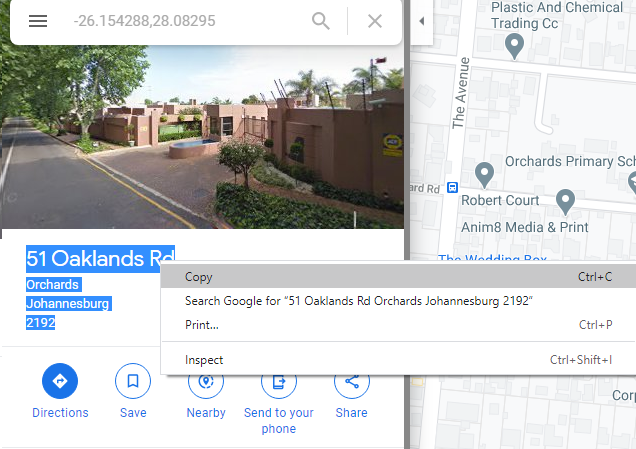
To now get the coordinates for the address right click where the location marker is and select What’s here?:
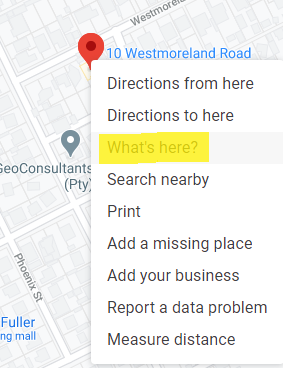
❖This will bring up the following little box:

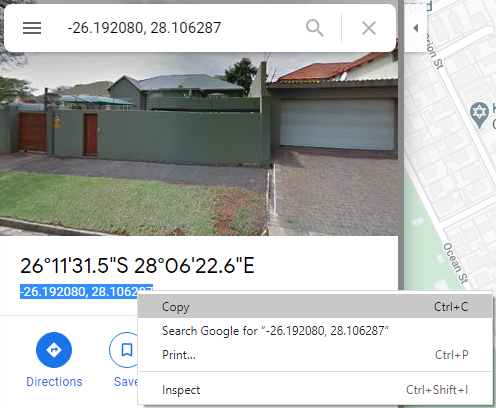
Click on the coordinates and they will then show on the left panel:

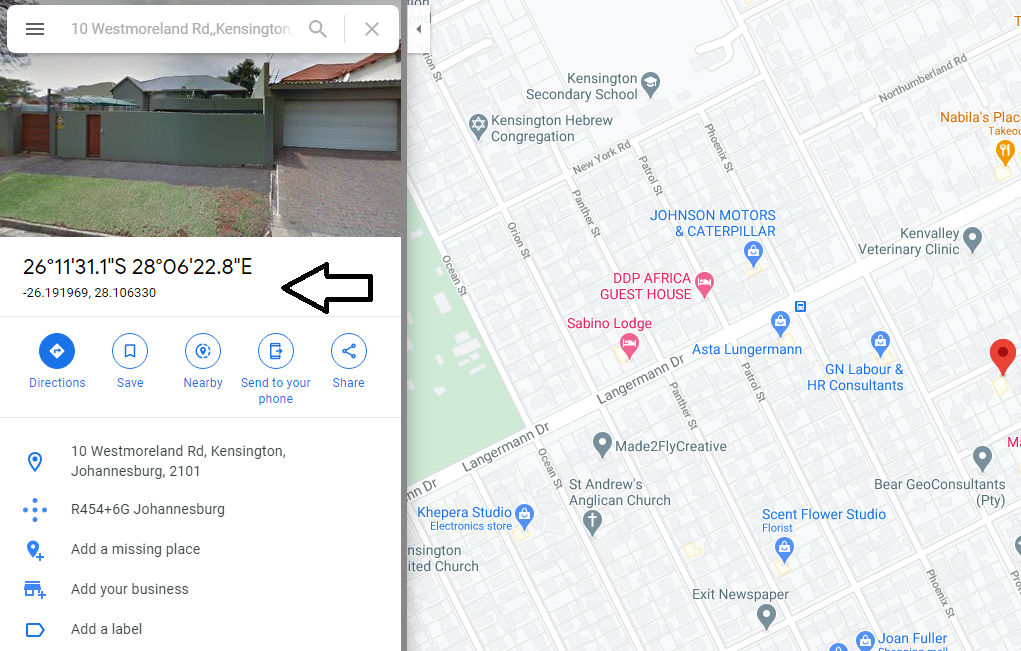
❖You can then copy and paste these coordinates into Excel:
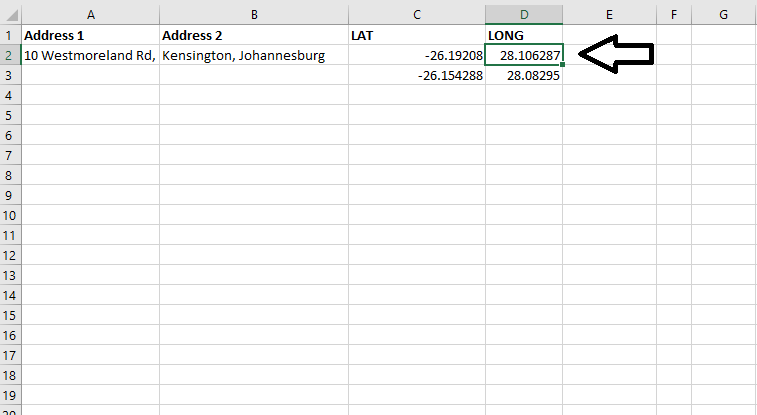
❖Now for the reverse geocode you would go about it like this, first you would have your coordinates in your Excel worksheet:
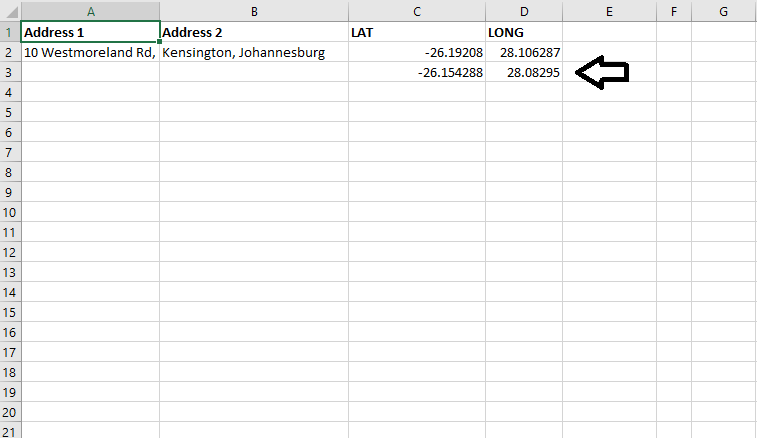
❖Then you would click on the Launch tool and go into Manage again:
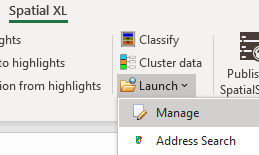
❖This time when choosing your predefined launch command you will choose Coords:

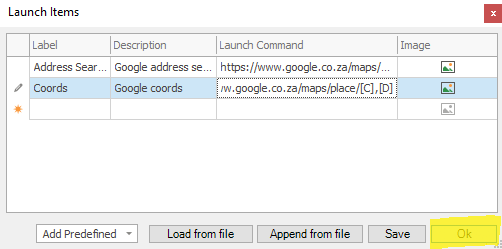
❖Then you would fill in which columns in your data contain the latitude and longitude of your coordinates:


❖Then click OK and your new launch item has been added:
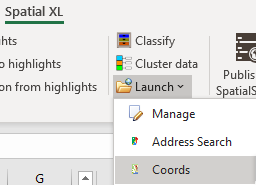
❖Before running the command make sure your cursor is in the row of the data you want to reverse geocode:

❖Then you can go ahead and run the command and it will take you to that exact location in Google Maps:
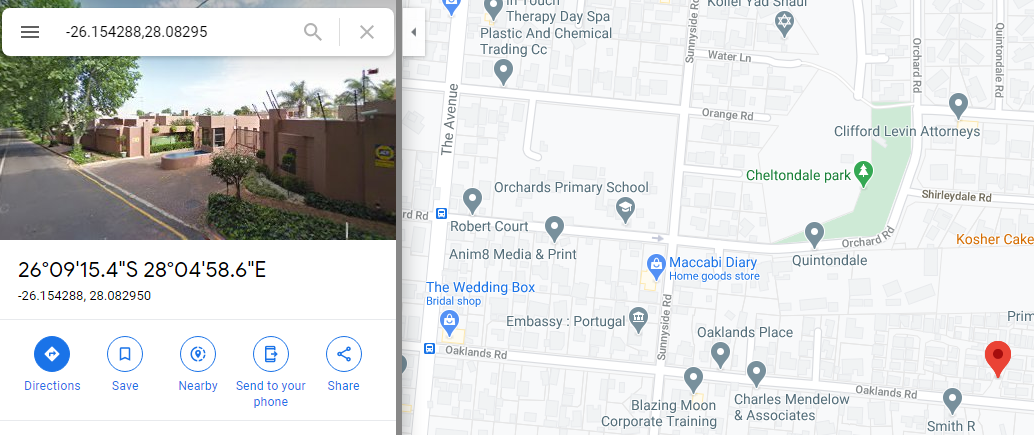
❖Then right click by the location marker and select What’s here?:
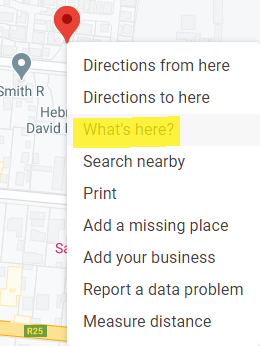
This will bring up a box where you will then click on the address:

And it will then show on the left panel where it can be copied and pasted into Excel:
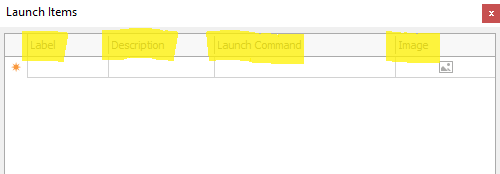
❖Now that you have got the picture of how this tool works, I will just go over the rest of the details of the tool. Firstly, in the grid of the tool dialogue you can of course type in your own commands and edit anything you want including Label, Description, Launch Command and Image:
As an example, I will type in my own command and everything:
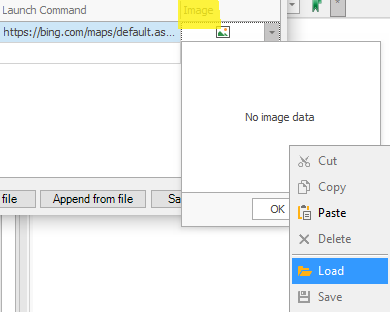
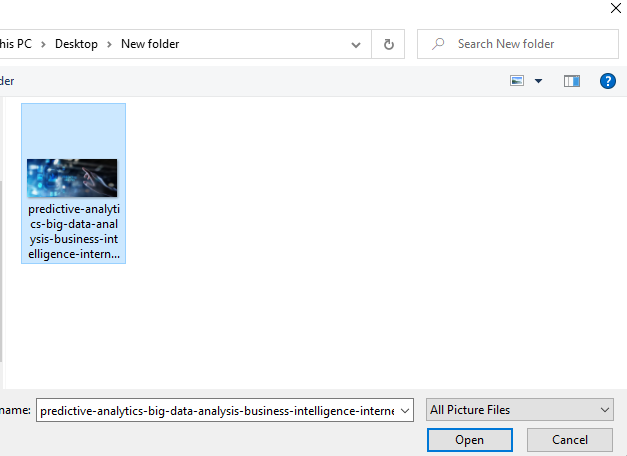
And then if I want to add an image, I click under Image which brings up a box, I right click in the box and select load and browse to its location and open it:
Then click OK:
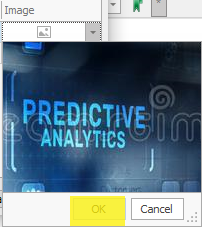
The image has been added.
❖Now I am done and can click OK:
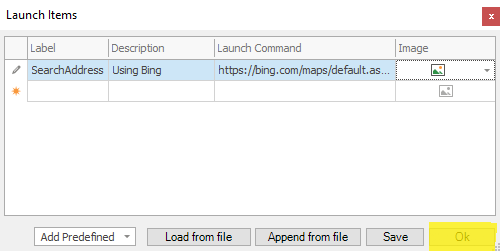
Now if I go to my Launch tool, I will see my Launch item in the dropdown menu with its Label, Image and Description:

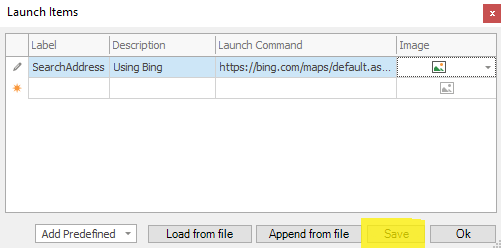
❖If I want to save a Launch item/items I have created I can click Save and it will save it as a Launcher file (Note: whatever items you have entered into the grid will all be saved together in one file):

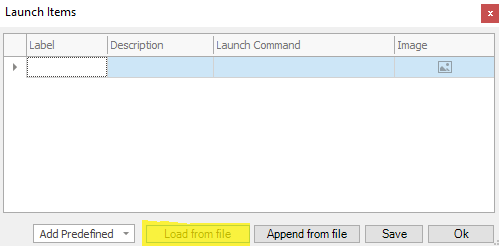
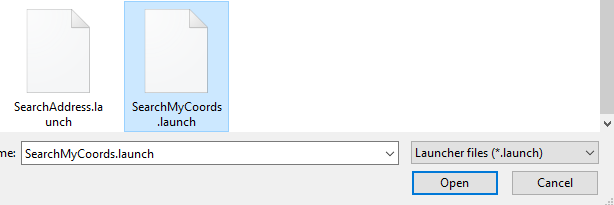
❖Then if you want to load this file at a later date, you can click Load from file and browse to its location:

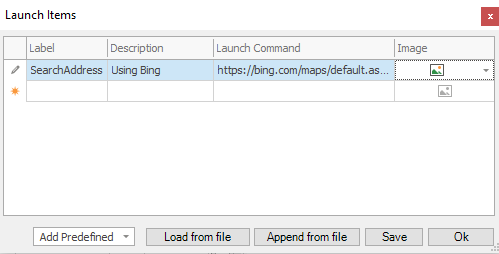
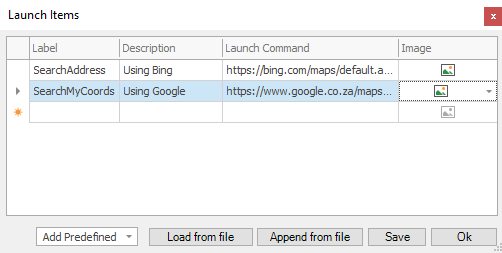
And it will load:
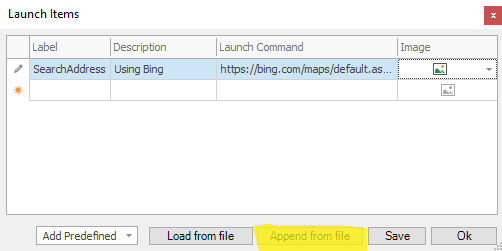
❖If you want to then load another file but not replace the current one you have loaded then you would select Append from file and browse to its location and it will be added in the grid:
Support
|
||||||
|
T: +27871354351
|
|||||
