
Tessellation Tool
❖The Tessellation tool allows you to build a tessellation - a repeating pattern of polygons that covers an area with no gaps or overlaps.
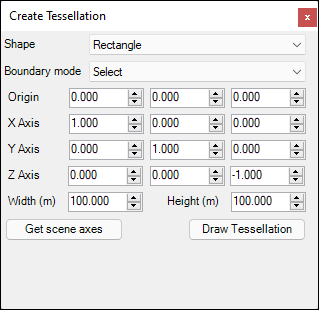
❖First you will choose what Shape you want to use in the tessellation- Rectangle or Hexagon. Then for the Boundary Mode you can choose either Select, which will make the boundary from selected elements in an existing layer that you have selected with one of the selection tools, or you can choose Draw and this will allow you to draw your own boundaries. In this example we will choose Rectangle and the Draw option:


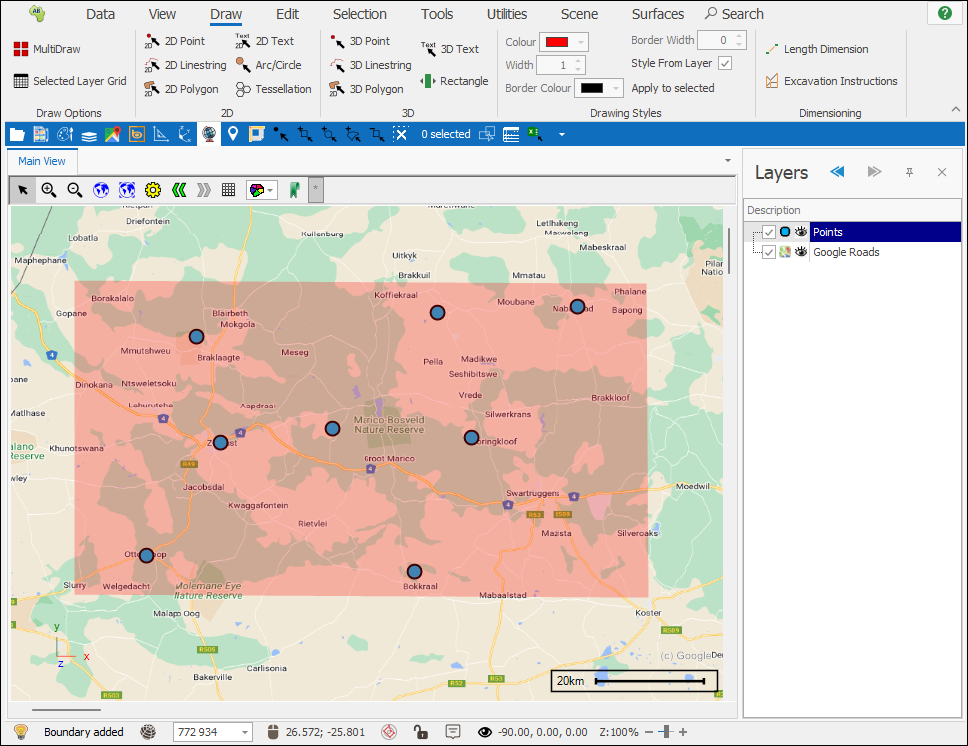
❖Now we click the Draw Boundary button and go to our scene to draw the boundary, left click to start drawing, each click is a vertex of the boundary, double click to finish. Show Boundaries is ticked on by default, if you tick it off you will not see the boundaries on the scene when you draw them:
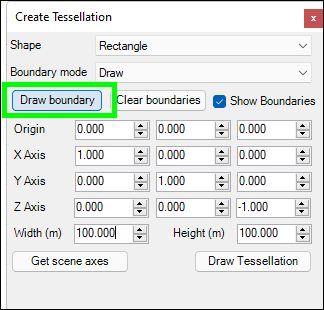
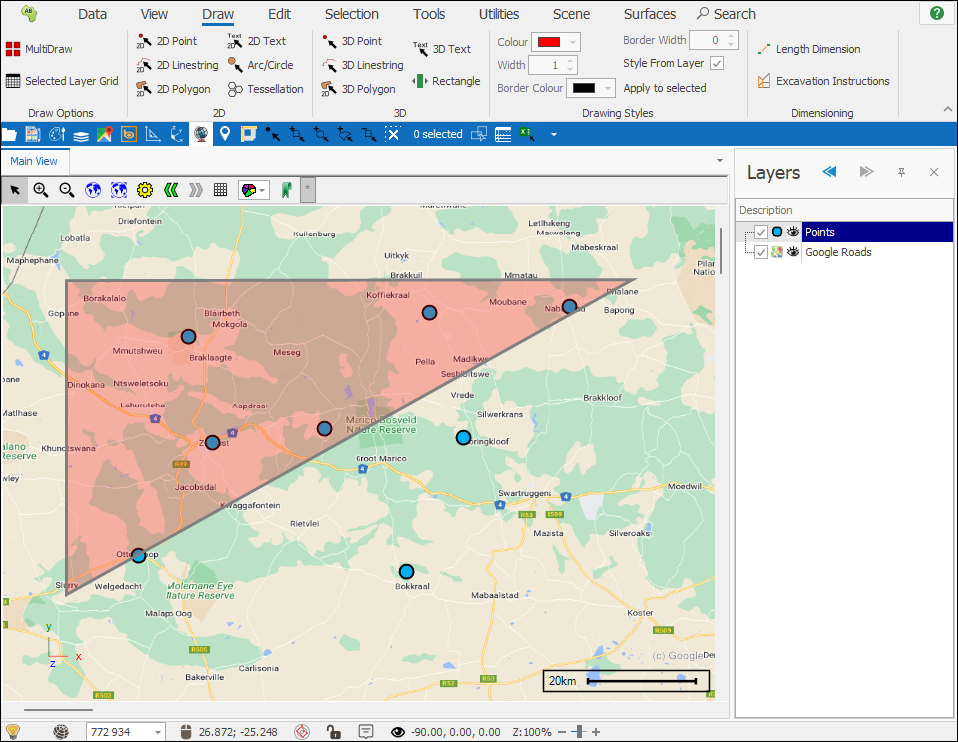
You can right click to undo a vertex of the boundary as you are drawing.
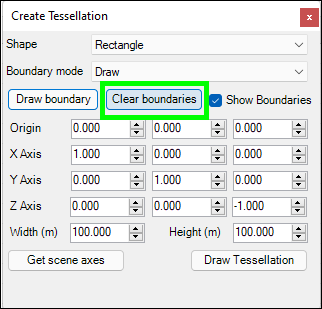
❖Your boundary is now drawn, if you want to redraw it you can click Clear Boundaries and then draw it again:
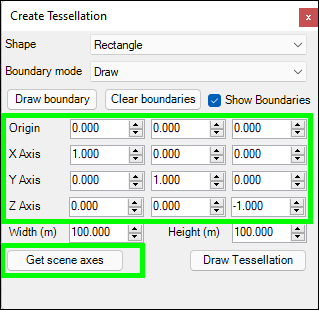
❖The Origin, X Axis, Y Axis and Z Axis of the tessellation can be custom set. To get back the regular scene axes, click Get scene axes:
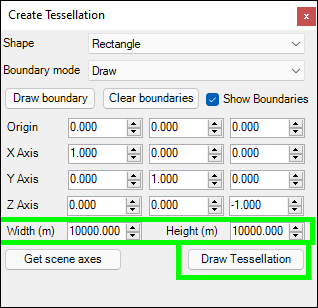
❖The next step is to specify the Width and Height, in meters, of the cells of the tessellation, in this example I will make them 10 kilometres (10 000 meters), finally click Draw Tessellation and your tessellation will be drawn in a new layer:
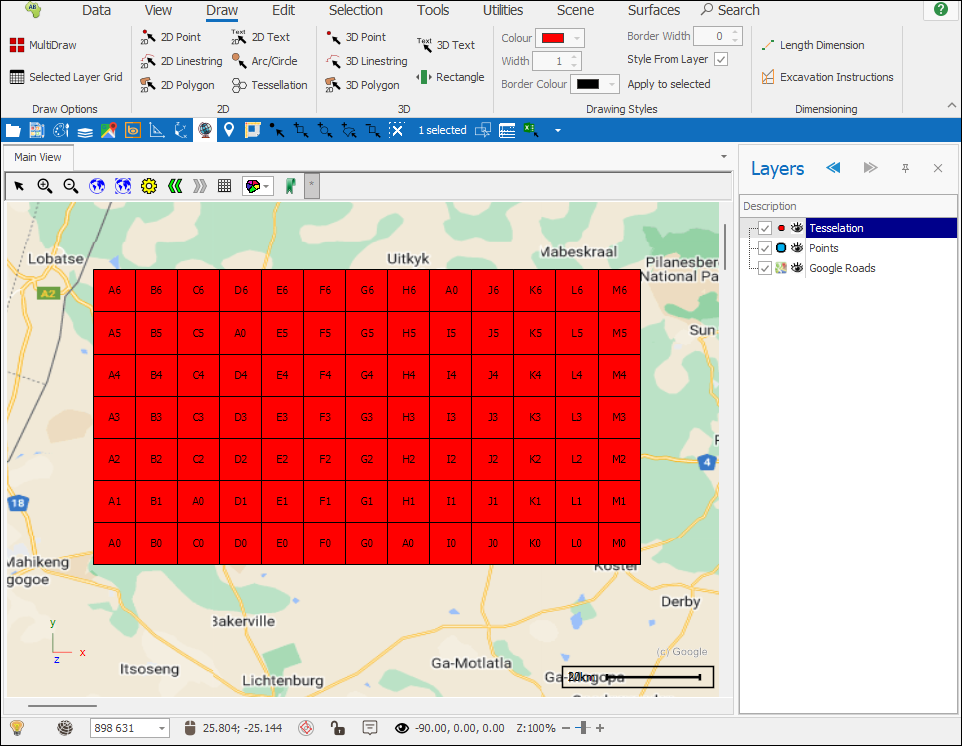
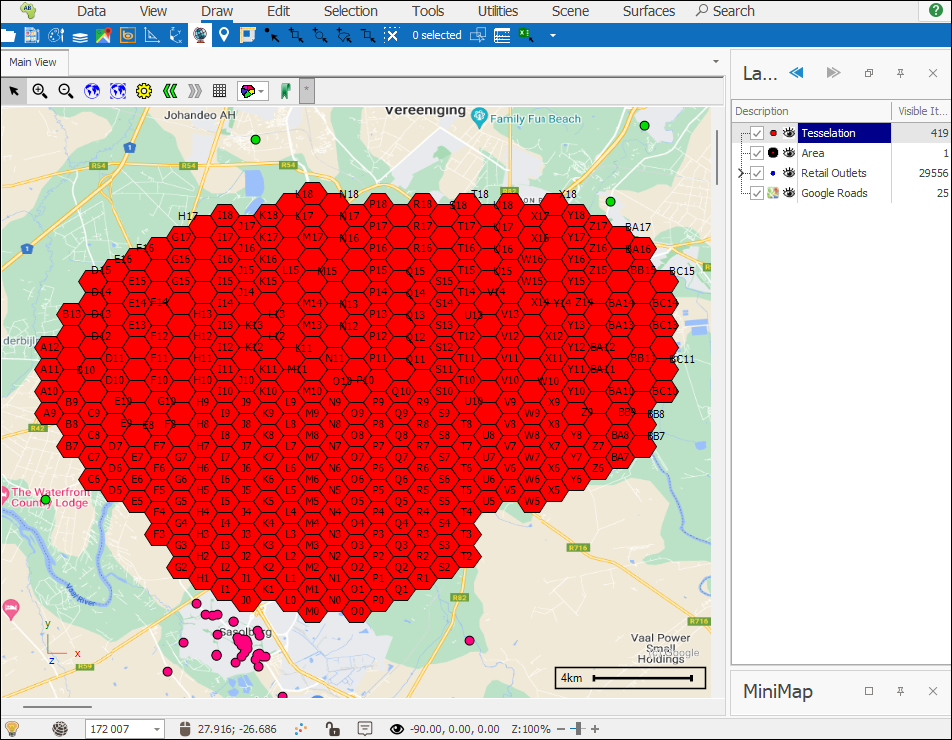
Each block of the tessellation is automatically assigned an ID which then displays on the blocks as a text label.
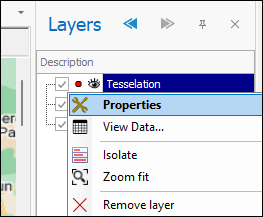
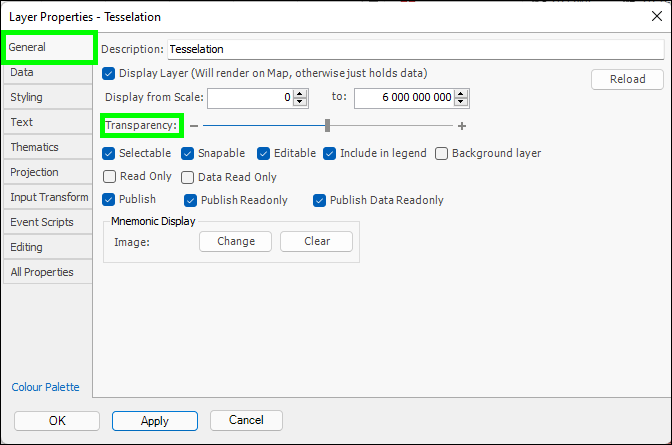
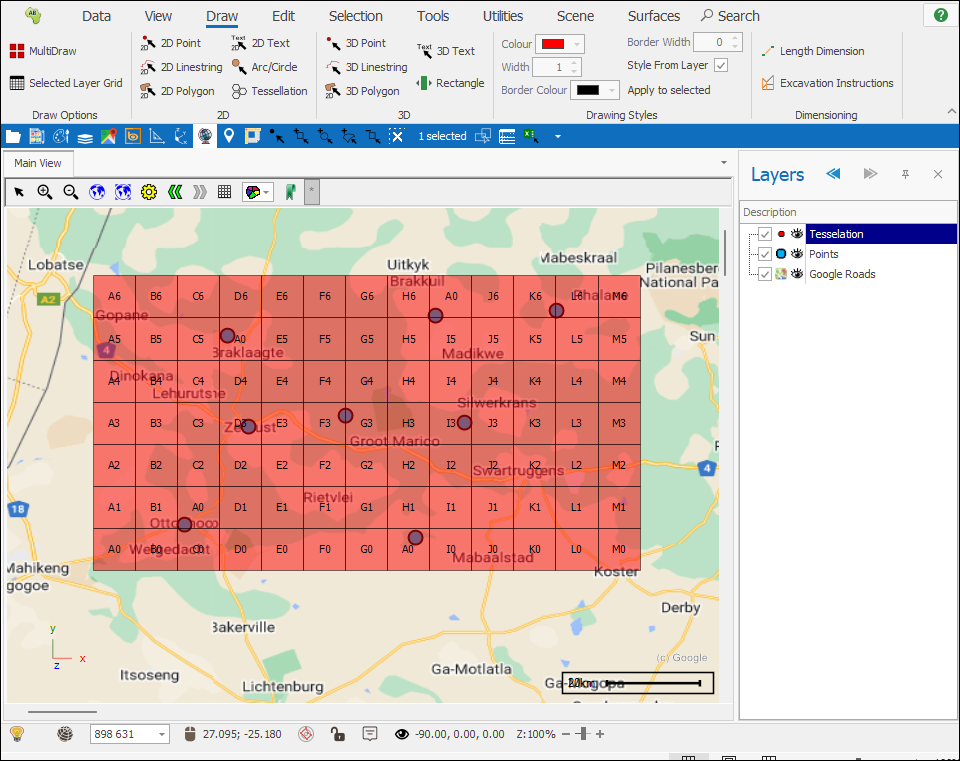
❖I will just make this tessellation layer more transparent so I can see underneath it better by going into its Layer Properties, and under the General tab, adjusting the transparency slider:
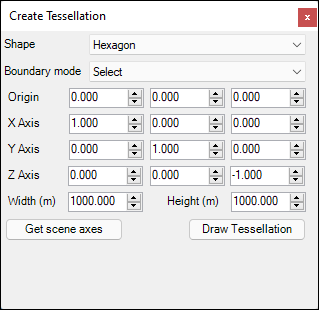
❖Here is one more example using some different parameters. Here I have chosen the Select Boundary Mode. I have also chosen to have Hexagons instead of Rectangles for the cells of the Tessellation. The cell Width and Height I have chosen as 1000 metres (1KM):
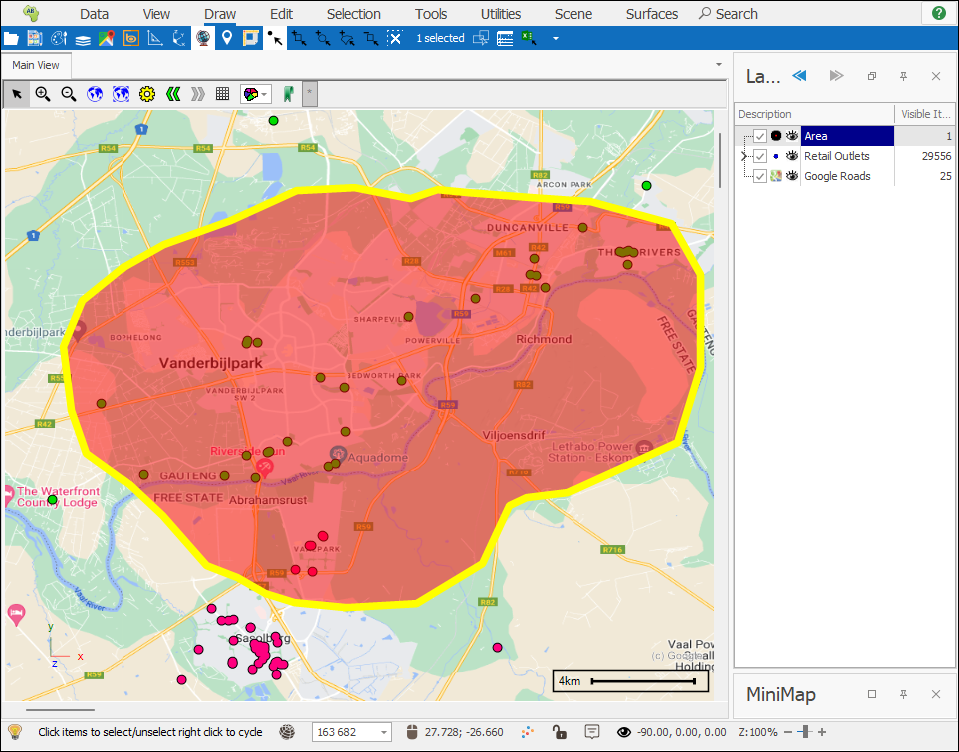
❖I have also selected the object in my scene that I will use as the boundaries for my Tessellation:
❖I then click Draw Tessellation and my tessellation is drawn:
❖Once you have created your tessellation you can do aggregations into the tessellated area, select points that lie within it, theme on the different blocks etc. For data on operations like these refer to these guides:
SpatialXL Guide, Theming section.