Surface Profiles
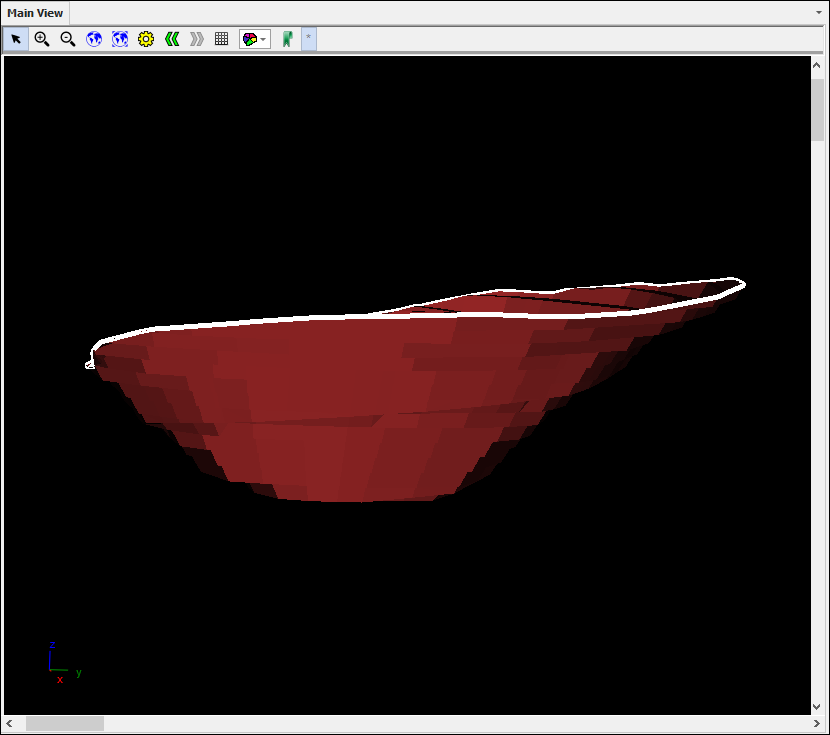
❖In our spatial products you can get a profile of a surface as you move in and out in the scene, for example for an open pit:

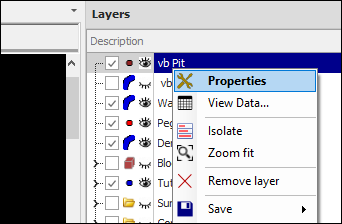
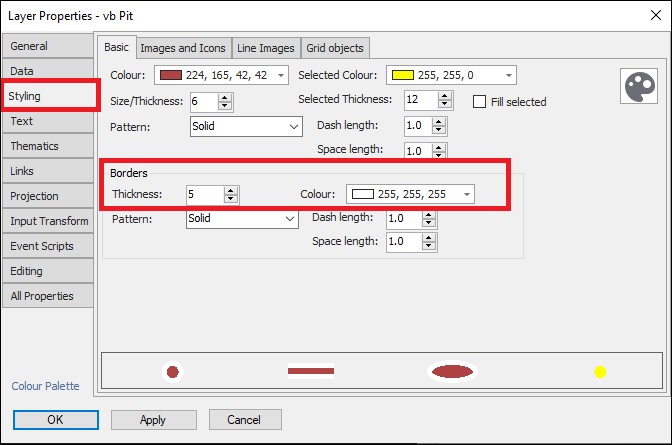
❖First, go to the Layer Properties of the layer and set the border thickness to be quite thick like 5, then make its color as you desire just don’t make it the same as the background color:
❖Next, choose your view center that you are going to move in and out from by clicking the mouse icon at the bottom of the spatial pane, which will bring up the Set View Center dialogue, and then ticking on Pick from scene:
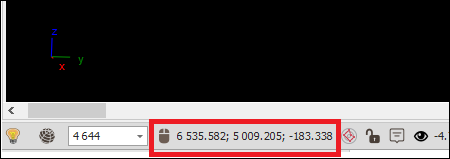
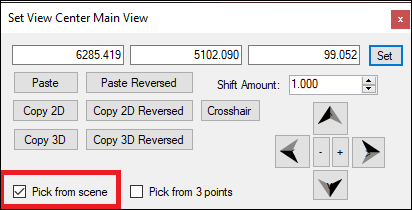
Then pick the point in the scene by left clicking. You would normally click on the center of the object to make sure you will be right there when starting to move in and out from the object:
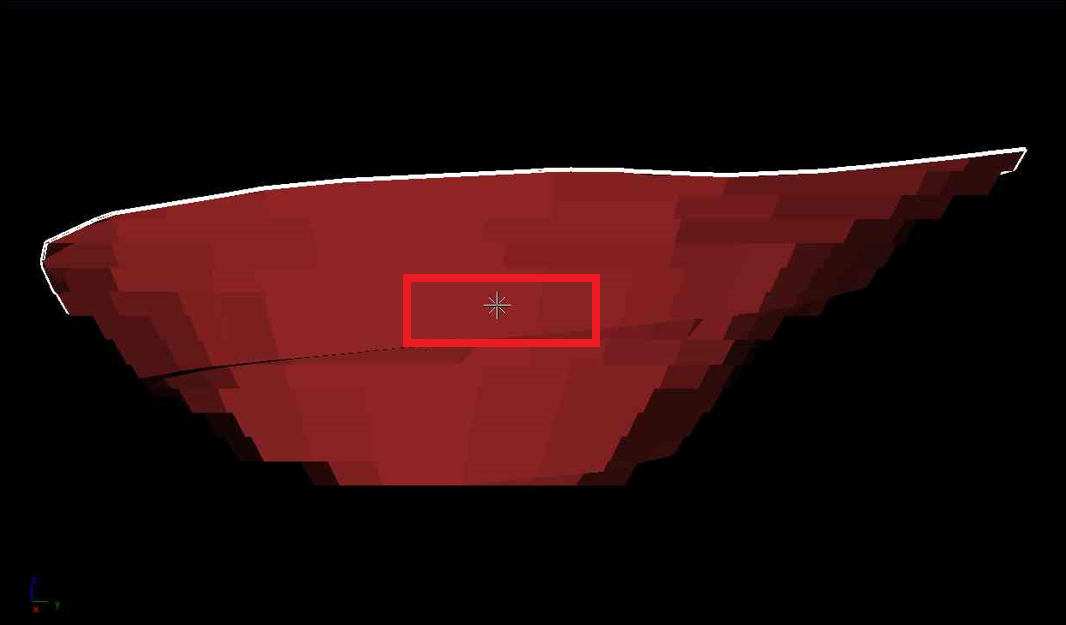
You can use one of the Snap tools to make sure you are snapping to an exact point on the object when clicking:

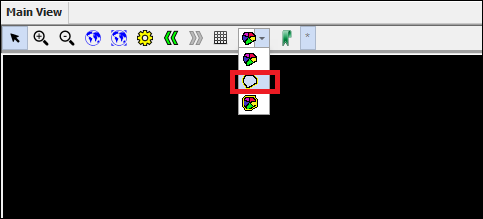
❖Then set the wireframe display to show the outline only:
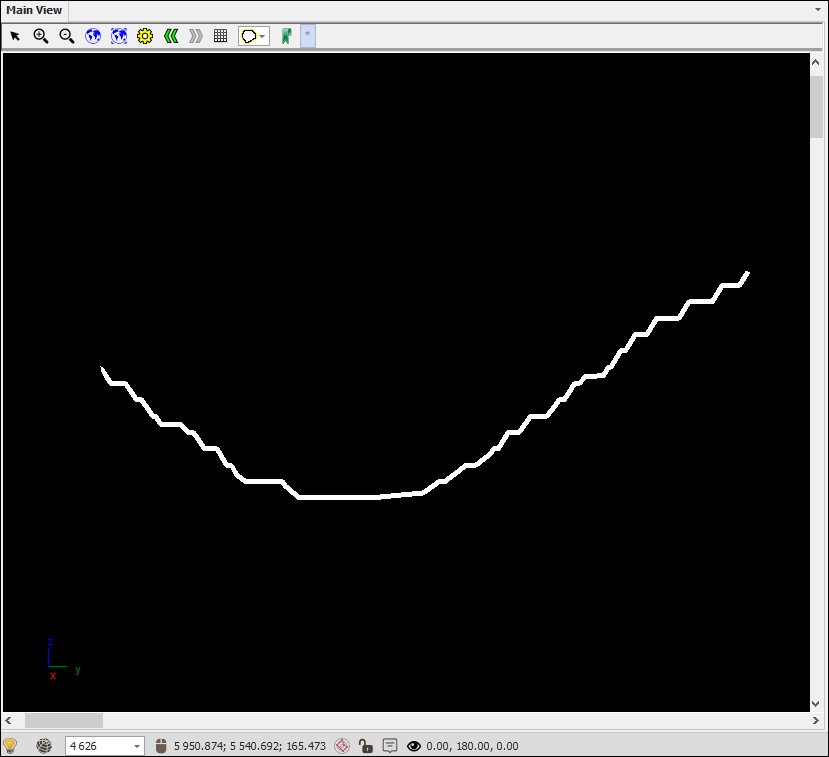
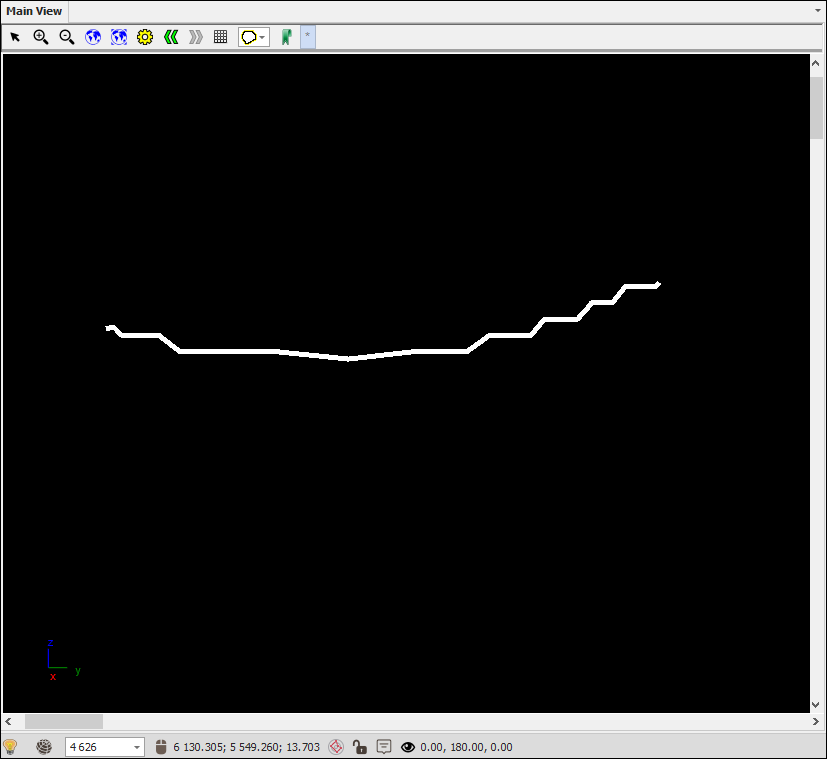
❖You can then move in and out of your scene by holding down Shift and then mouse wheeling in and out, you will see each profile of the surface as you do so:
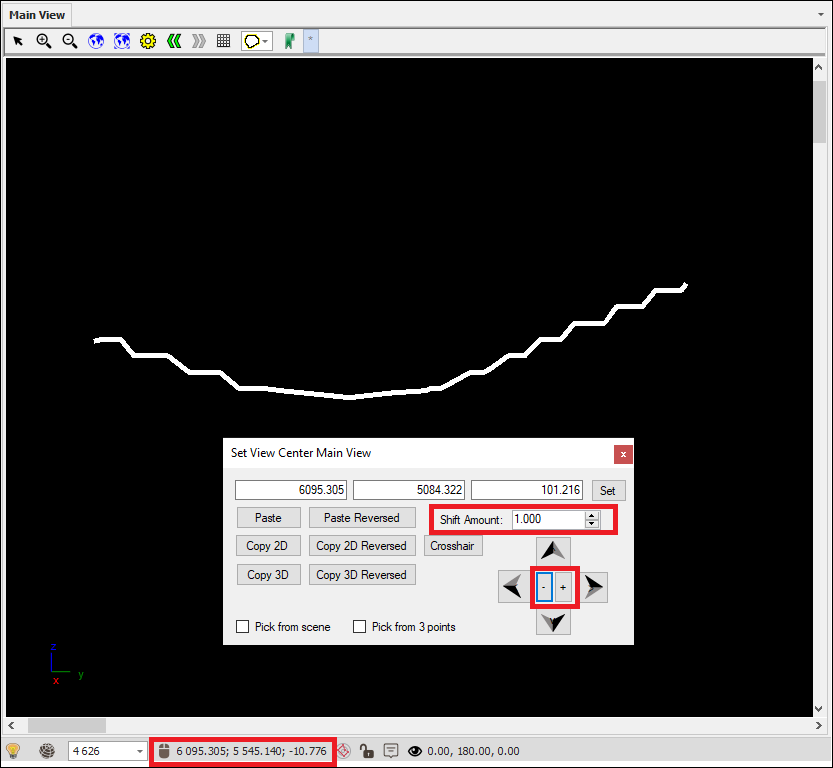
❖Alternatively, you can use the View Center tool to move in and out more accurately, here you can specify the Shift Amount and then you can click the plus and minus buttons to move in and out, by holding down plus or minus you can animate in and out:
❖You can of course view such profiles from whatever orientation you want as well, you can do this with the View Orientation window to choose your orientation:
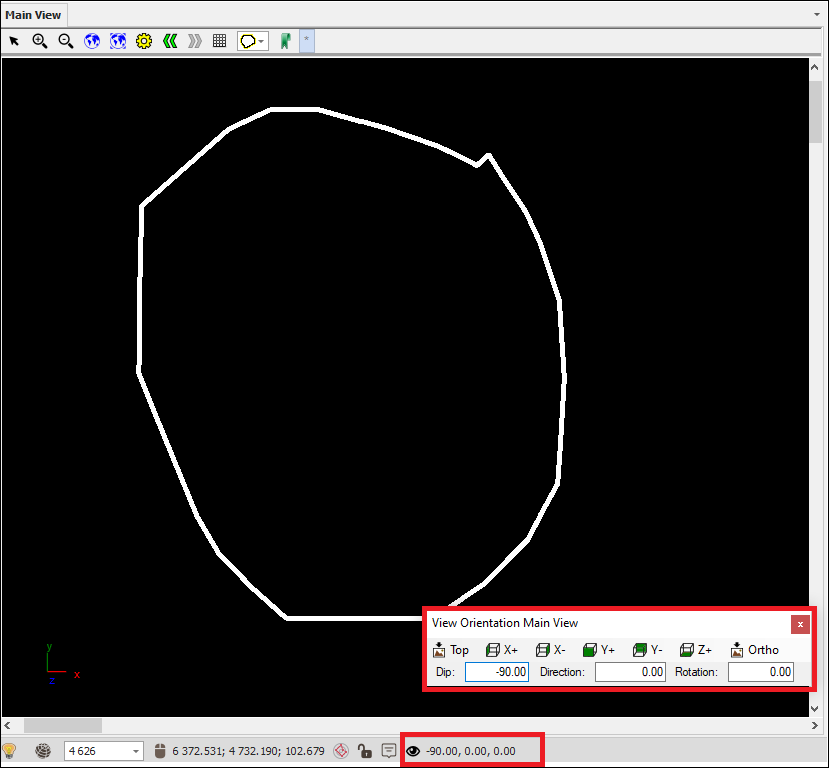
Or you can use any of the keyboard shortcuts to change orientation (see Keyboard Shortcuts guide).
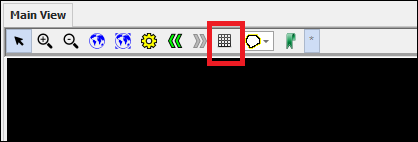
❖You can put on a coordinate grid on the scene as well by clicking on the Grid icon in the quick access toolbar:
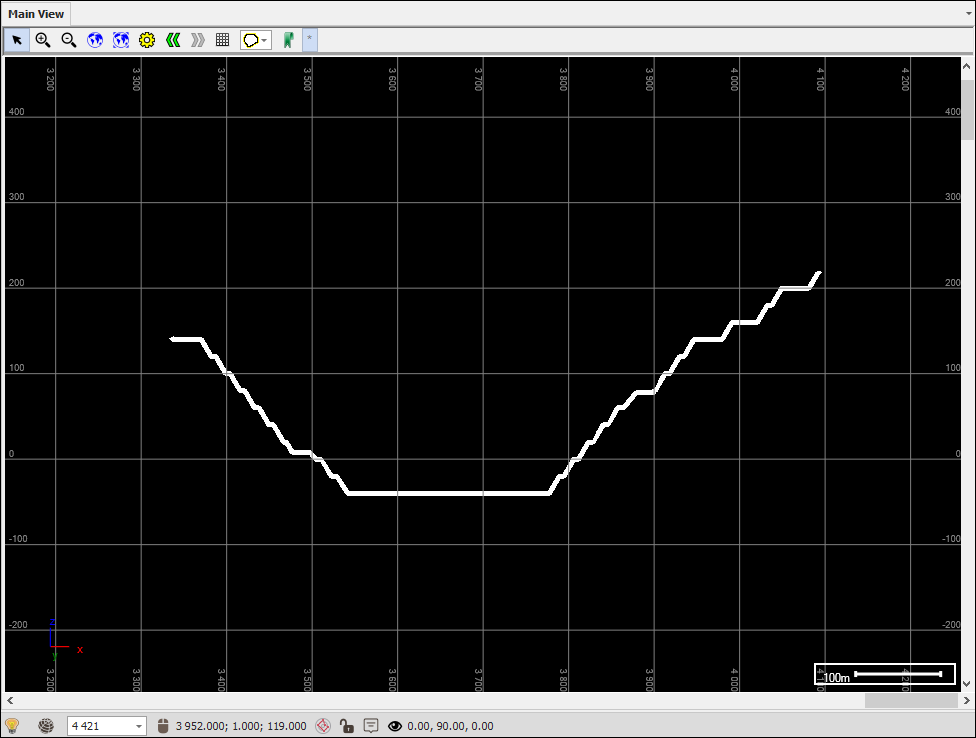
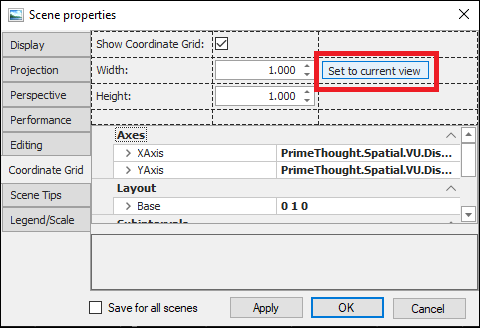
The Coordinate Grid properties can be set in the Scene Properties dialogue:
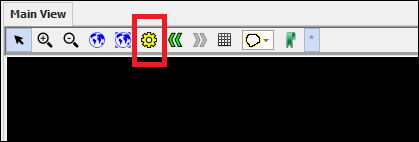
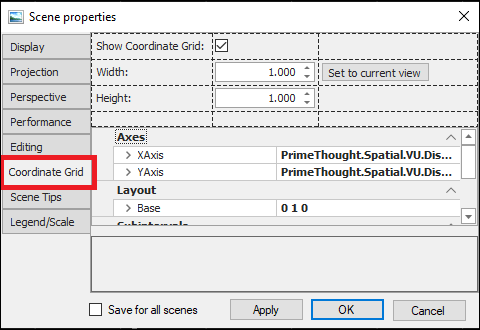
For example, if I am on a different orientation in my scene and I want to have the coordinate grid show here, I can just click the set to current view button:
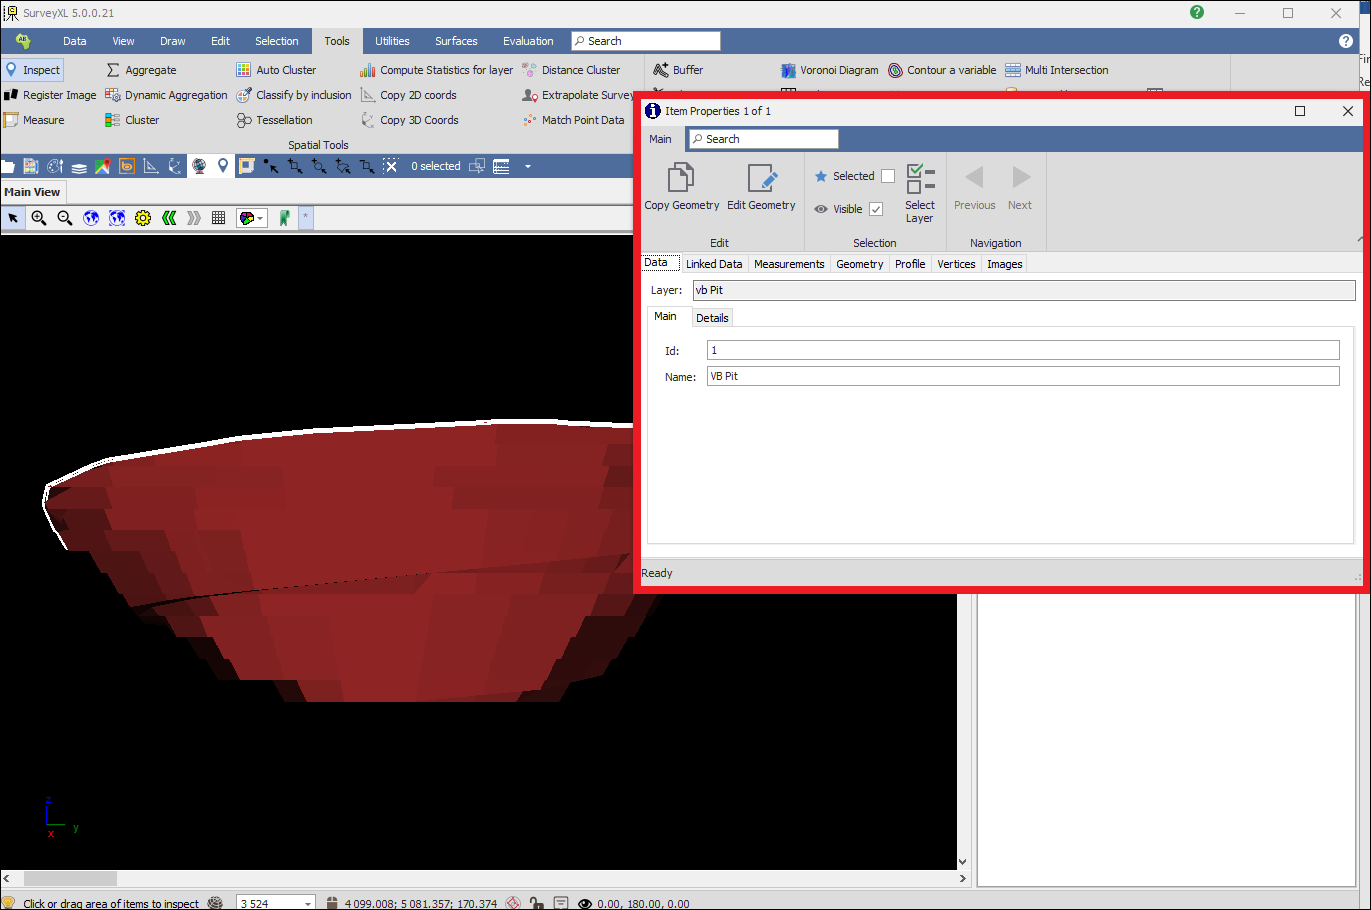
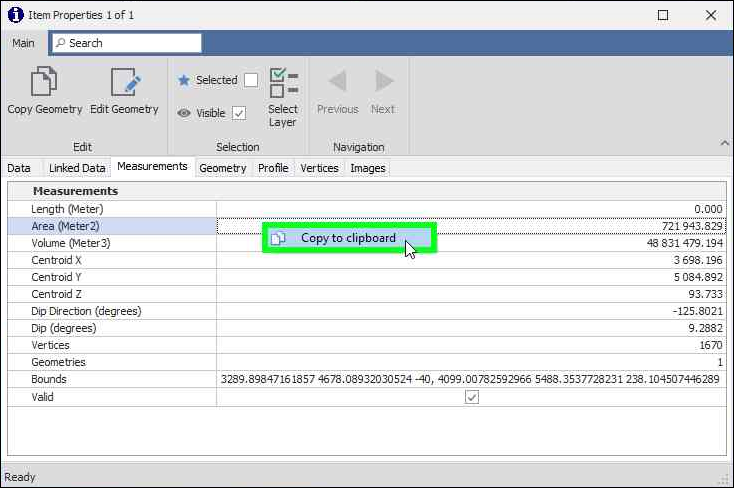
❖You can get measurements of your pit or object by using the Inspector Tool, click on it and it will bring up a window, then click on your object and all the attribute information relating to it as well as all measurements will come up:

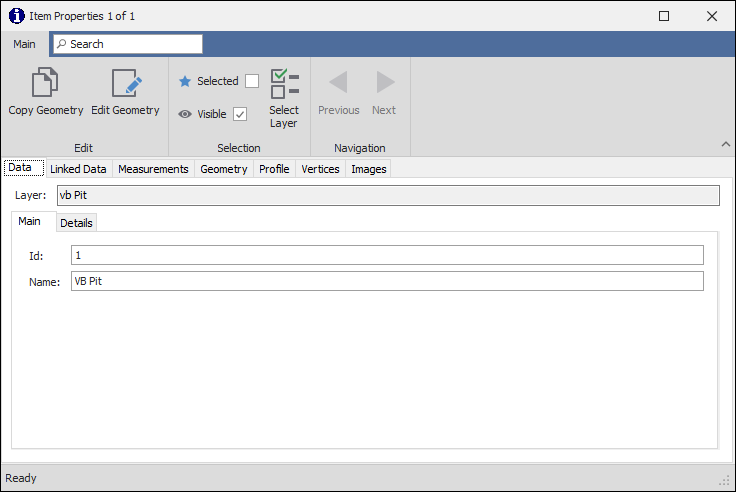
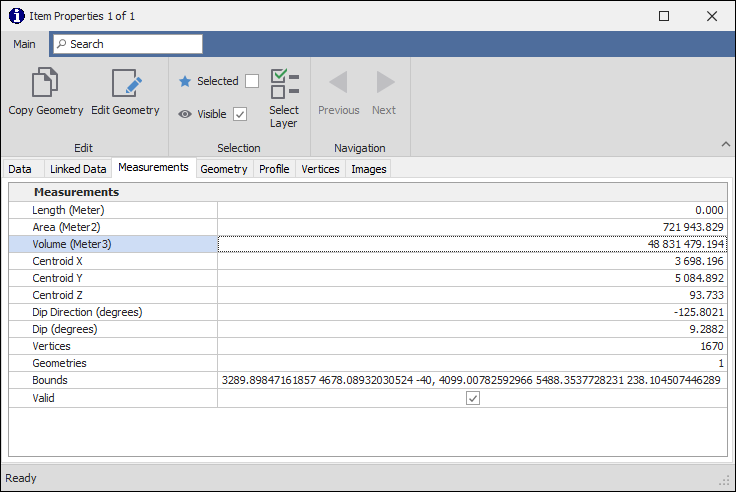
This data can be copied out by right clicking and selecting Copy to clipboard:
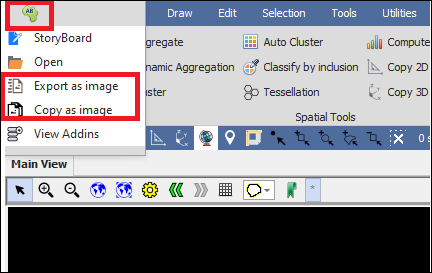
❖Your pit profile, or whatever you have displaying on your scene, can be copied out as an image or exported as an image by clicking on the Africa logo and selecting the desired option:
