Relations
❖Relations(1) is a feature available in all our spatial products. It is found in the Data tab(2) of the spatial pane:

❖This tool is used to create master-detail links between layers. It works with top level layers meaning a layer that contains a set of sublayers(1):
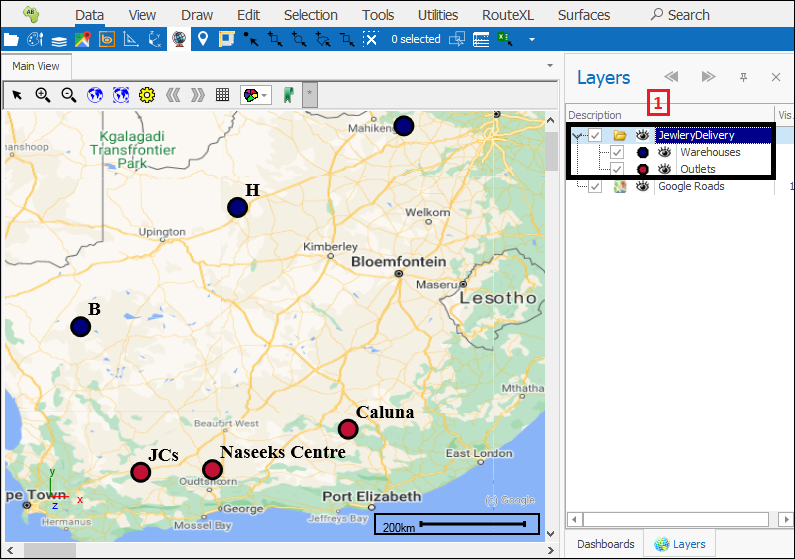
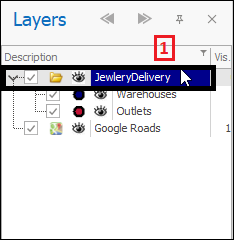
In this example I will be creating a link between layers: Warehouses and Outlets. I start by having my top level layer called JewleryDelivery highlighted by clicking on it(1). I then click on the tool which brings up the Relations dialogue(2) where I can set up relations for this layer:
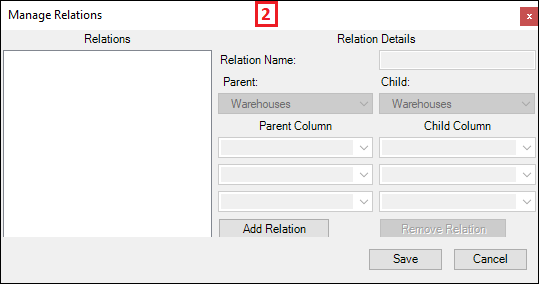
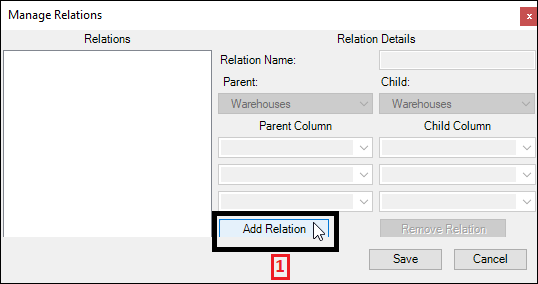
❖Start by clicking the Add Relation(1) button to create a new relation:
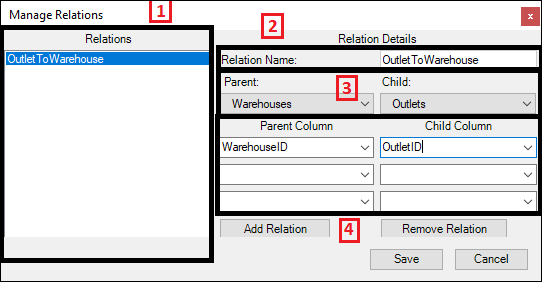
❖The new relation is shown in the Relations box to the right(1). Put in the relation name by Relation Name(2). Then specify the Parent and Child layer in the relation(3); the Parent being the source layer and the Child being the layer being linked to. Then choose what column/s you will be linking on in the Parent and Child layers(4):
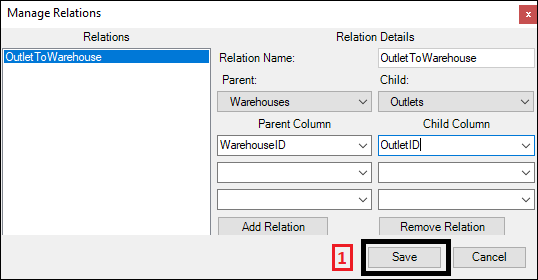
Finally click Save(1) and your relation will have been created. If there is any problem in linking and creating the relation you will be told when you click Save:
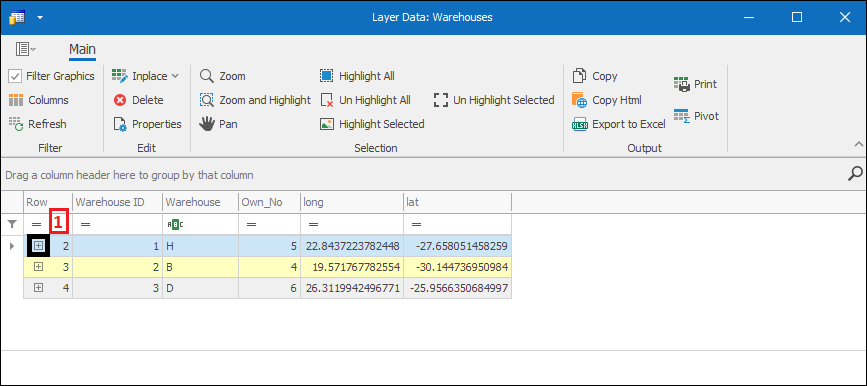
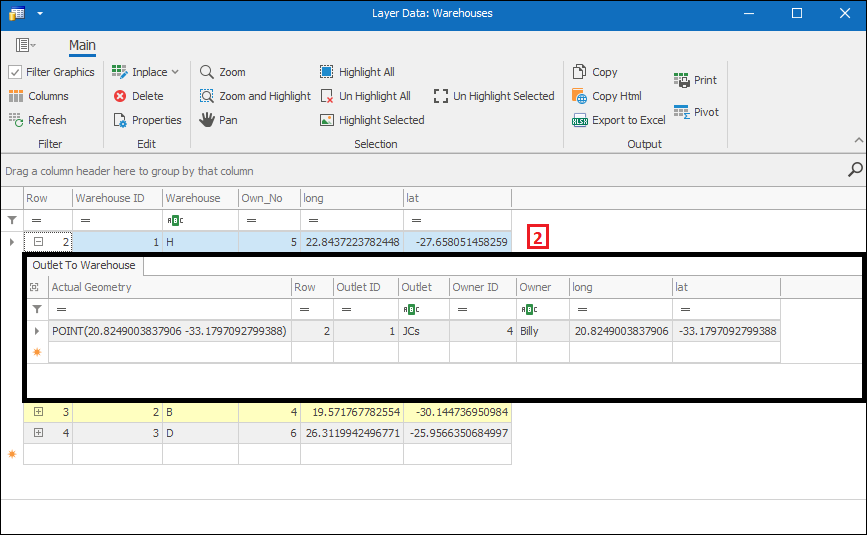
❖If we now go to view the Layer Data Grid of my Warehouses layer you will see a little plus next to each record(1) which if I open will show the related outlet(2):
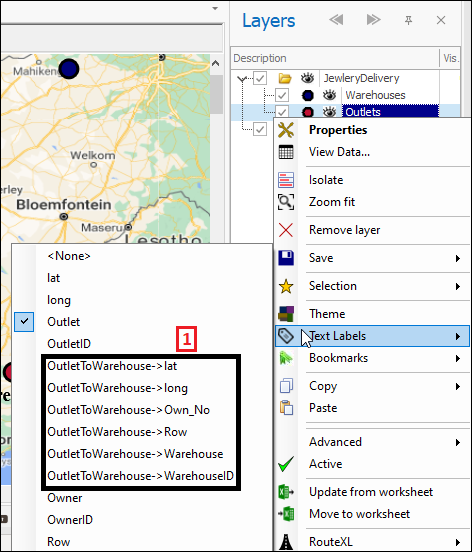
❖If I now right click on my Outlets layer and go to text labels you will see I now have more options of labels to put because of this relation that has been created(1). I will choose one of these as a label which will display a label of which warehouse each outlet belongs to in my scene(2):
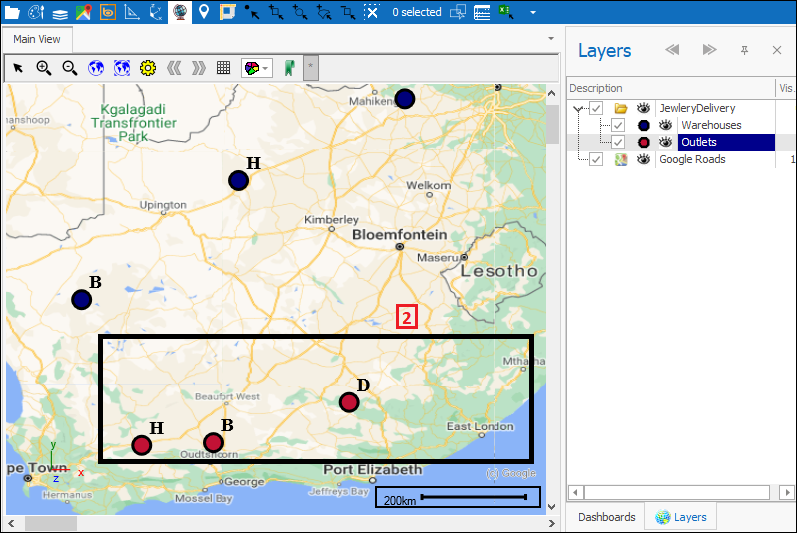
This is just an example of one of the ways in which the relations can be used. You can also take advantage of relations in applying themes to layers as well so that you theme on some related column in a linked layer.
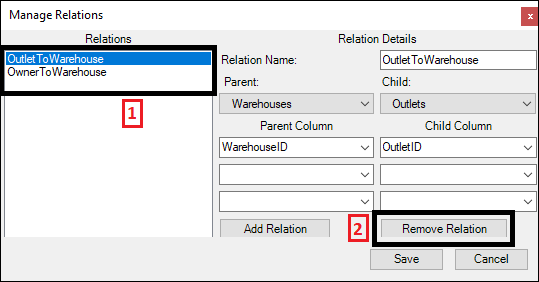
❖You can set up more than one relation for your layer(1), just follow the same steps to create another. To remove a relation click the Remove Relation(2) button:
❖What you can now do is save the layer out as an SVU file with the linked data columns that you would like to have included in the layer. With this tool you are able to create multiple relations between layers which can all then be saved out in one layer. How this is done is shown below:
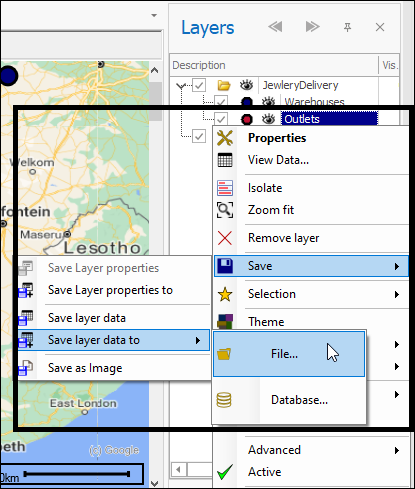
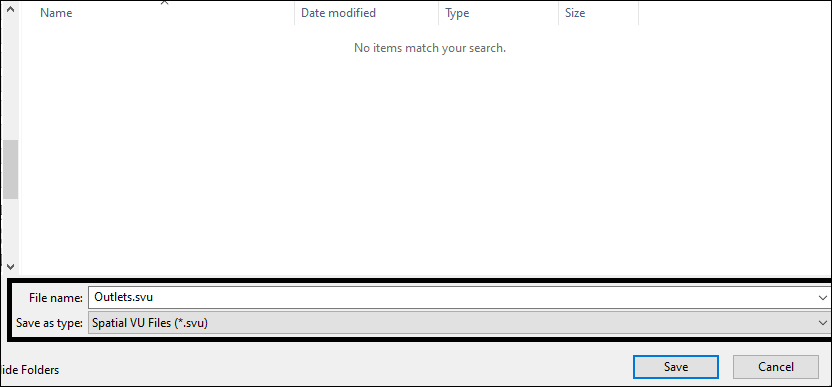
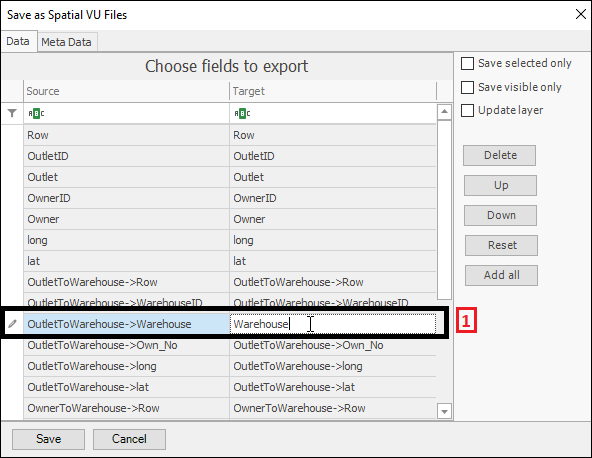
In the Save as Spatial VU Files dialogue that comes up you can choose which linked columns you’d like to export in saving to file. I will choose to keep just
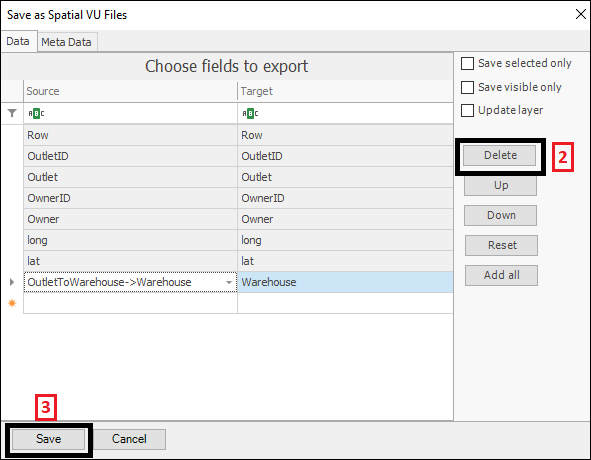
OutletToWarehouse>Warehose out of the linked columns and I will name it Warehouse(1) and delete the rest using the Delete(2) button. Then I will click Save(3):
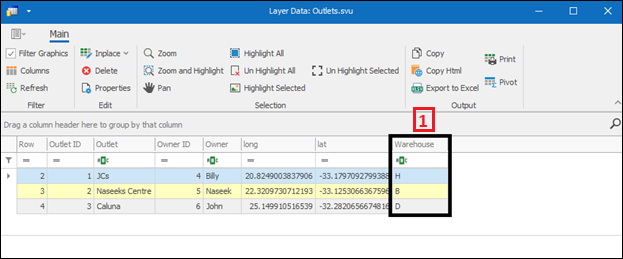
If I bring in this new saved file and view its data you will see the extra linked column I chose to include in it(1):
