Register Image Tool
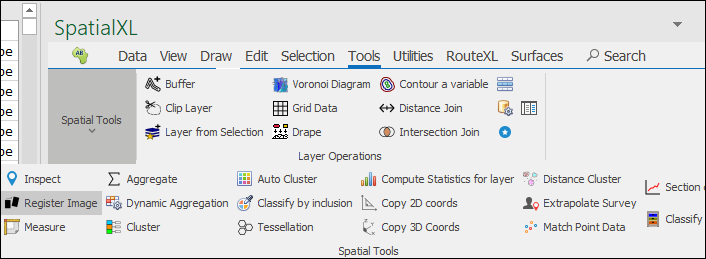
❖The Register Image tool is a tool that allows you to register an image that you have brought into SpatialXL or any of our spatial products. When you bring in an image it will not immediately fit where and how you want it to on your scene, therefore you would have to register the image first. The tool can be found here:
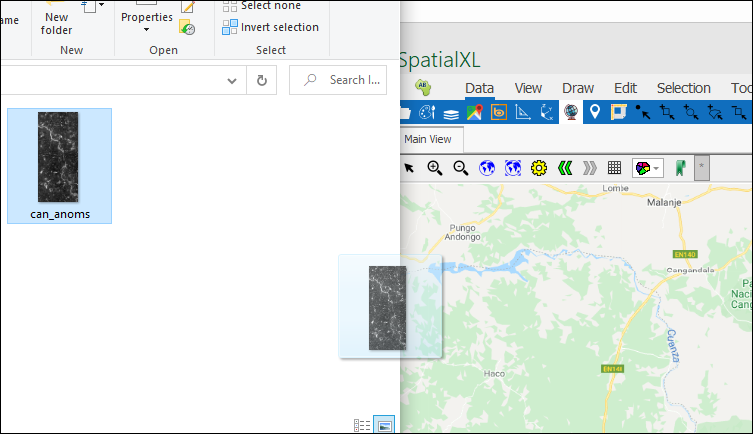
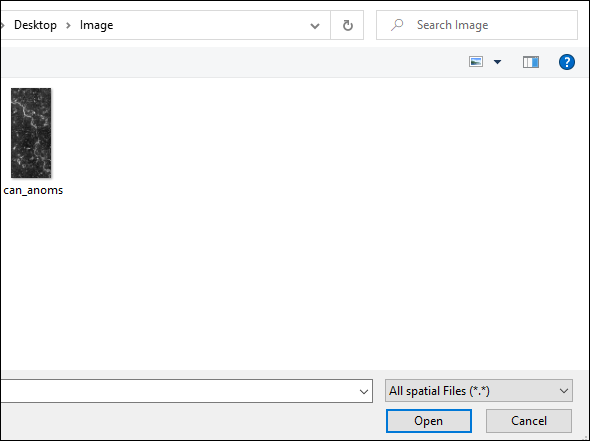
❖Before using the tool first drag in or open the image that you want to bring into the scene:

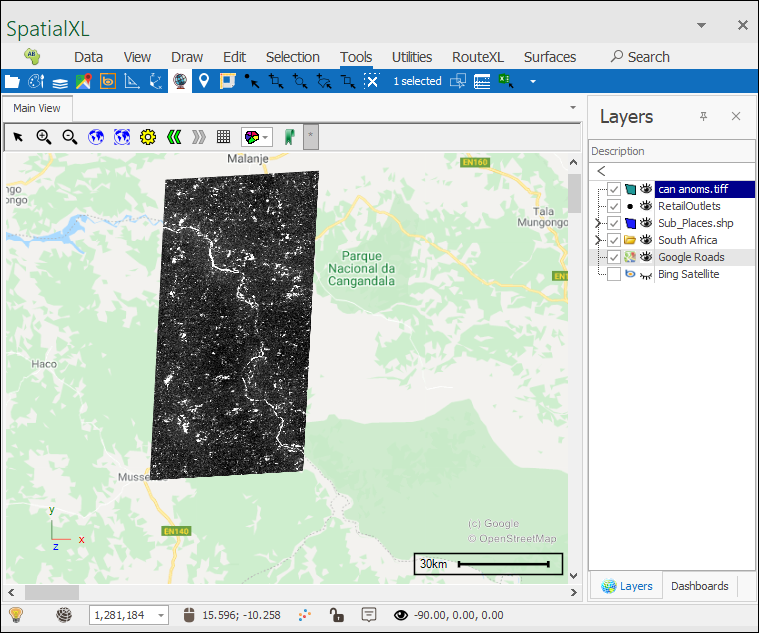
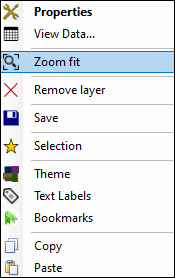
❖The image will load in the Spatial pane but it will be out of size (not correctly sized within your scene), sometimes it’s necessary to Zoom fit to your Google Maps or Bing Maps layer to see where it put it:
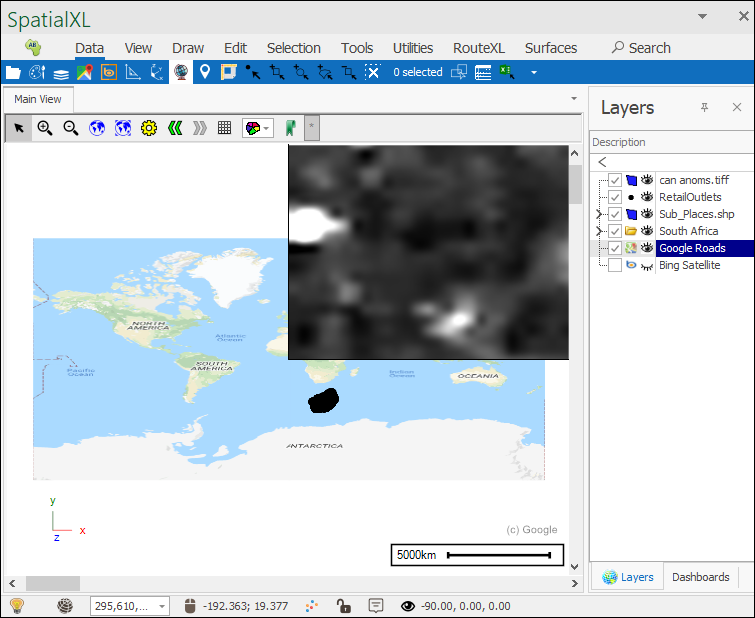
As you can see the image is very much out of size.
❖The next thing to do is to select the image by right clicking on it in the Layers Description box and then choosing Selection> Add Layer:
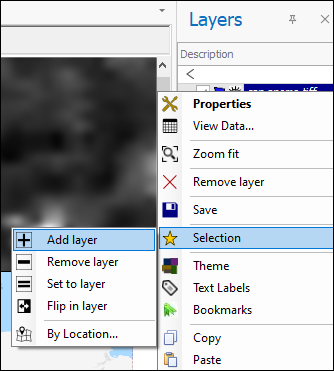
This lets the tool know what image it is working on.
❖Next, go back to where you originally were on your scene: the place in your scene where you are going to be placing this image:
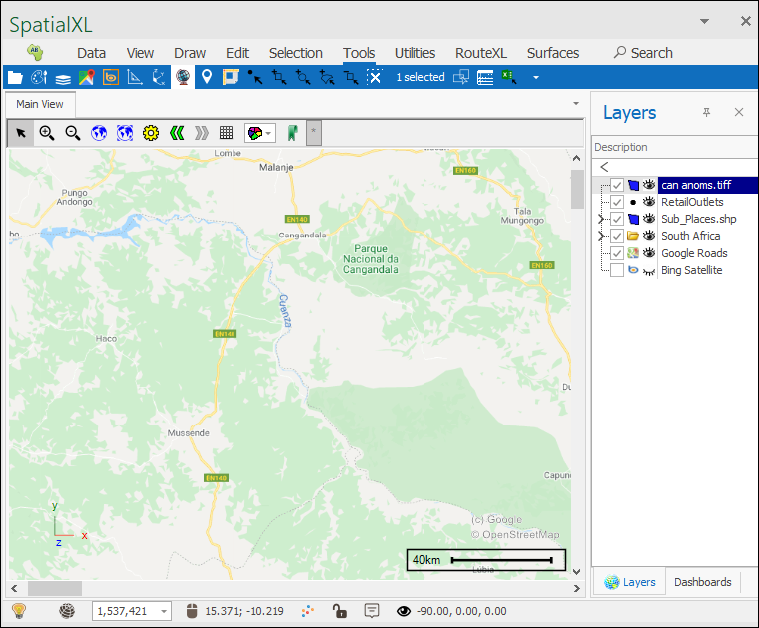
❖Next, click on the tool and it will bring up the following dialogue box:
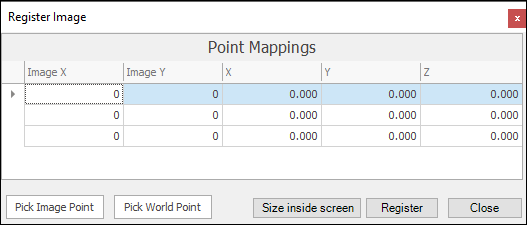
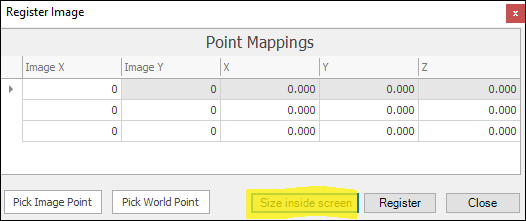
❖The first thing to do is to select the Size inside screen button, this will size the image inside your screen so you can see it properly in relation to where you want to place it:
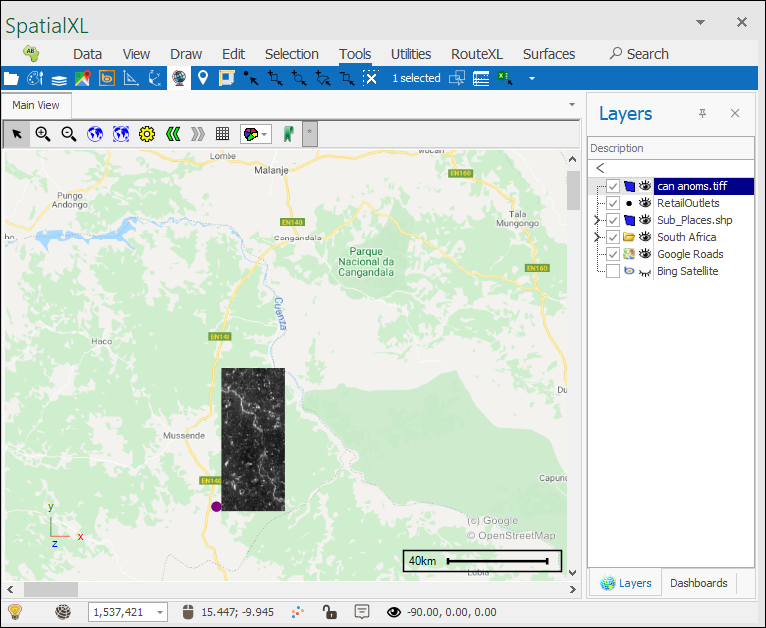
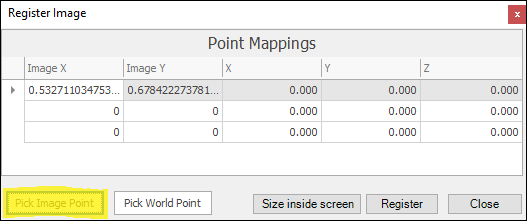
❖Next select the Pick Image Point button and then select a point on your image:
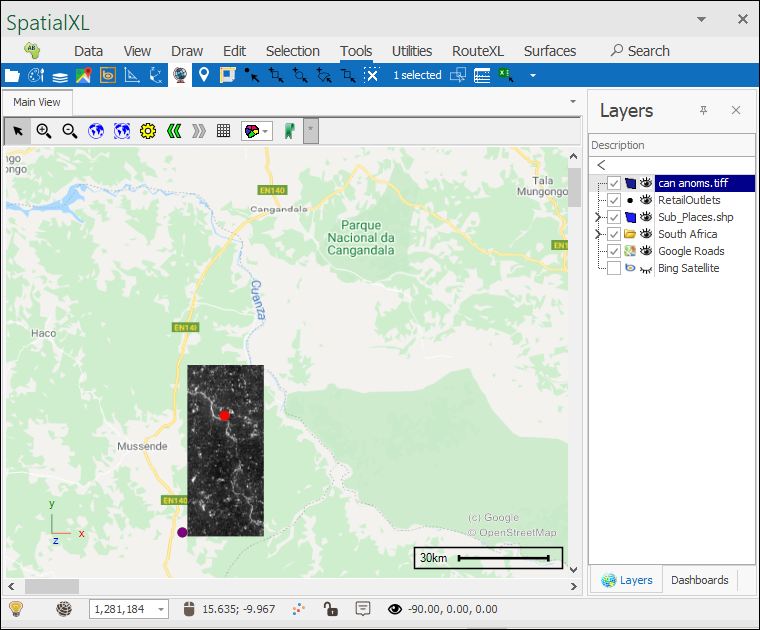
The first selected point is shown by a red dot.
❖Next, select the Pick World Point button and then select the corresponding point in your scene to the point you just chose on the image:
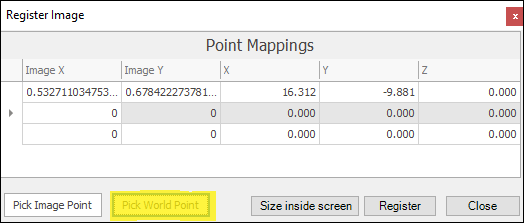
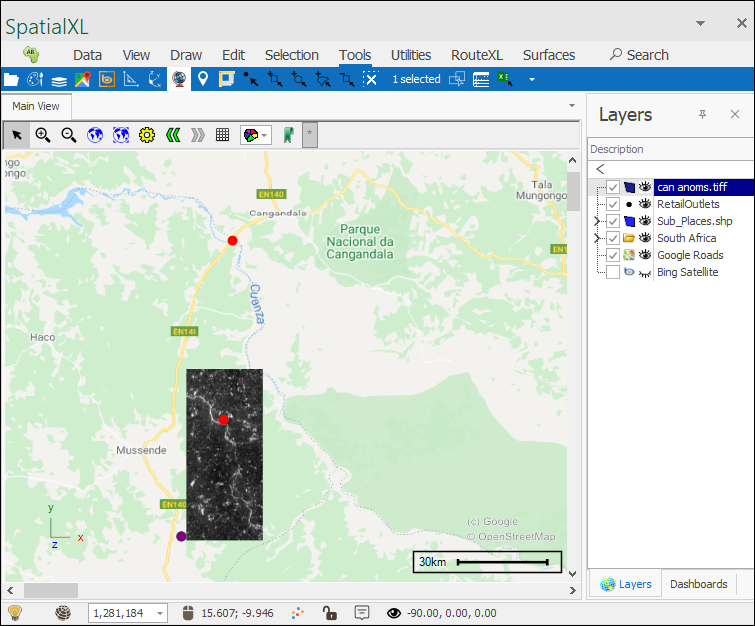
❖Next select the Pick Image Point button again and select a second point on your image:
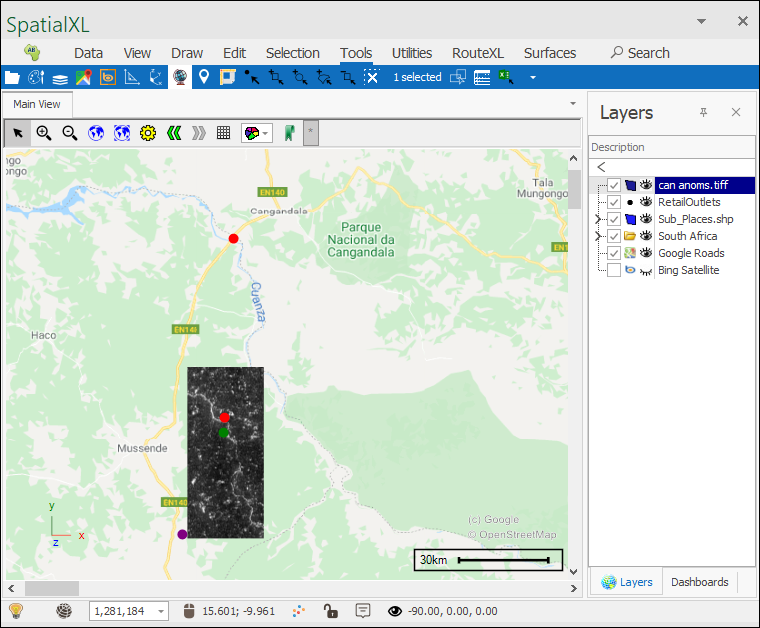
The second point chosen is shown as a green dot.
❖Now select the Pick World Point button and select the corresponding point in your scene:
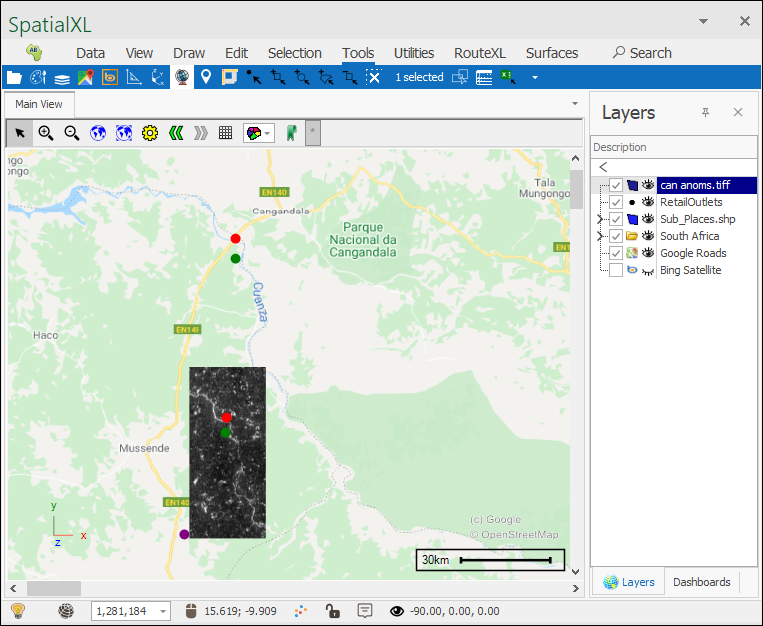
❖Then select the Pick Image Point button again and select a third point on your image:
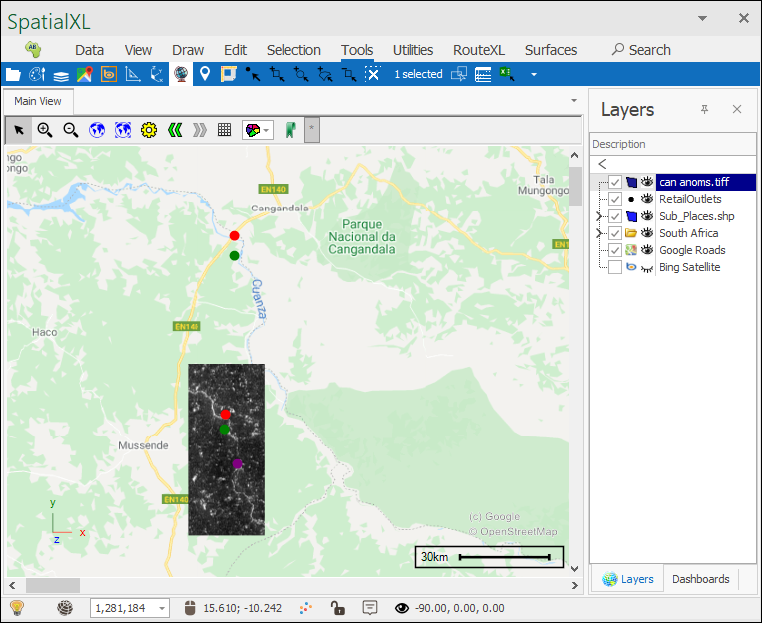
The third point chosen is shown as a purple dot.
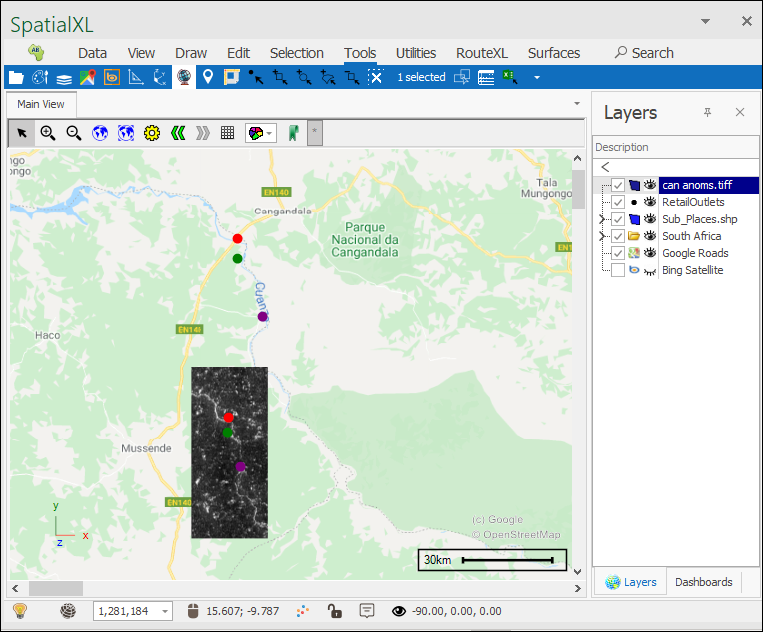
❖Then select the Pick World Point button again and select the corresponding point in your scene:
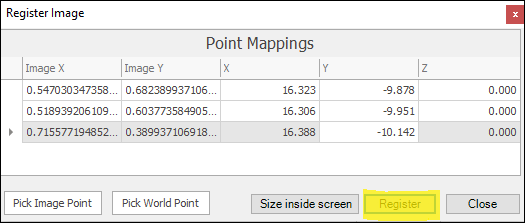
Each row in the Point Mappings grid represents the first, second and third points chosen on your image and their corresponding points in the scene and you can of course also just enter all these points in as opposed to choosing them on your scene:
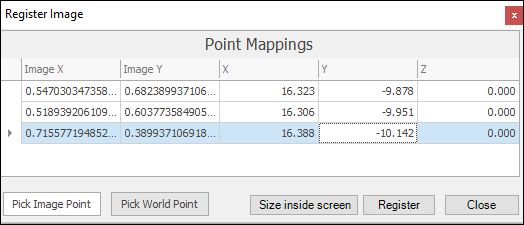
❖You are now ready to register your image, the tool requires 3 points for an image to be registered. Click the Register button:
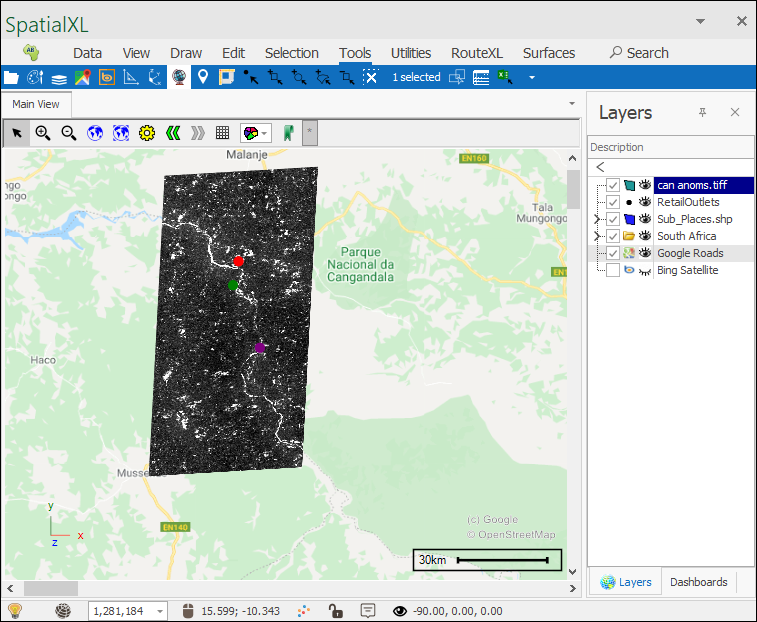
Your image is now registered and fits perfectly where it should on your scene.
❖The next important thing to do is to now save the layer data of your image by right clicking the image in the Layers Description box and selecting Save> Save layer data:
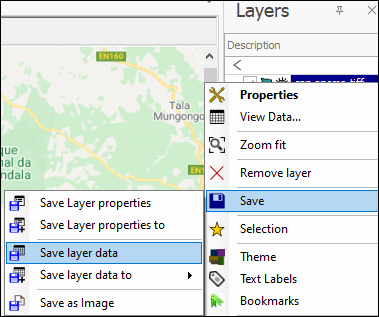
This is done because when you register an image the data is stored by the spatial engine in a separate .location file and you need to save that data so it can be remembered and the next time you ever bring that image in again it will remember how to place it on your scene and you wont need to register it again.
❖You can now exit the tool and your image is done:
