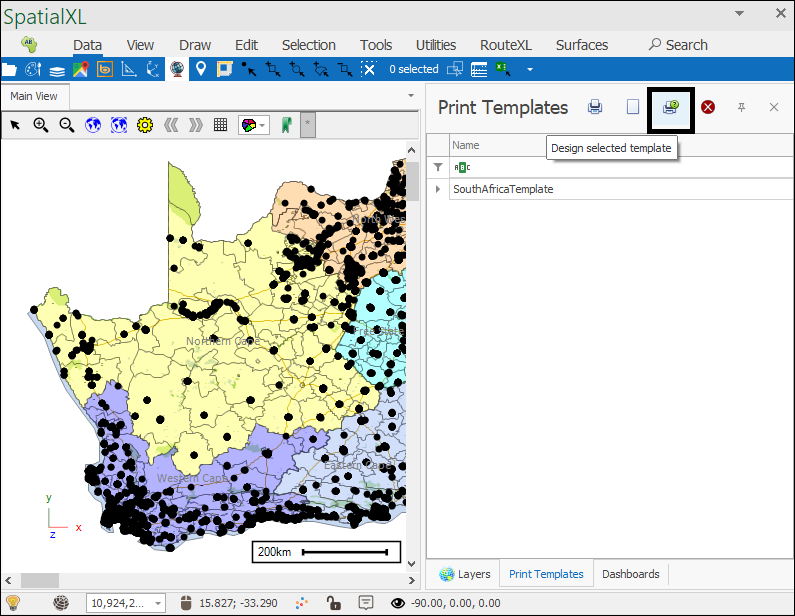
Print Templates
❖Print Templates is a feature that can be accessed in all our spatial products that allows you to create a print-out template containing your scene and various other data you wish to print:

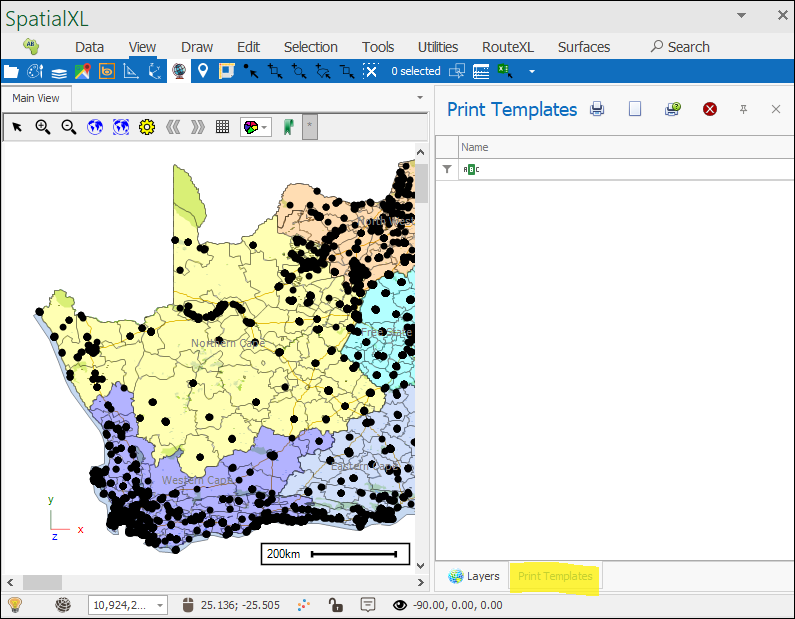
❖By clicking it on, a Print Templates tab will be added in the spatial pane:
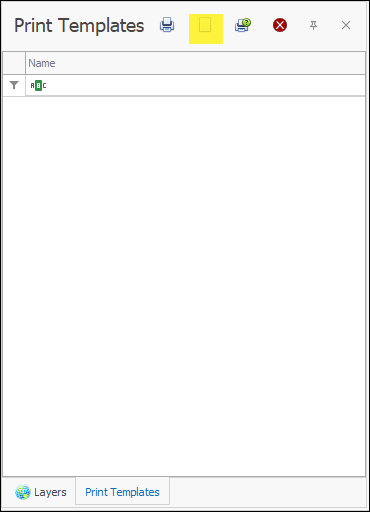
❖To create a new Print Template, click the blank page icon:
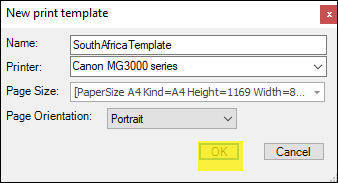
This bring up the following dialogue:
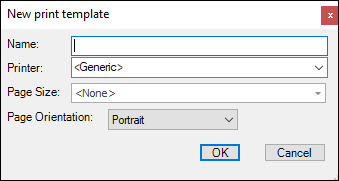
Fill in all the fields then click OK:
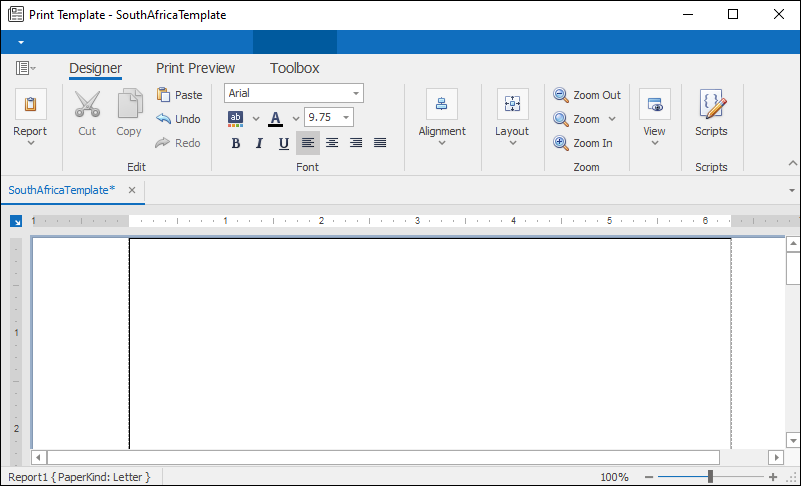
❖The Print Template Designer will now open:
❖Resize or maximize the window as needed to see everything and then adjust the zoom scale to see the full extent of the template:
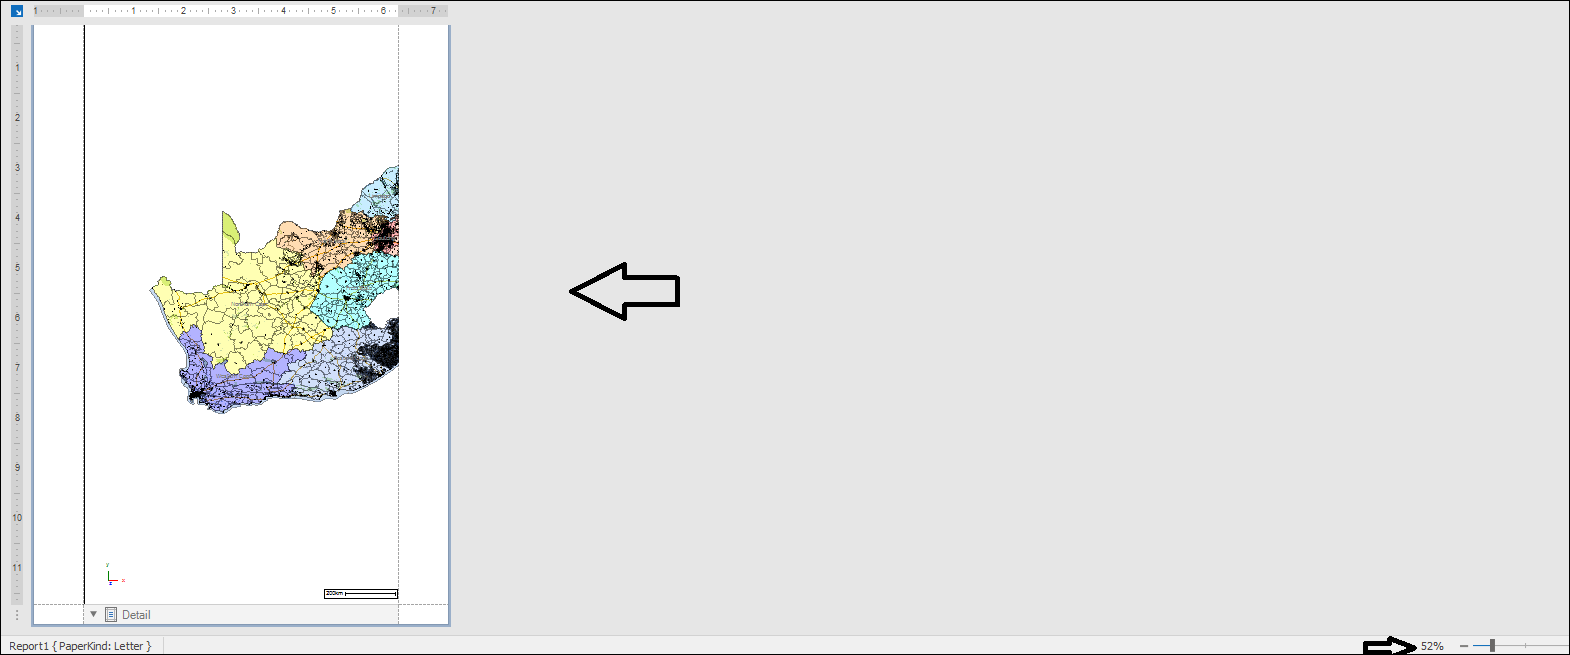
❖Now as you will see what has happened is that the Print Template has captured your scene for you however it existed in your spatial pane. It has captured it quite big and placed it in the top margin of the template which is too big in comparison to the rest of the template so we will resize the image and margin.
❖Click on the image and then drag it to resize:
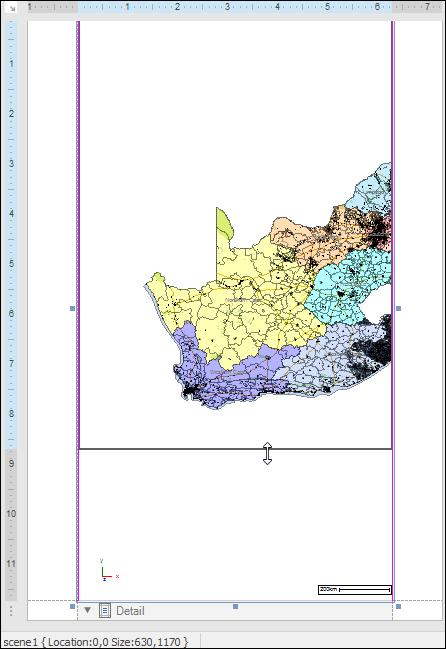
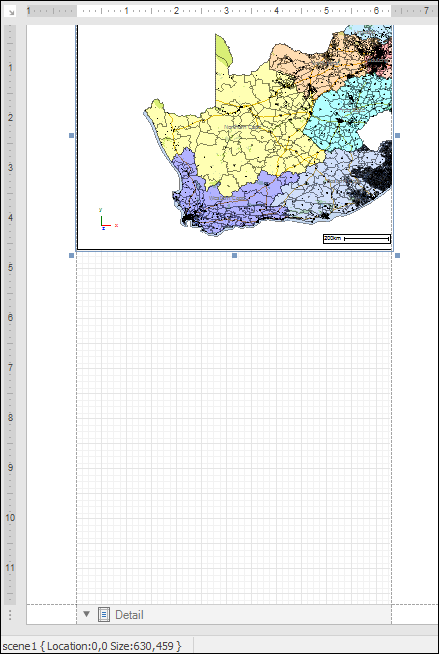
❖Now we need to resize the margin, to do that just click on the bottom line at the left or right margin and drag it up:
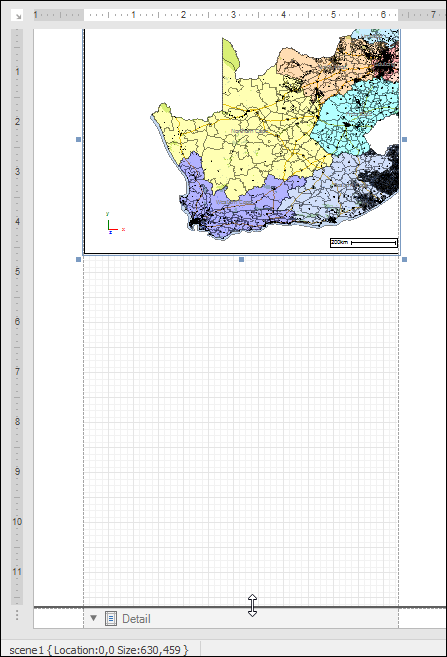
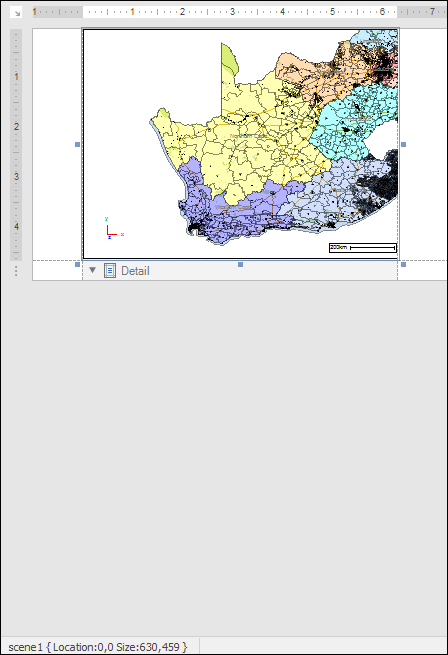
Your top margin and scene are now appropriately sized.
❖The Print Template consists of three parts: Top Margin( the header), Detail and Bottom Margin( the footer), to see this open up the Report Explorer window:
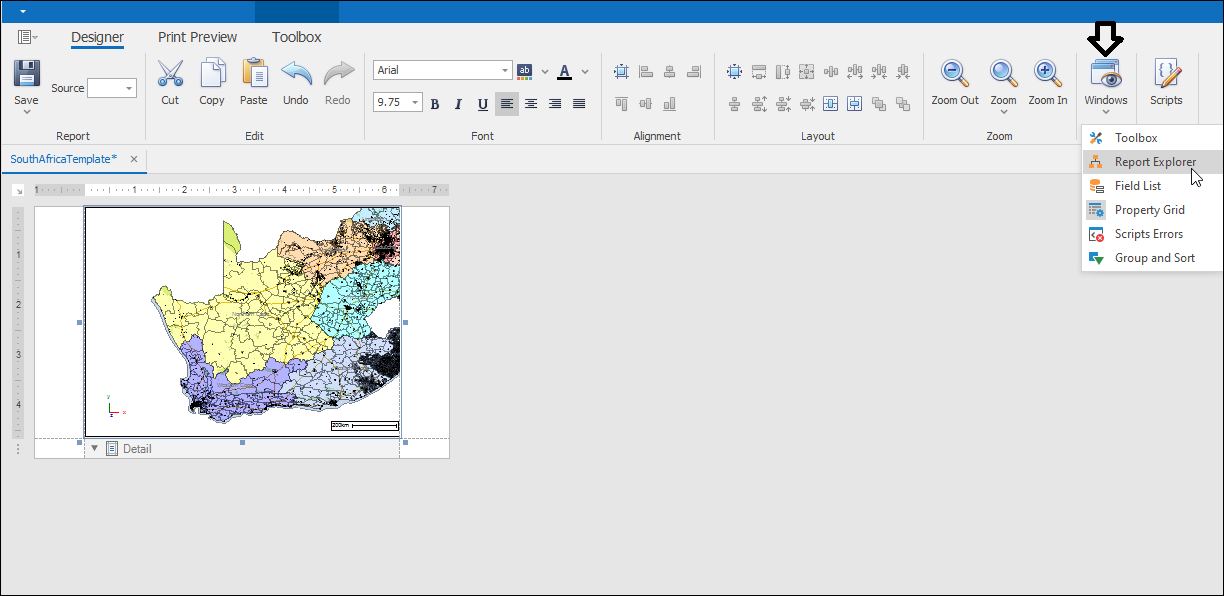
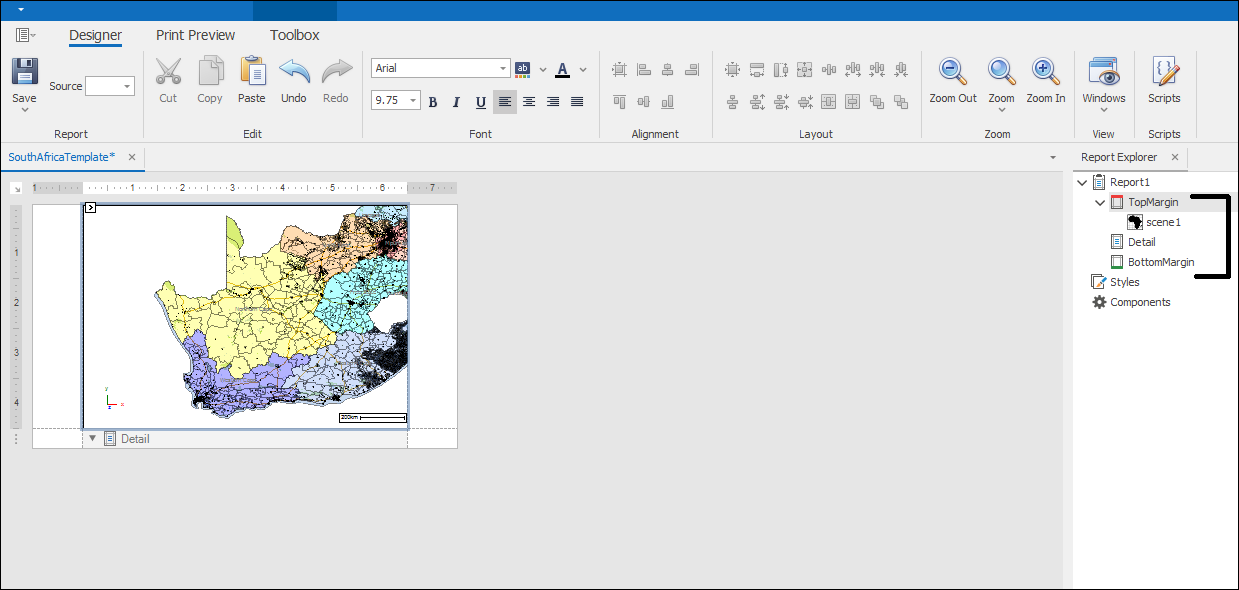
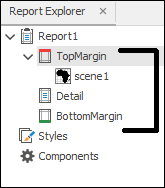
As you can see there is the TopMargin, Detail and BottomMargin. And you can also see that scene1 is contained in the Top Margin, which is the image of our scene that was captured.
❖Now we need to open up the template so as to see and work with all three parts of it. To open up Detail right click on it and select Edit and Reorder Bands:
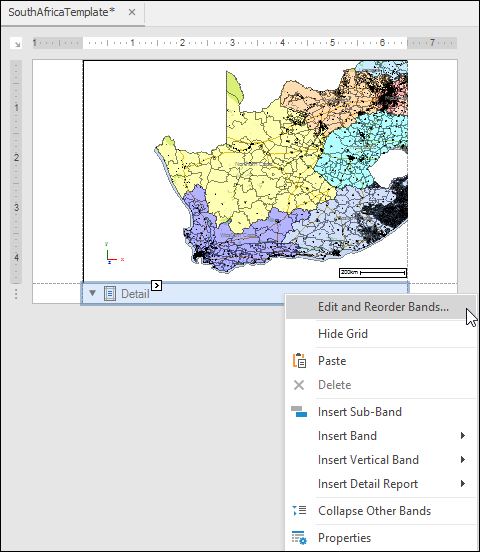
This brings up the Report Editor:
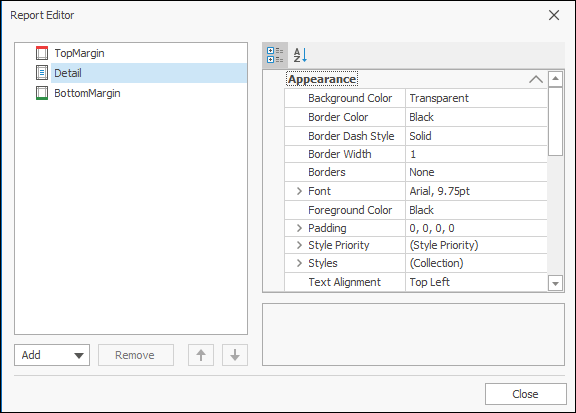
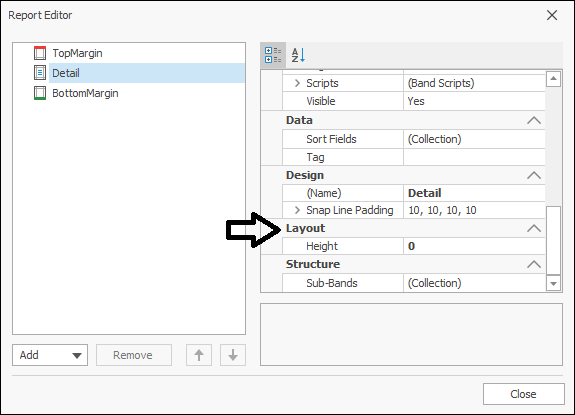
Scroll down and under Layout change the Height from zero to a number like 100:
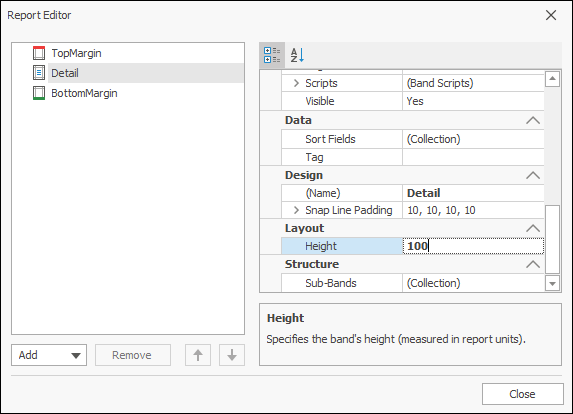
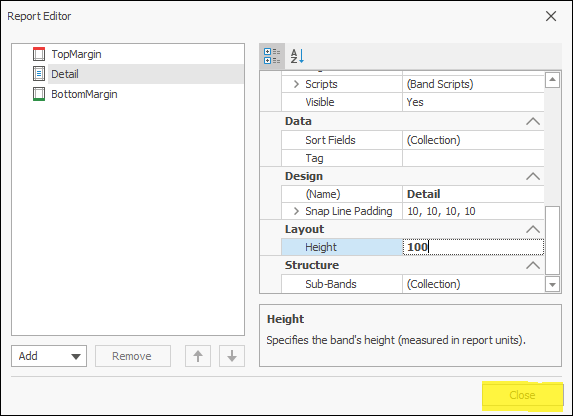
Then Close:
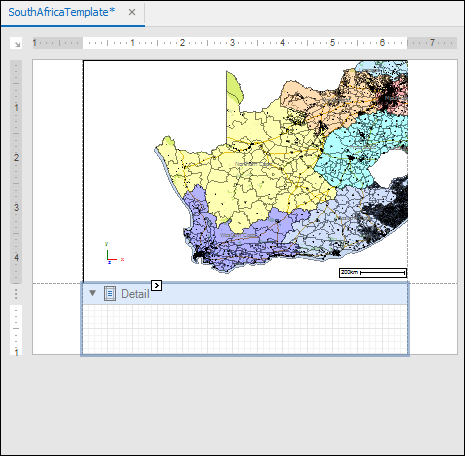
Your Detail section is now open and can be worked with and resized as desired by simply dragging the border lines of it:
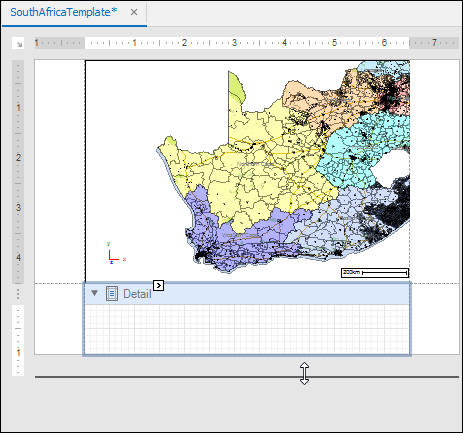
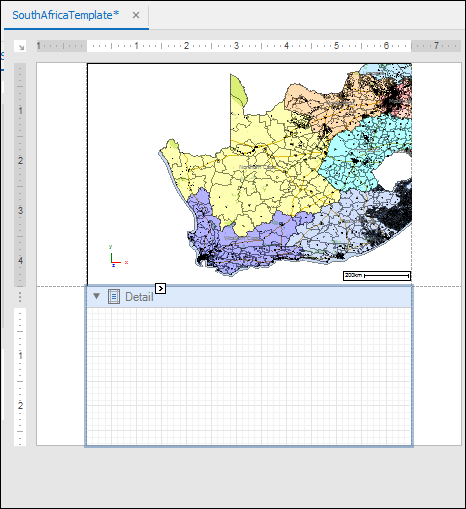
❖Next we open the Bottom Margin by just dragging at the borderline of the template here:
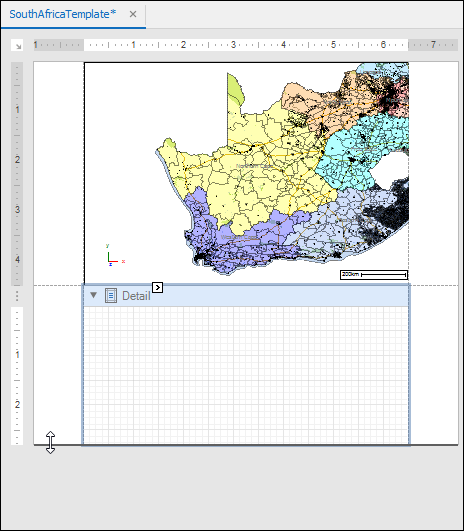
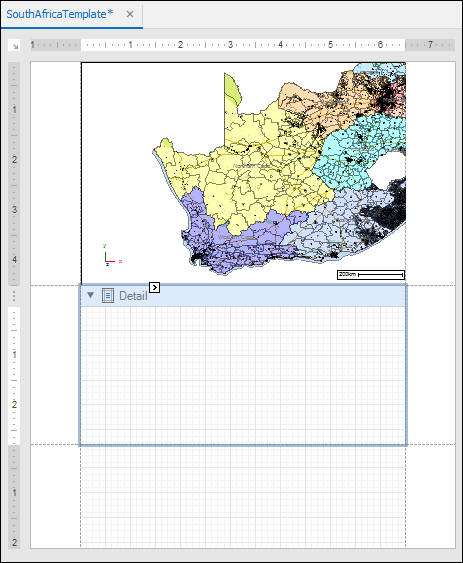
❖Notice as each part of the template is clicked on the Report Explorer responds accordingly:
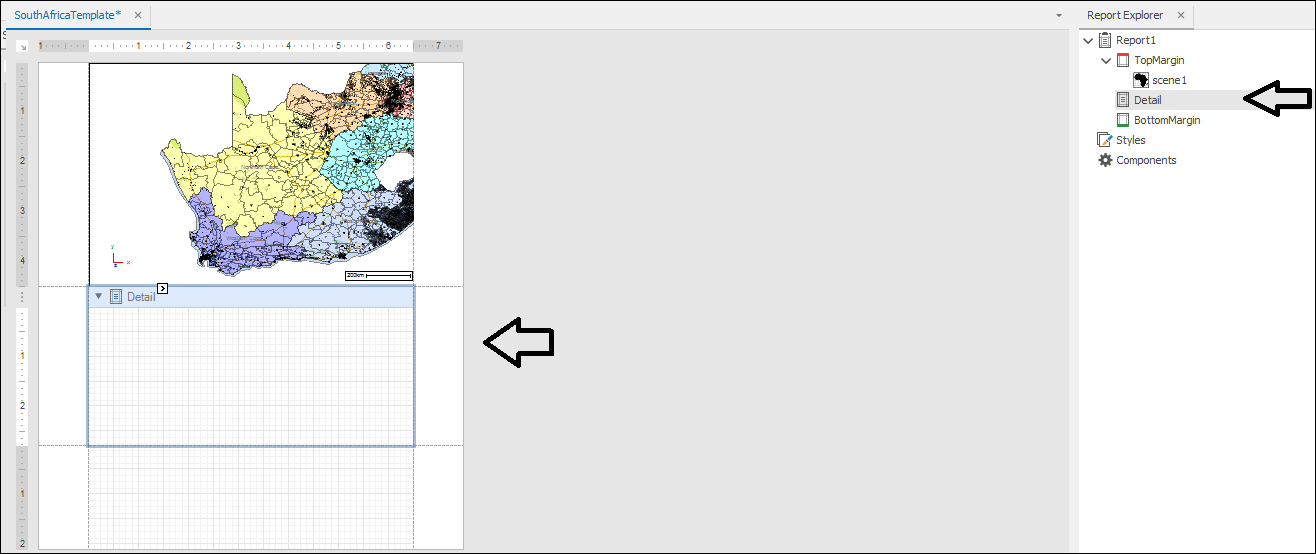
And if you click on any part in the Report Explorer it responds likewise in the template.
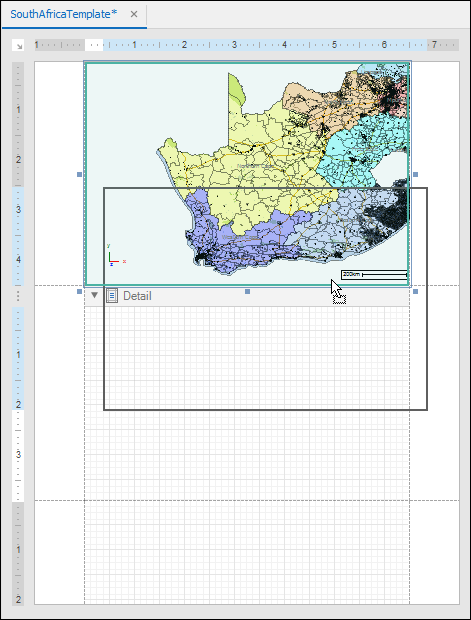
❖Now the Top and Bottom margins act like headers and footers so each page will contain whatever is put into these margins but the Detail section will be different for each page and is where you would put the main data that you want to show. So I will move the image of my scene into the Detail section, to do this just click and drag:
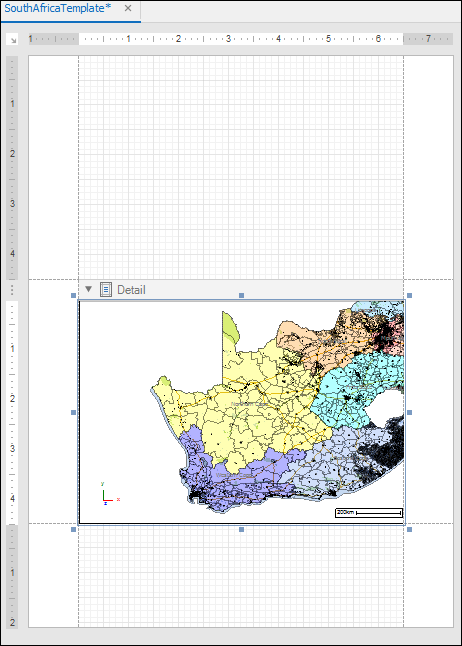
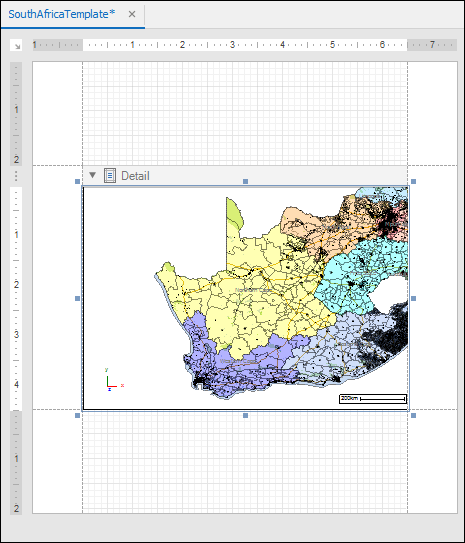
I can then reduce the size of my Top Margin:
❖The next window that is good to have open is the Property Grid which is where various settings relating to the different parts of your template can be set:
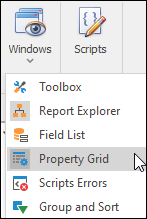
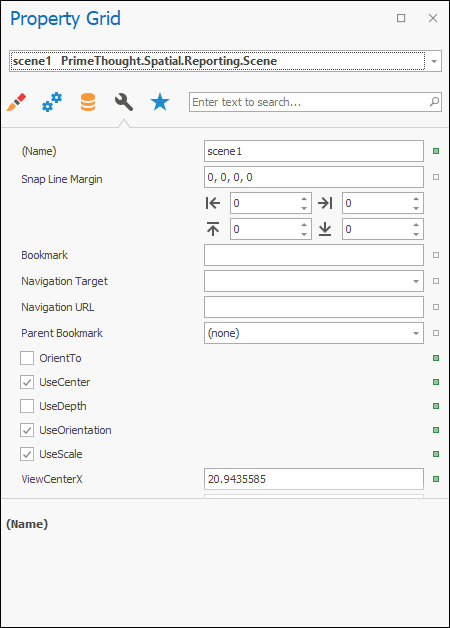
The main tab you would use in this is the Miscellaneous tab:
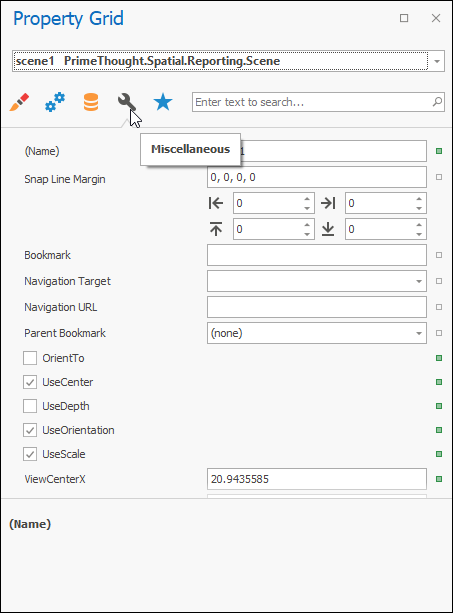
And whatever part of the template you are currently on ,and for which properties are being shown, will be shown here:
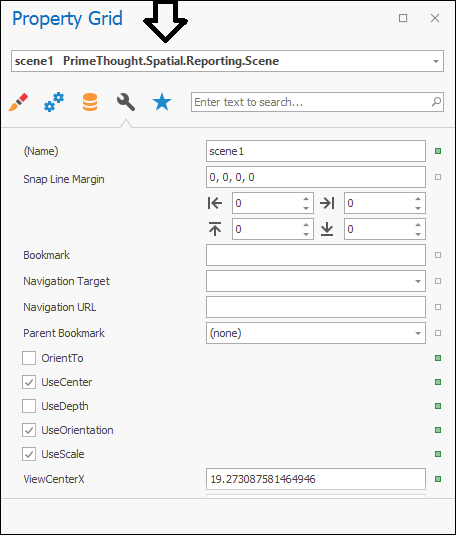
In this case the part of my template that I’m on is the image of my scene(scene1).
❖The first example I will go over with you on using this Property Grid is when your scene is being captured in your template. When the scene is captured it is taken directly from how it is in the spatial pane and then it is kept exactly like that as long as these options are ticked on:
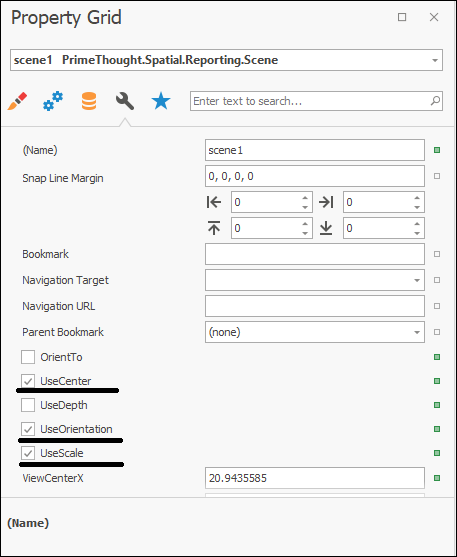
If however you untick these then if you were to go back to your scene and move it around and come back to your template then the scene in your template will change accordingly as it won’t be sticking to the original view center and orientation etc. of the original scene captured:
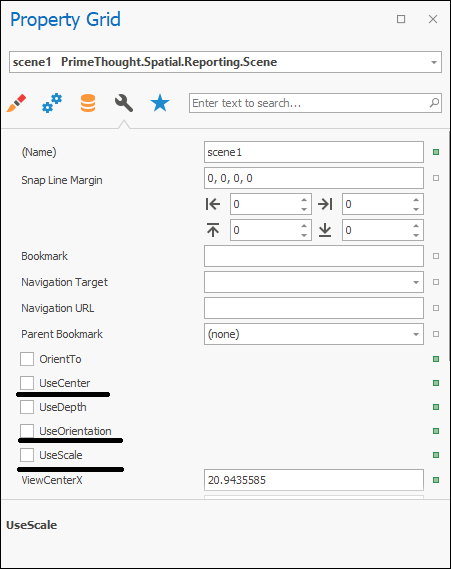
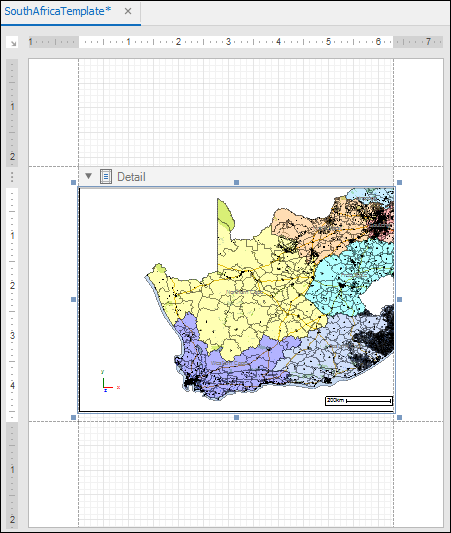
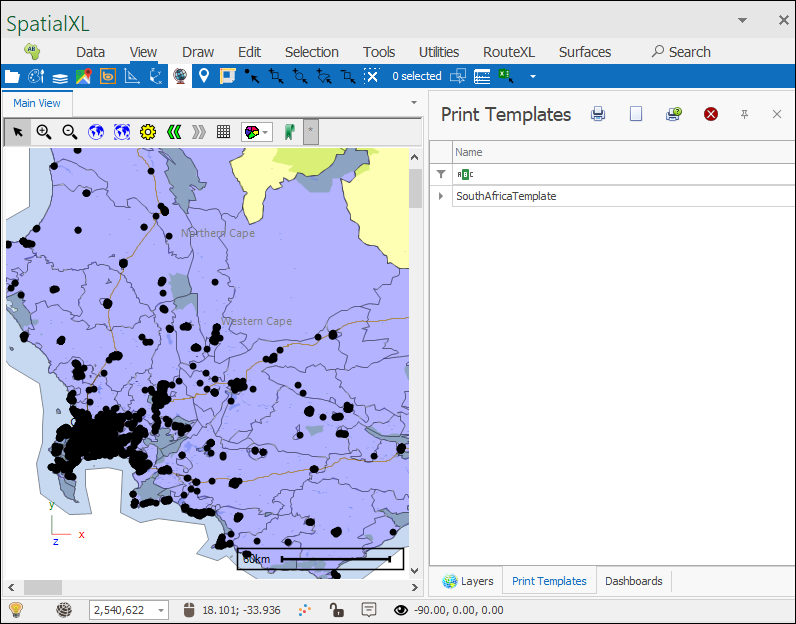
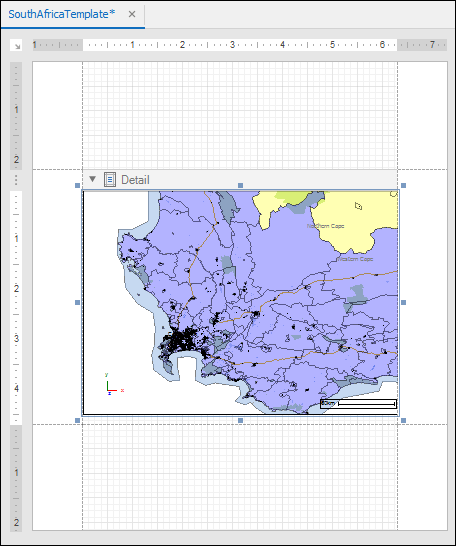
As you can see I went to my scene and zoomed into a certain province and then when I came back to my Print Template the scene had changed accordingly. If once you’ve captured a scene and you don’t want it to change( be dynamic) then you would make sure these options stay ticked on.
❖Now the next thing you can use is the Toolbox tab, here you can put various items into your template:
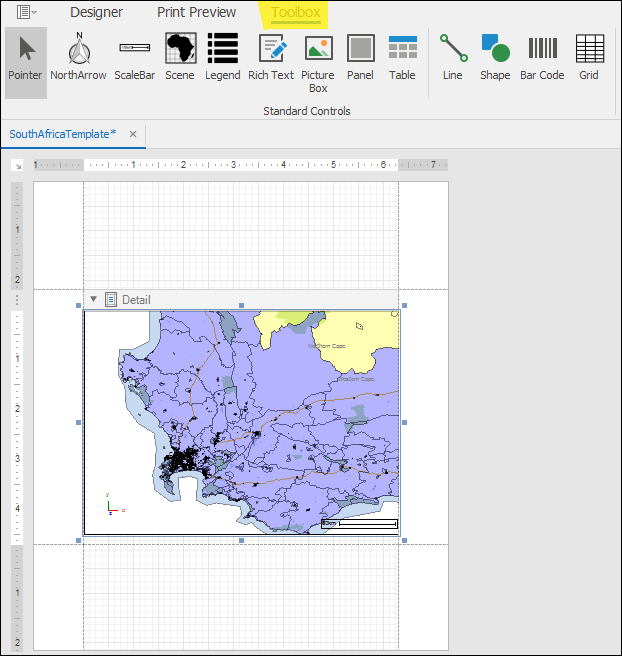
I will put in a legend for my scene by just clicking on it and then clicking in my scene where I’d like to put it:
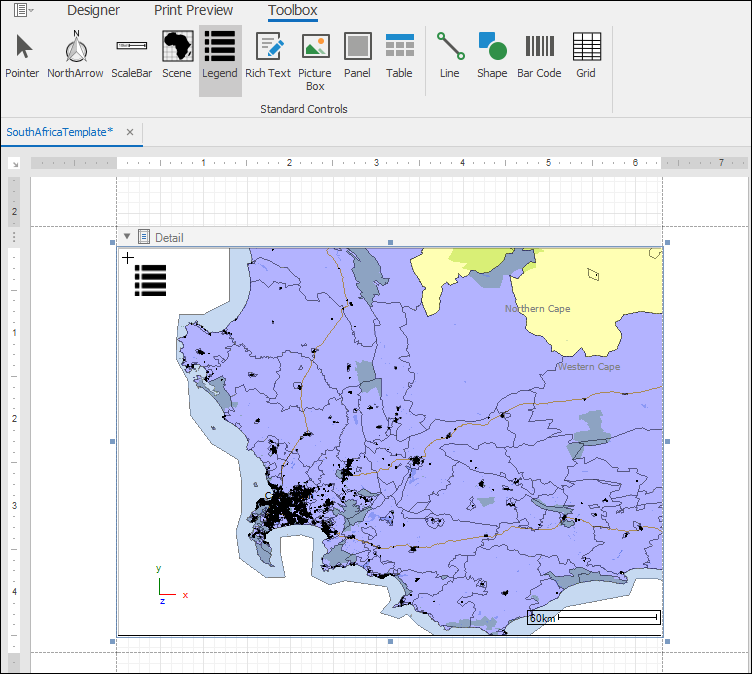
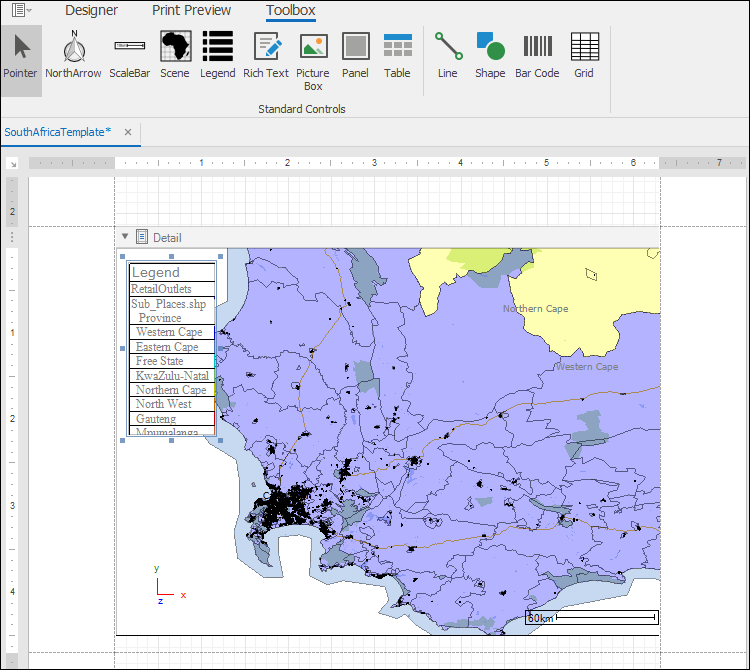
I can then resize it as needed and like anything in the template it can be moved around by just clicking on it and dragging it:
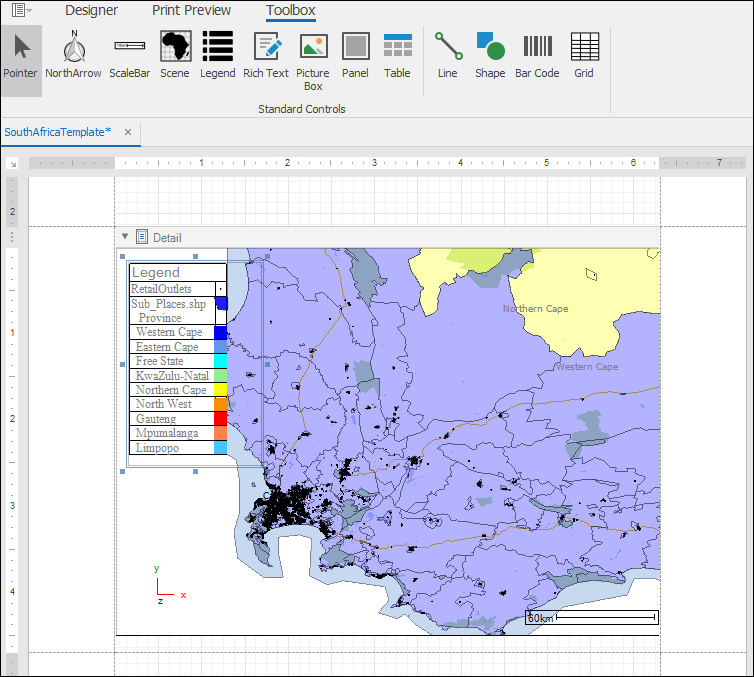
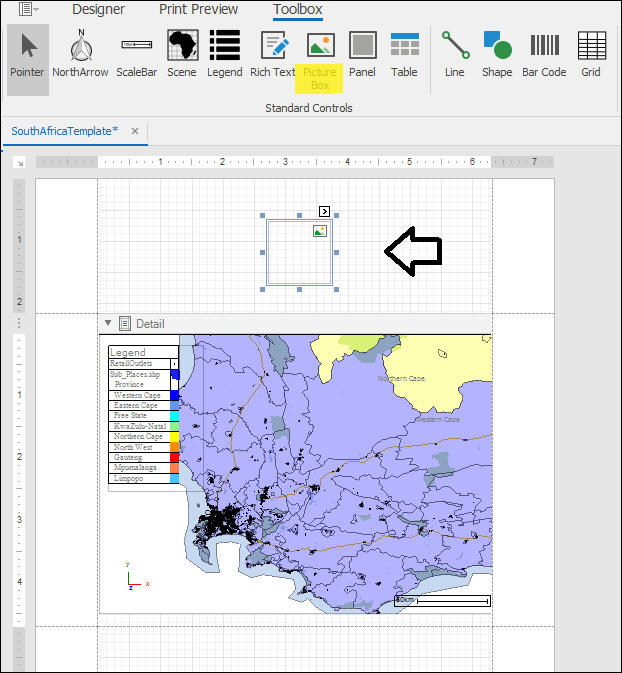
❖For my header I will put in a Picture Box where I can load an image:
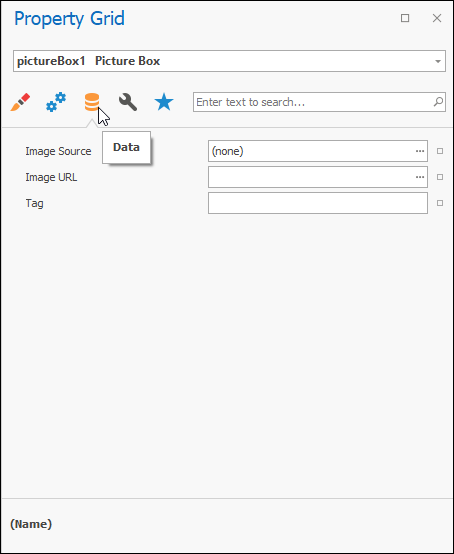
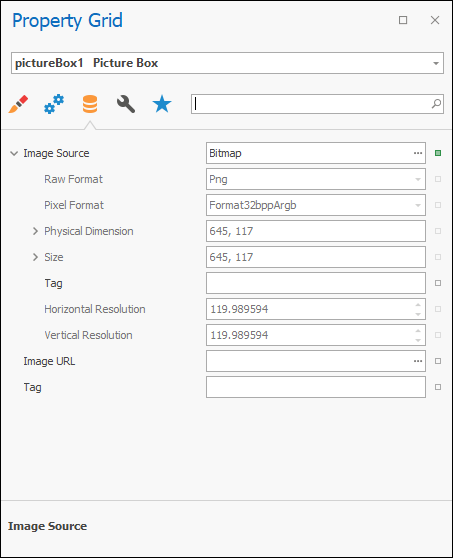
❖To now load an image in this box make sure it is clicked first and then go to your Property Grid into the Data tab:
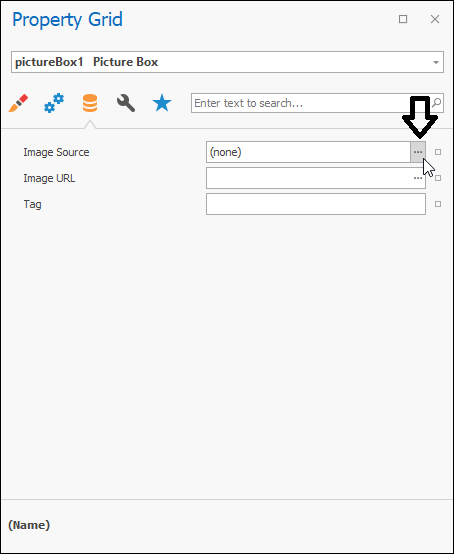
Then by clicking the three little dots by Image Source you can browse to the image you want to load and load it:
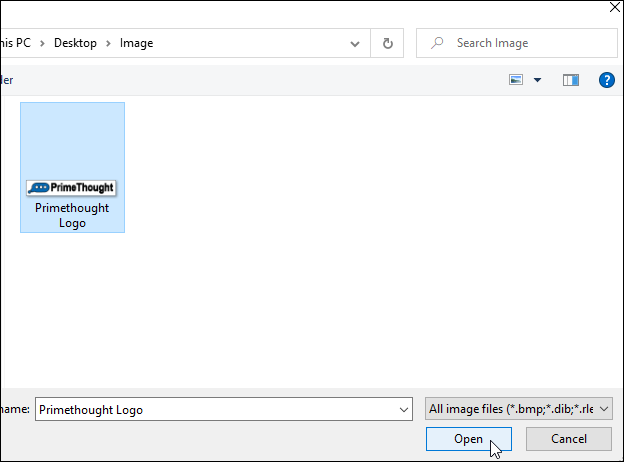
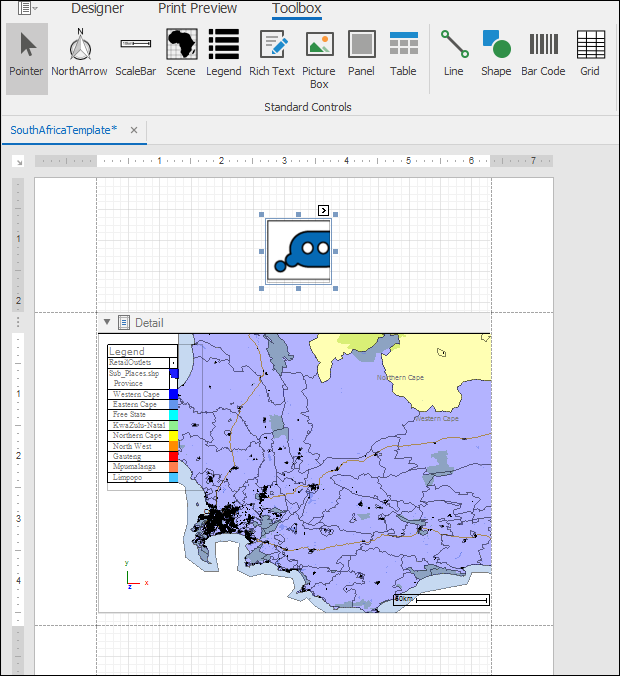
The image has now been loaded and I can resize it as desired:
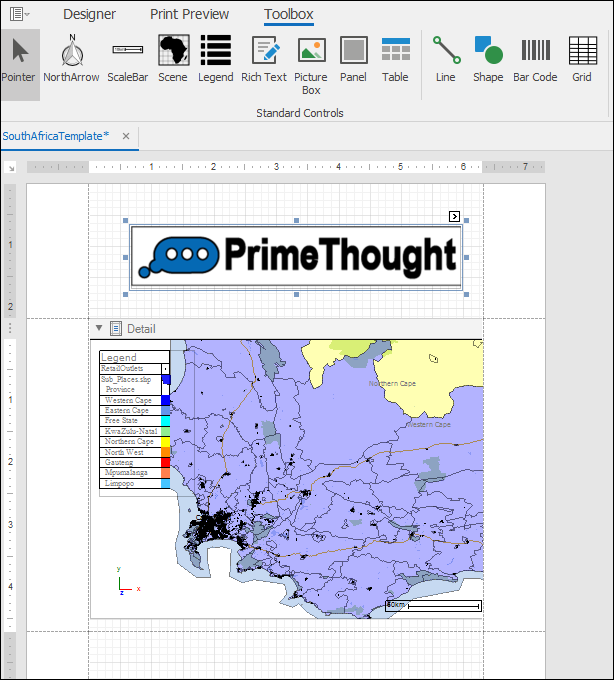
❖Lastly I will put a picture box as well in my footer:
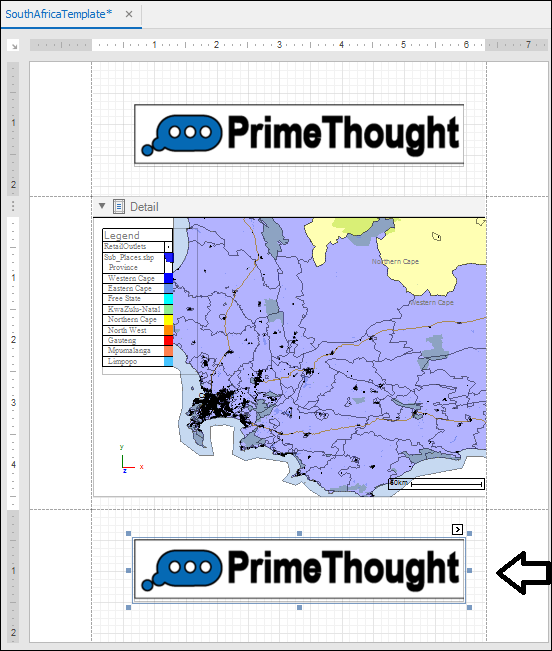
❖Now what you can also bring into your template is the scene itself in place of or in addition to the scene already captured, however your scene is currently in your spatial pane it will be brought in like that. What I will first do is go to my scene and zoom into a different province on the map:
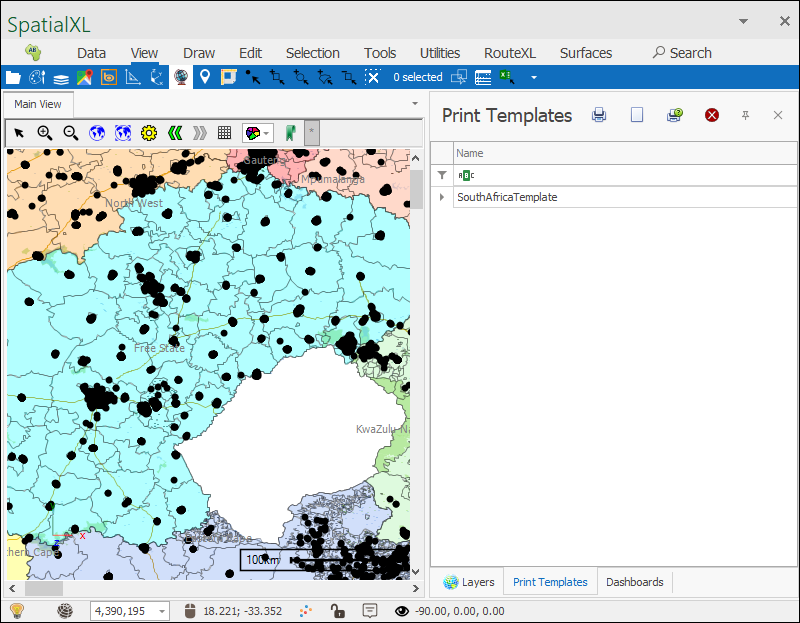
Then I will come back and click on the Scene tool in the ToolBox tab and drag or simply click in the template where I would like to put the new scene:
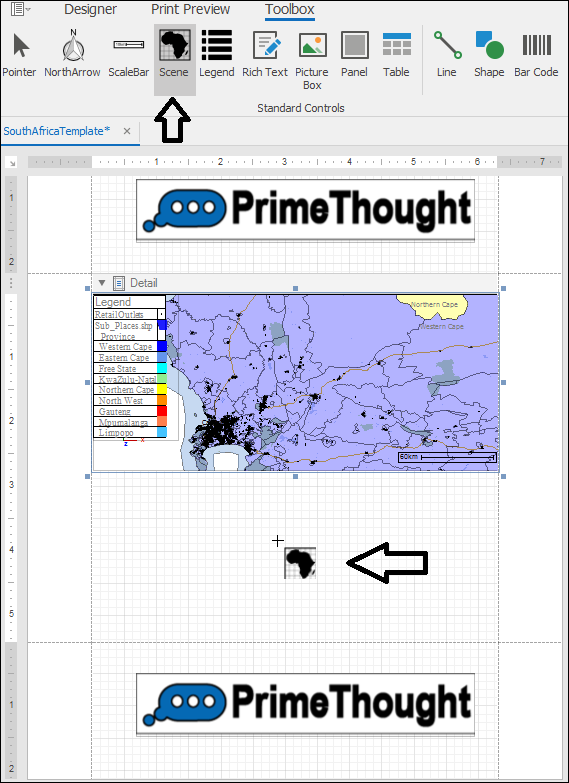
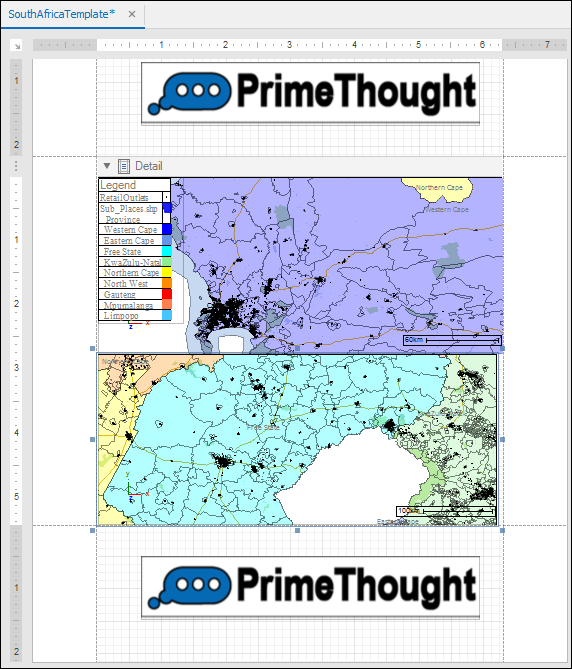
As you will notice the original scene I had didn’t change even though I went to my spatial pane and changed the scene around and this is because I made sure its view center and orientation etc. was fixed as gone over earlier. But the new scene brought in of course has the state of the current scene in the spatial pane.
❖Now the next thing to go over is this situation where you have more than one scene. When bringing in any of the tools from the ToolBox you must make sure that they are set to the correct scene. For example I will bring in a legend for this new scene I brought in:
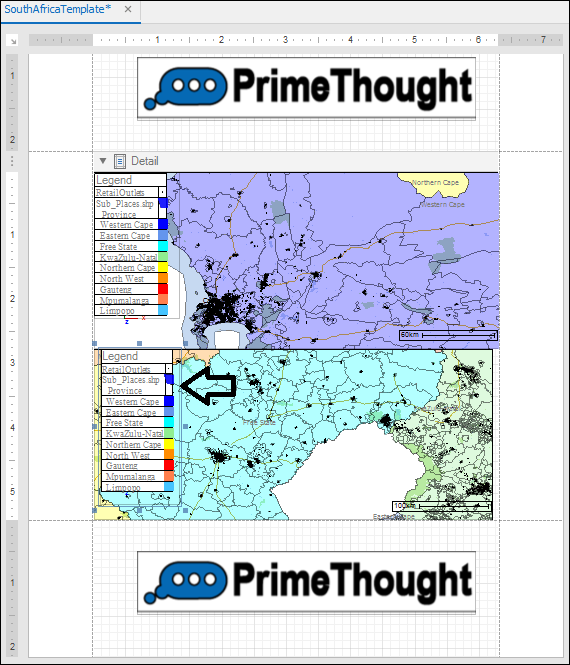
Now to make sure its set for the correct scene I will make sure its clicked and then I will go to the following location in the Property Grid:
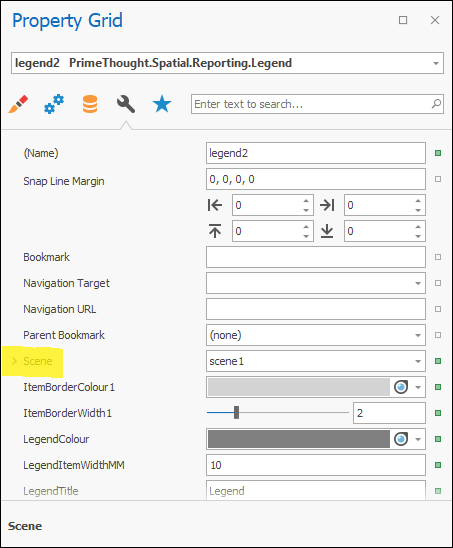
As you can see its set for scene1 which is wrong so I will set it for the correct scene:


❖Finally you can view the print preview of your template by going into the Print Preview tab:

❖Once you have closed the Print Templates window all your work is saved and will be seen as an item in the Print Templates tab in the spatial pane:
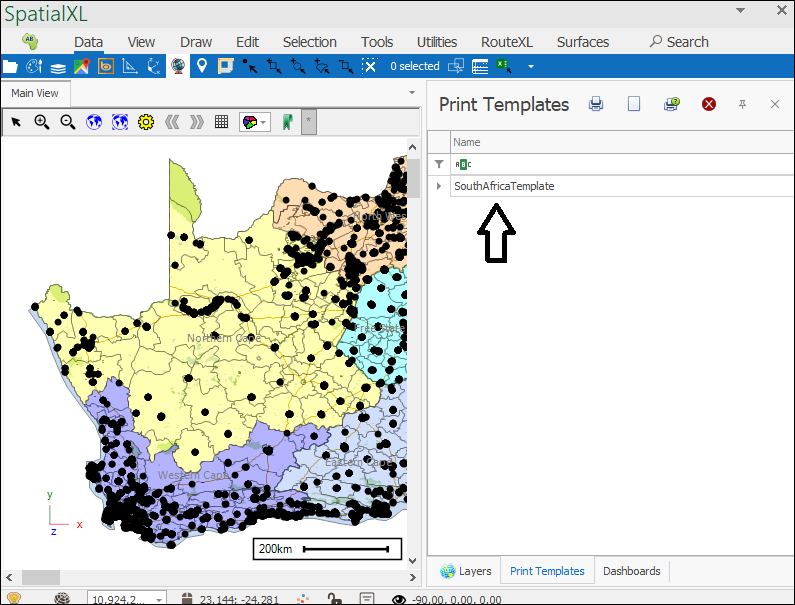
You can then access it again by viewing it in Print Preview mode:
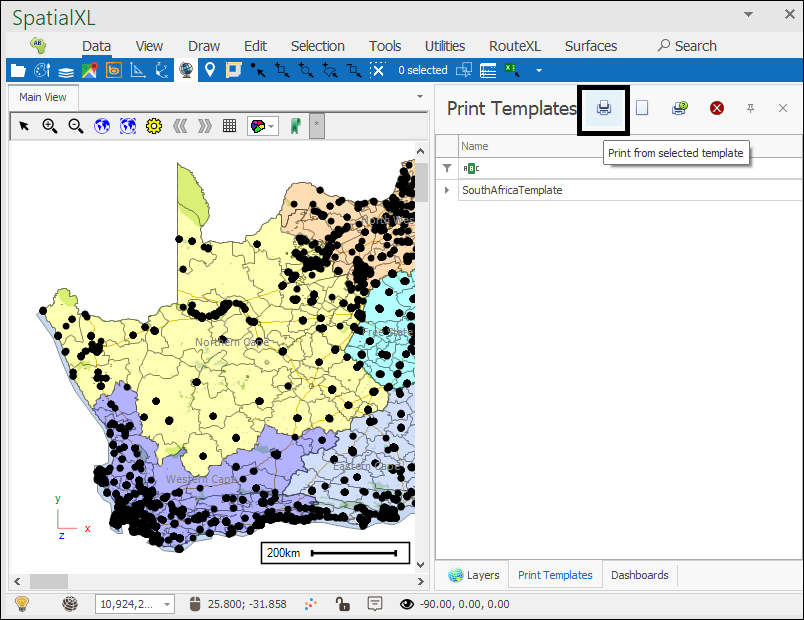
Or in Designer mode:
