Match Point Data Tool
❖The Match Point Data Tool is a SpatialXL tool that matches point data from an input set to a base set using a radius and attribute criteria. It can be found in the Tools tab:
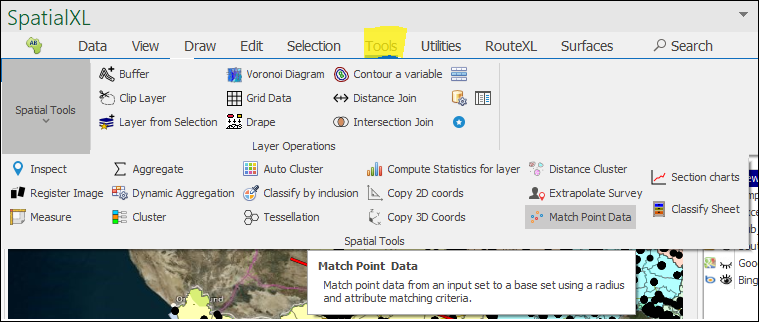
❖It is used when you have two sets of points which have the same points but maybe with slightly different coordinates or a different name for the point in each set; the sets would be from disparate sources. It is used to verify that your base set is correct and is not missing any points. It can then be used, once you’ve verified that the points in your base set are good, to do a gap analysis and see where you are falling short and who you are not reaching.
❖Here is how the tool interface looks:
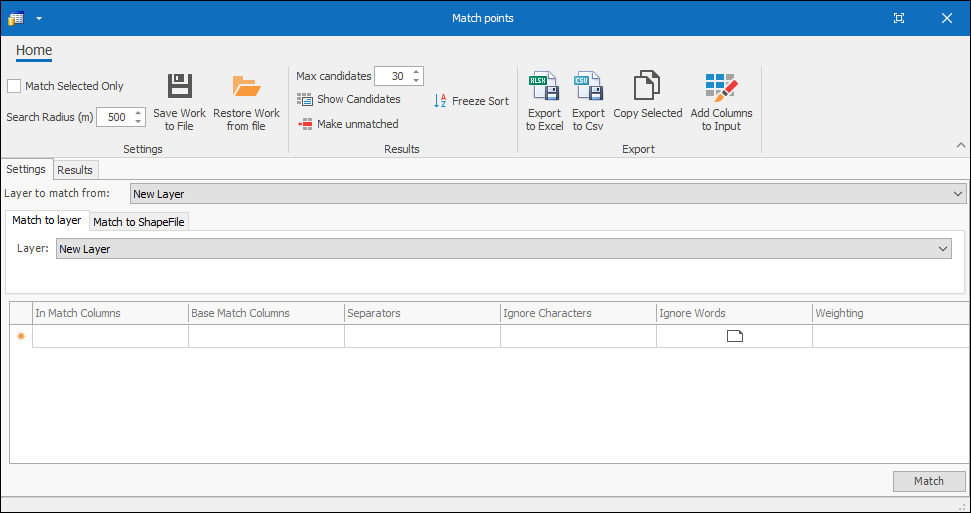
❖In the Layer to match from you put your base set and in the Match to layer you put your input set:

❖In Match Columns is where you put the field in your input data that you would like to match on; this can be an outlet name or coordinates field etc.:
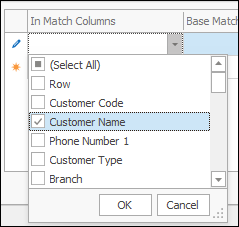
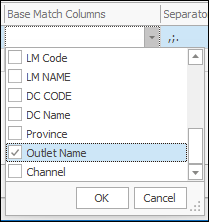
❖And Base Match Columns is where you put the field in your base data that you would like to match on:
❖In the Separators column you can choose what you would like to act as separators in your data and in Ignore Characters you can specify what characters you would like ignored:
![]()
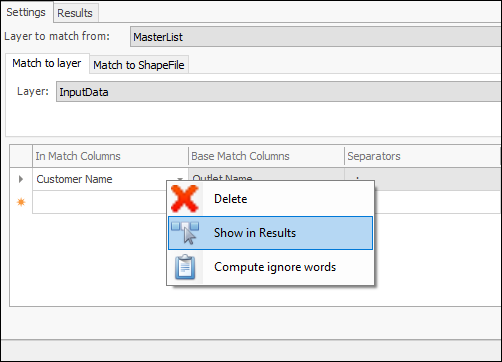
❖With the Ignore Words column you can specify which words you would like to be ignored when doing the match and you can actually Compute Ignore Words which will give you a list of the words in your data and data about how many times each word is used in the data. Right click on Ignore Words or anywhere in the grid to Compute Ignore words:
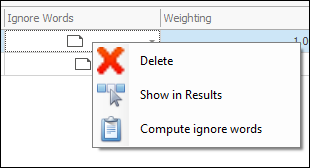
Click on it and then you will see the list of words with data about their frequency where you can choose which words you want to ignore:
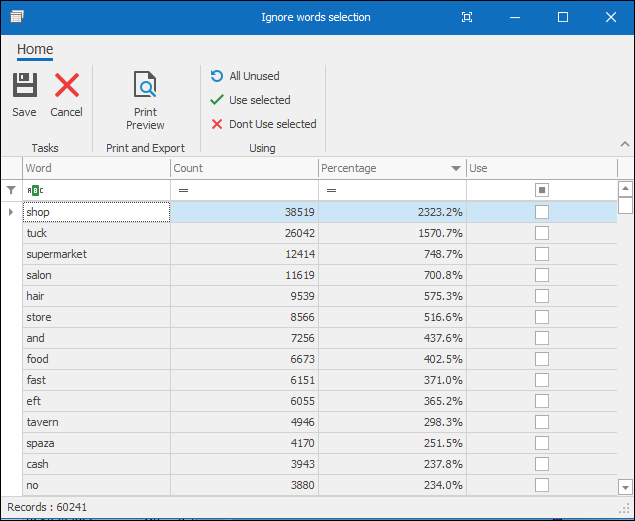
You would usually want to ignore words with a high frequency as they might cause you to get false negatives where there was actually a match. For example, in your Base data you might have an outlet called Bobs Shop and in your Input data there might be an outlet called Bobs Store. If you didn’t choose to ignore the words “shop” and “store” it would say there was no match where there in fact was. “Shop” and “store” are examples of high frequency words and words you would want to ignore.
❖The Weighting column is where you specify the weights of any successful match on the match columns you are specifying:
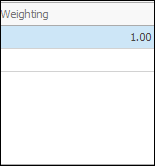
❖You can choose to match on other fields in your data as well by just clicking the next row down and filling in the data as above:
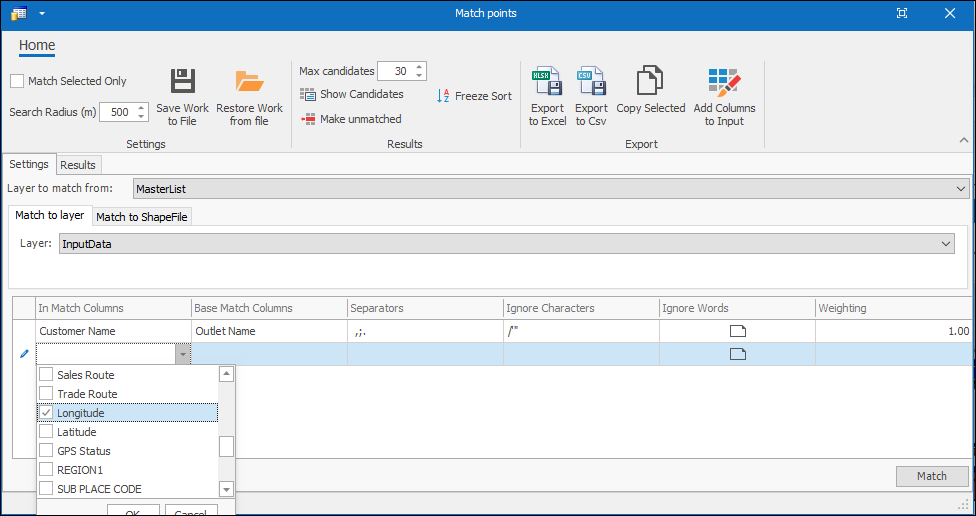
❖In the ribbon of the Match Point Tool you will see you can specify the Search Radius which basically tells the tool to search only within the given distance for matches. And you can also specify Max Candidates which will tell the tool what is the limit on how many matches it can find for each point:

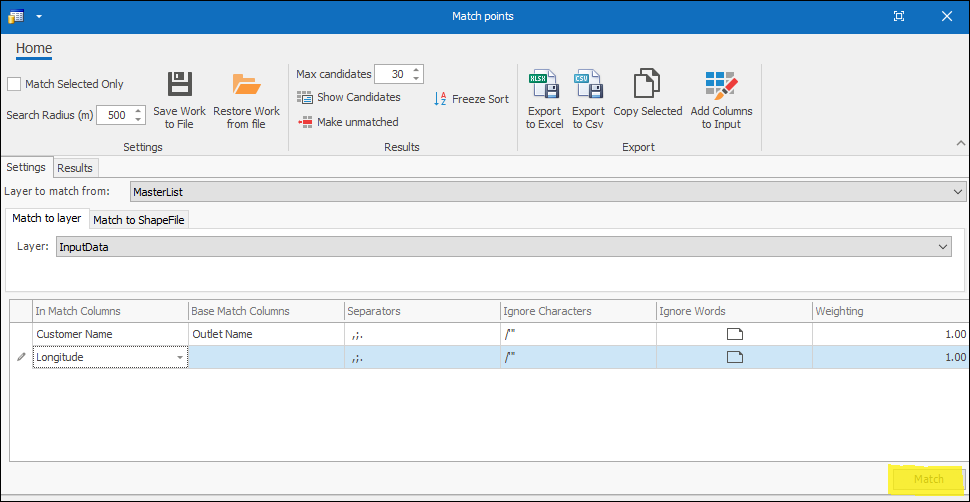
❖Once you have set everything up you can now go ahead and run the match by clicking the Match button:
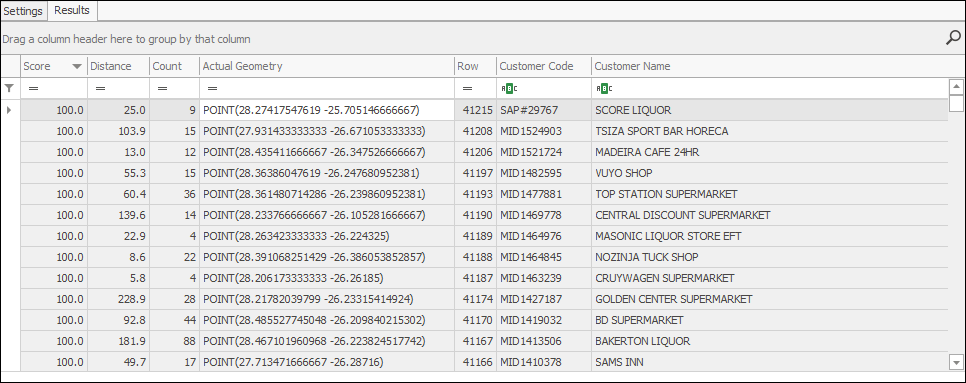
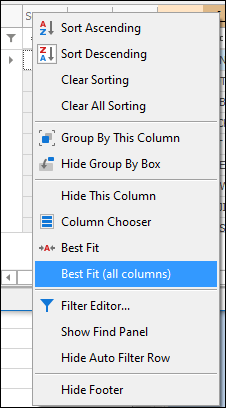
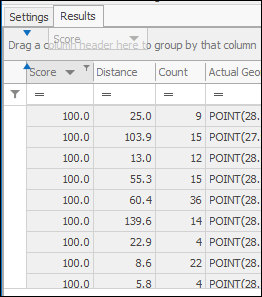
❖You will now see your results displayed in the Results tab, you will see a Score showing how well each point matched, the Distance within which the match fell and a count of how many candidates were found. Right click any column header and select Best Fit (all columns) to fit your columns nicely:
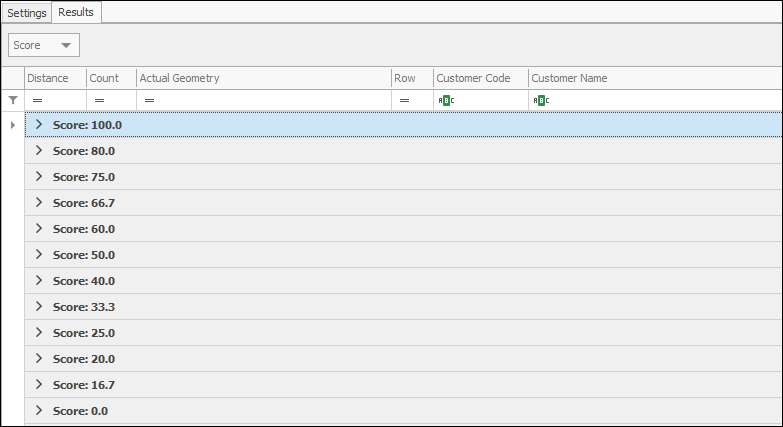
❖Drag any column header into the grouping area above to group by that column:
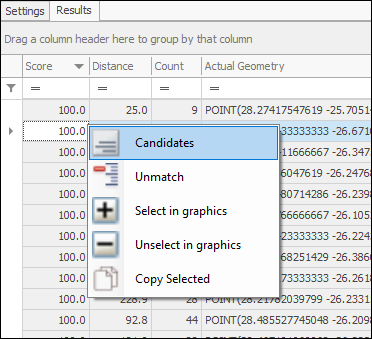
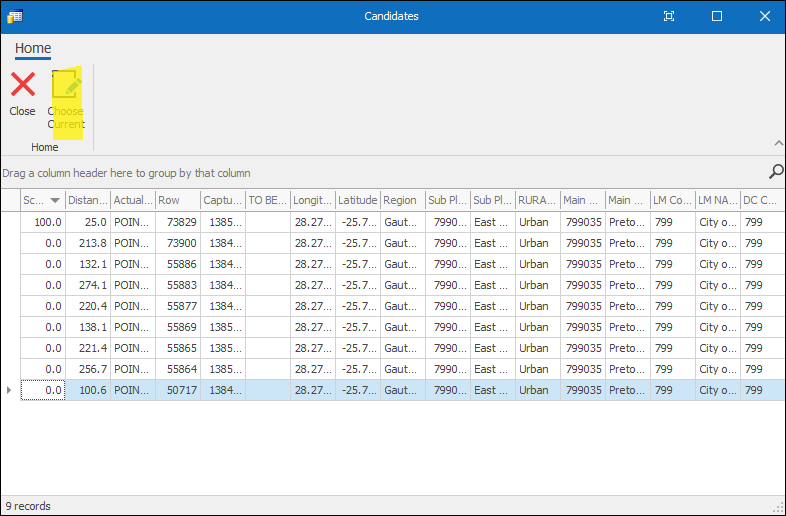
❖By right clicking on a point and clicking Candidates you can get a list of all the potential matches and you can adjust what was chosen as the best match if you desire by clicking Choose Current:
❖By right clicking the appropriate row in the grid of your Settings tab and then selecting Show in Results, you can then have the fields you chose to match on shown clearly side by side in your results:
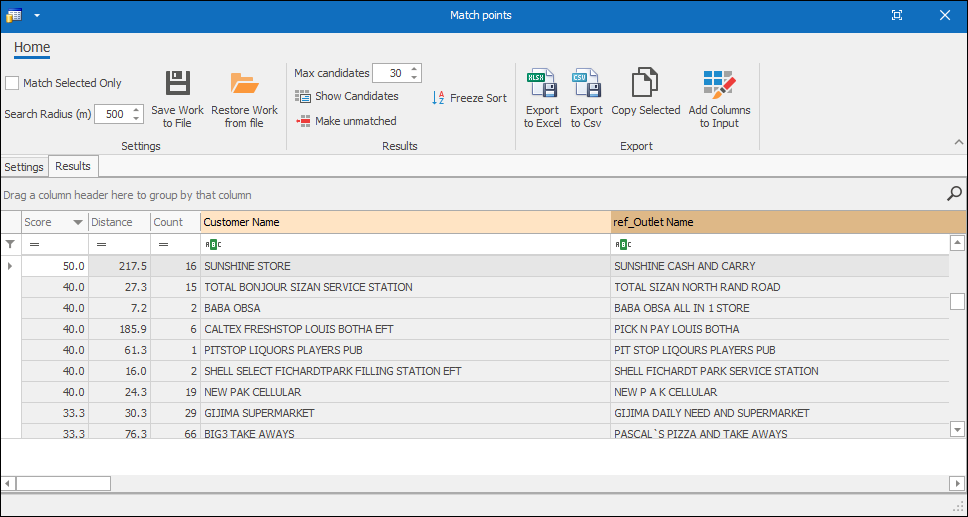
❖You can then copy out these results by selecting them and then right clicking and selecting Copy Selected:
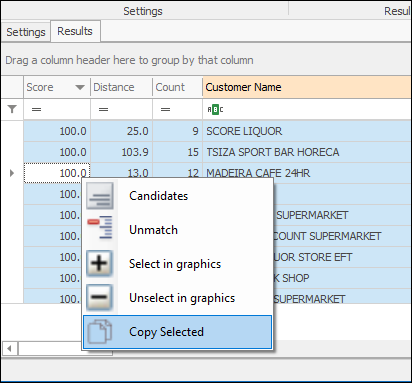
Or you can Export to Excel or Export to CSV or Copy Selected by selecting the appropriate button in the ribbon:

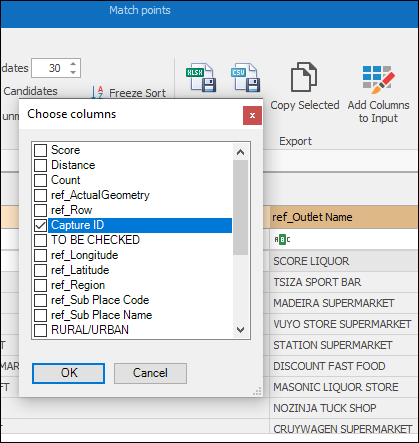
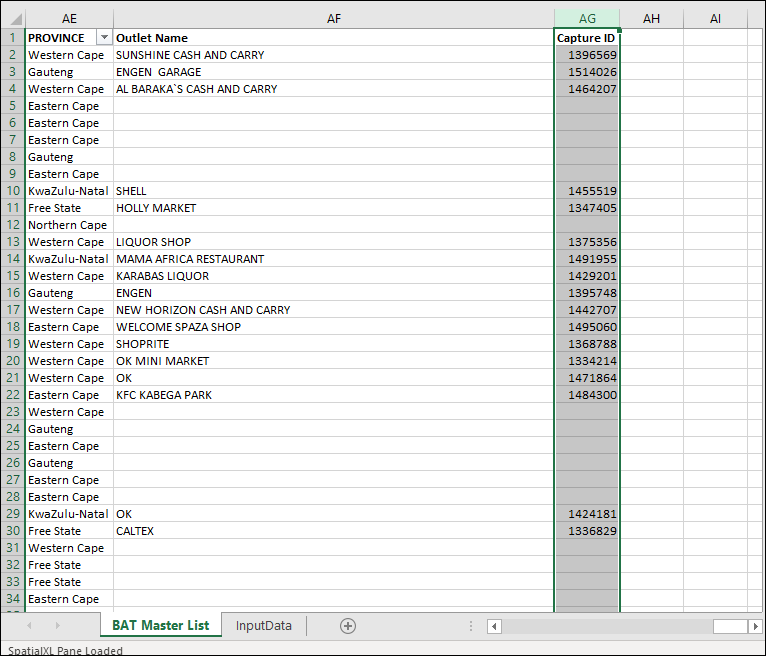
❖The Add Columns to Input feature can also be made use of and it allows you to choose columns from the match record to be inserted into your input layer in Excel. For example, here I chose the Capture ID column and it then populates in my Master List and then I can use this to do V lookups etc.
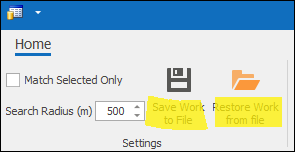
❖To save you click on Save Work to File and then to reopen that file at a later point exactly how you left it click Restore Work from file:
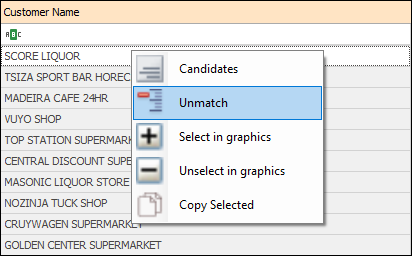
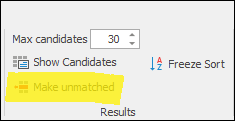
❖To make any match that you don’t agree with unmatched, just right click and select Unmatch or select the Make unmatched button in the ribbon:
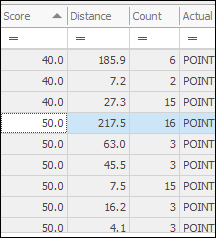
❖By clicking once on any column header you can cause that column to sort in ascending order and this will be indicated by an upward facing arrow:
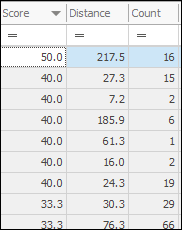
By clicking it again you will cause it to sort in descending order and this will be indicated by a downward facing arrow:
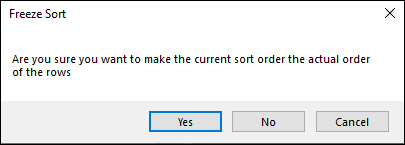
❖To freeze the current sort order of the rows, select Freeze Sort in the ribbon, this will make the current sort order the actual order of the rows:

You will then be prompted to select if you are sure you want to do this, if you are select yes:
