❖In the ribbon of the Layer Data Grid are various things you can do. We will take up each section of the ribbon:

❖In the Filter section you have the option to Filter Graphics or not, this means that when you filter in the grid this will reflect in the graphics as well, this is ticked on by default:
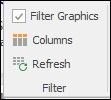

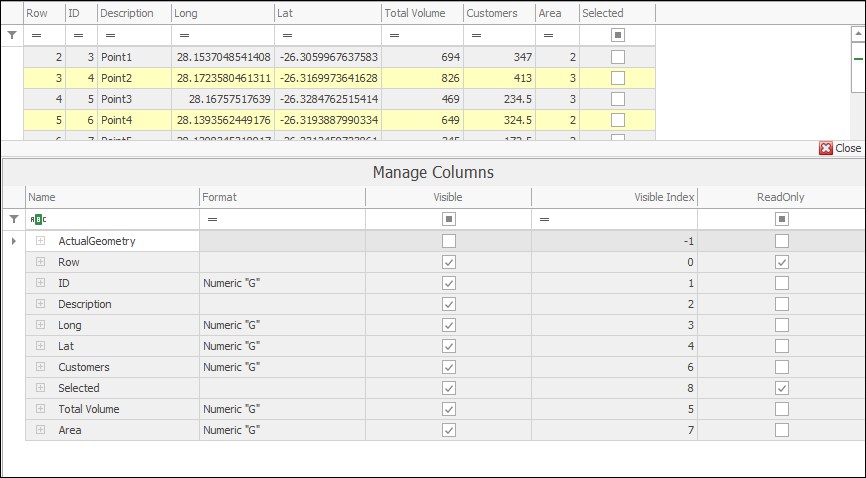
❖ Clicking on Columns will bring up the Manage Columns dialogue where you can tick on or off what columns you would like to have showing or not and whether they are Visible. You can also see whether they are Read Only:
❖ Refresh will refresh the grid if you have made any changes and this is needed:

❖In the Edit section you can choose how you would like to edit the grid; Inplace will let you edit the grid in the grid itself:

![]()
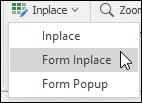
Form Inplace will bring up an edit form in the grid when you edit double click in the grid to edit:

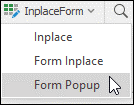
And Form Popup will bring up the edit form as a pop-up window:
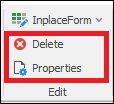
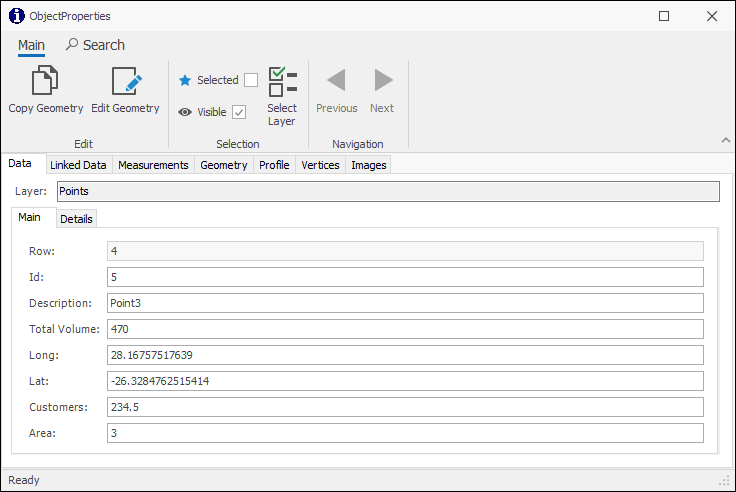
❖Delete will delete the selected column/s and Properties will take you to the Object Properties box for the selected row where you can see various details about that record and do various things concerning it (this is the same Object Properties box that comes up when using the Inspector tool, see SpatialXL Guide, Map Tools section, Inspector):
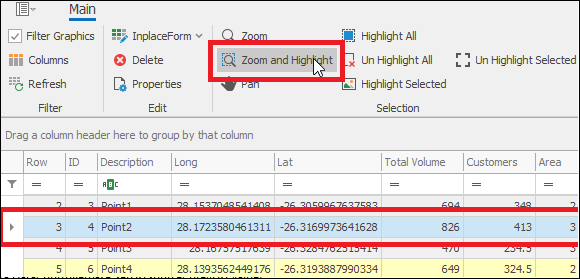
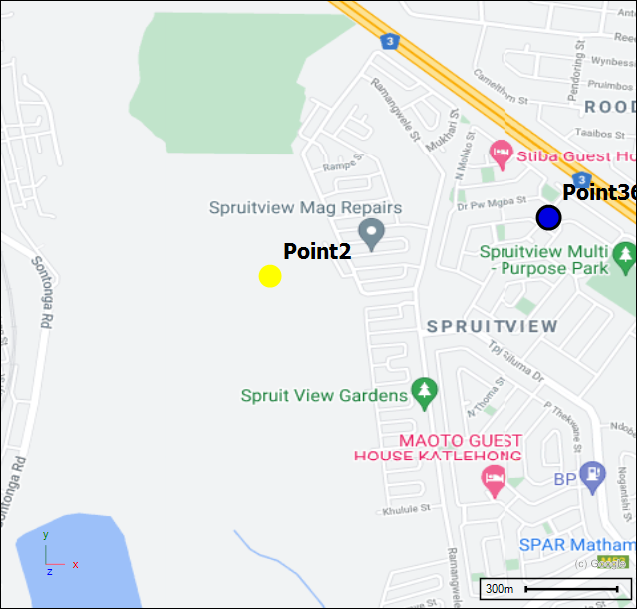
❖In the Selection section you can zoom, pan and select etc. a selected row or rows; the row/s will be zoomed/highlighted/panned to in the scene:

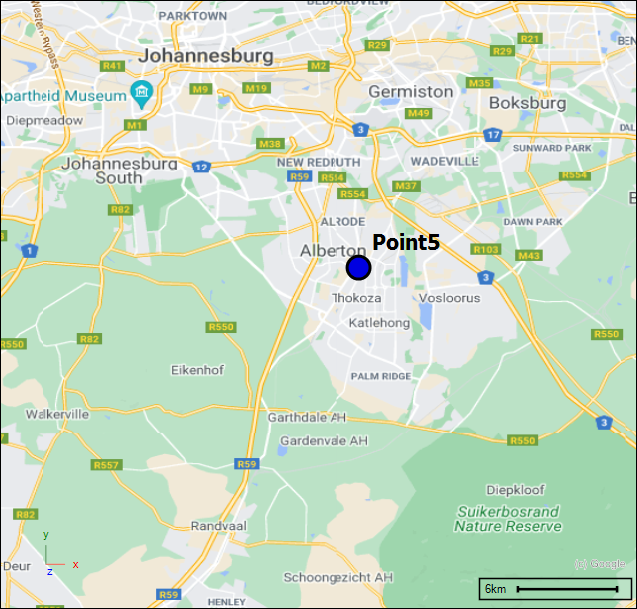
For example, I will Zoom and Highlight a row in my grid:
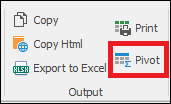
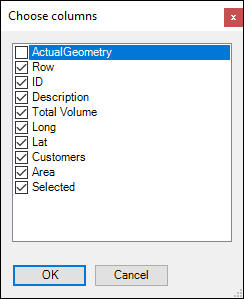
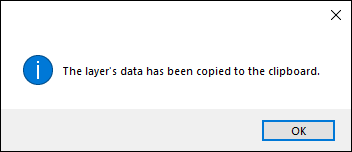
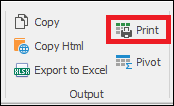
❖In the Output section you are able to Copy selected rows (to select all rows do ctrl A), a dialogue will then come up prompting you to choose which columns to copy out, then click OK and your data has been copied to clipboard:
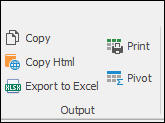
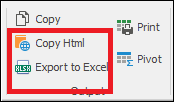
❖You can also copy out selected rows as HTML with Copy Html. The data grid can also be exported to Excel with Export to Excel which will export it to a new workbook:
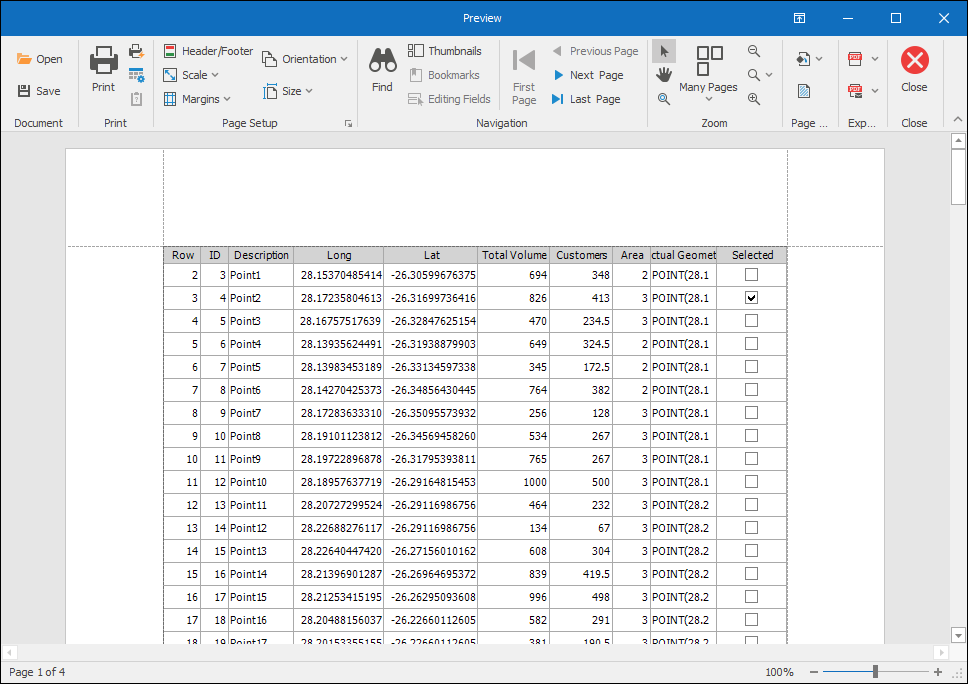
❖Print will bring up a print preview of your data grid where you can edit and do various things before printing it:
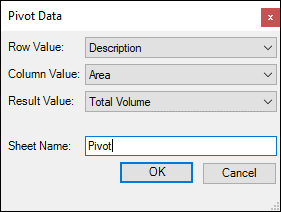
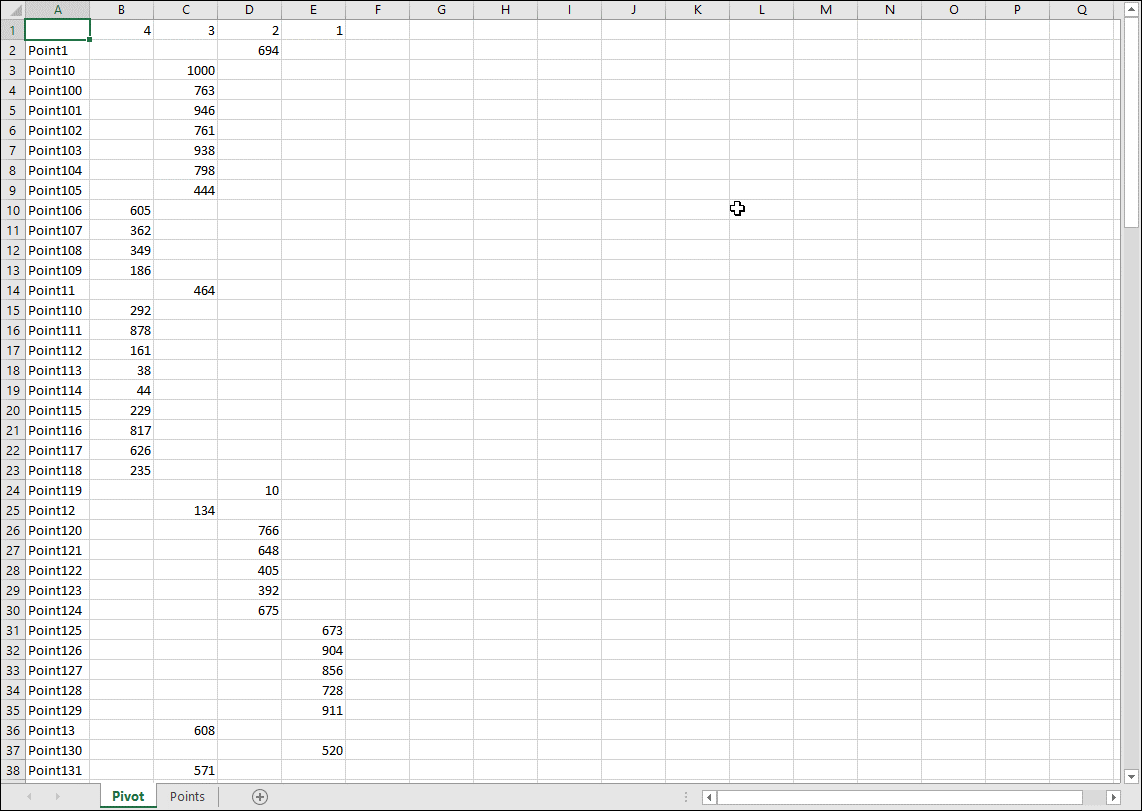
❖Pivot will create a pivot of your data grid for you in Excel in a new worksheet, it will first bring up a dialogue where you will specify the row and column values etc. of the pivot and the new worksheet name:
