❖The next tool is the Cut and fill tool which will calculate how much one surface cuts (goes into) and fills (goes over) another:
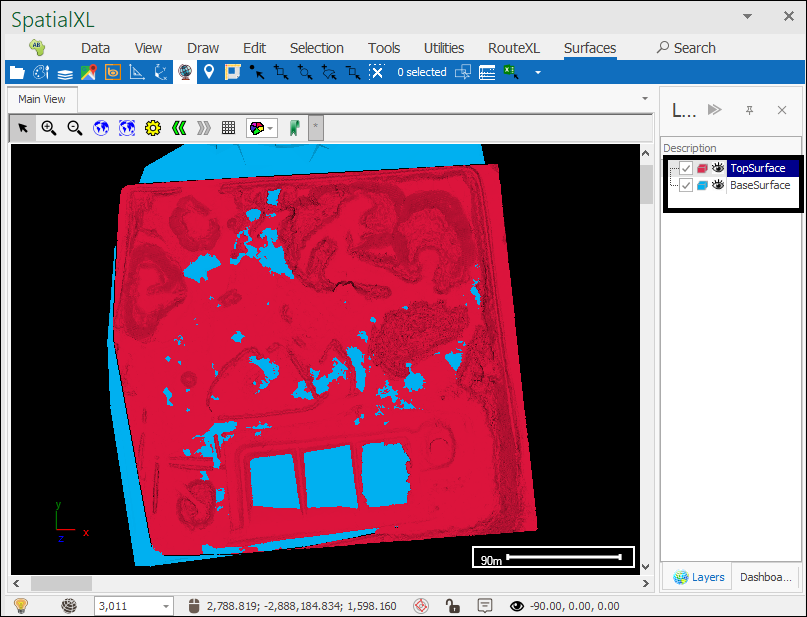
❖You would need a base surface and an over or underlying surface to do this operation:
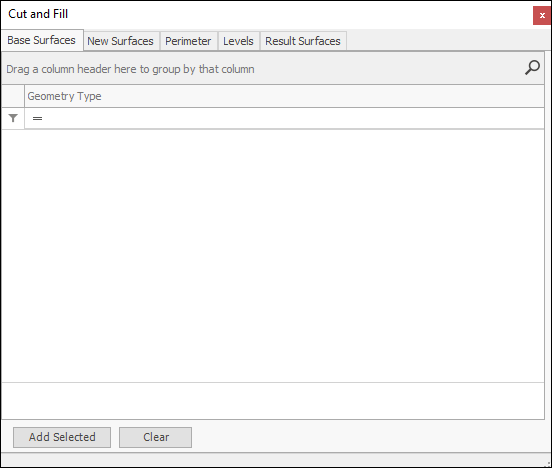
❖Then you would open the tool which brings up the following dialogue:
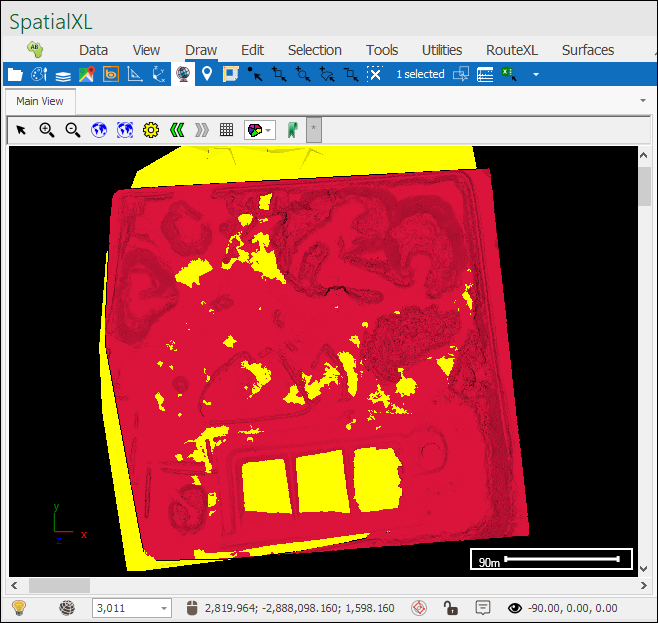
❖First select your base surface:
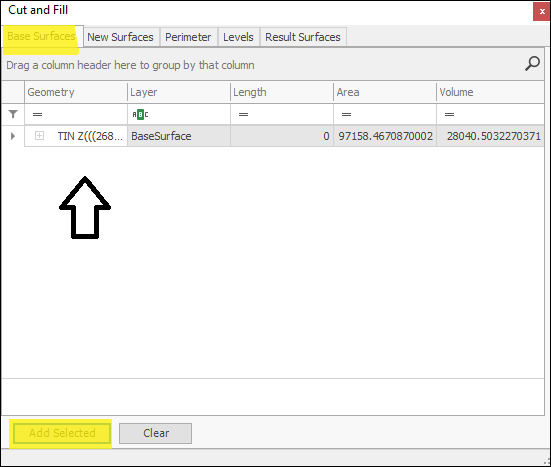
❖Then in the Base Surfaces tab click Add Selected to put in the geometries of the base surface:
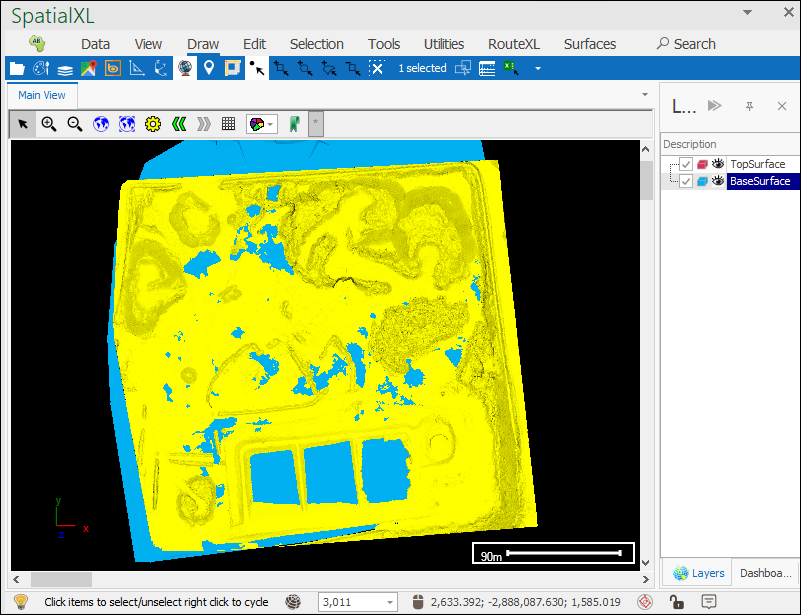
❖Next select your over or underlying surface:
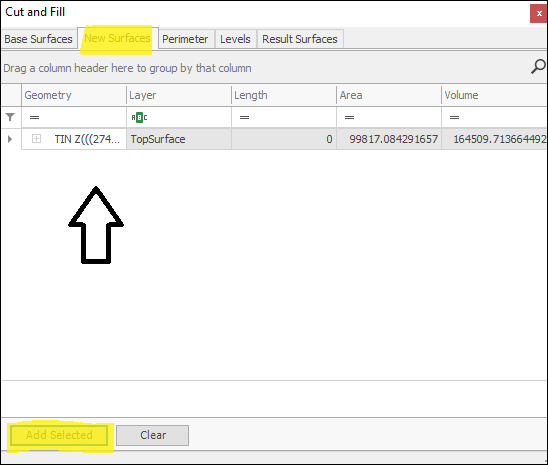
Then go to the New Surfaces tab and click Add Selected to put in the geometries for the surface:
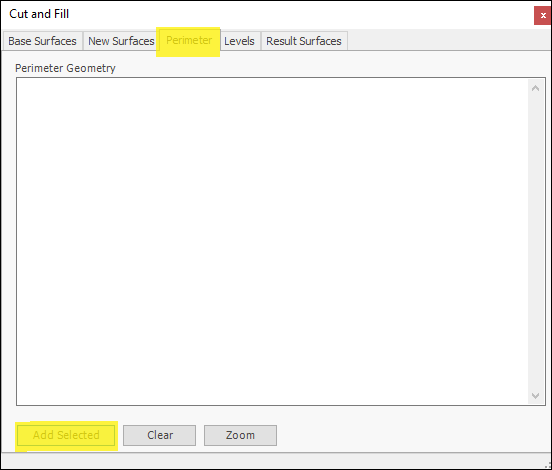
❖Next, optionally, if you only wanted to do the cut and fill operation within a certain perimeter then you would select the polygon that defines such a perimeter on the surface and then add it in here by the Perimeter tab:
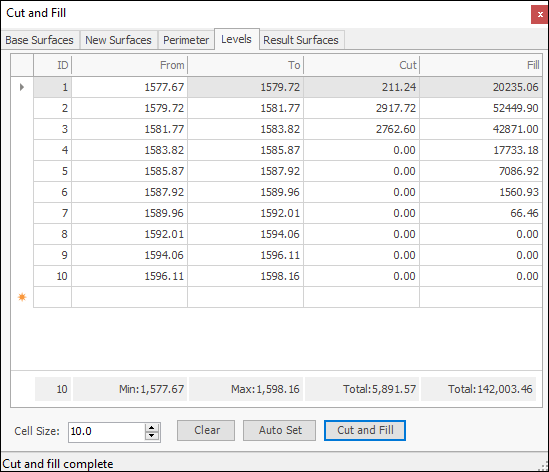
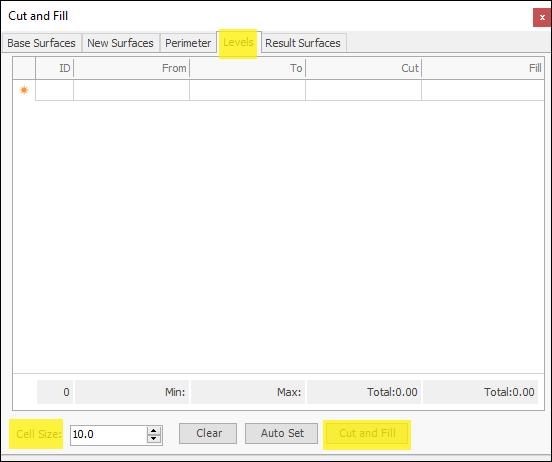
❖Next, in the Levels tab, if you just want to do the cut and fill operation on one level then click Cut and Fill (The Cell Size is by default 10 but can be changed, these are the cells used between the surfaces in doing the calculation, the smaller the cell the more precise the calculation):
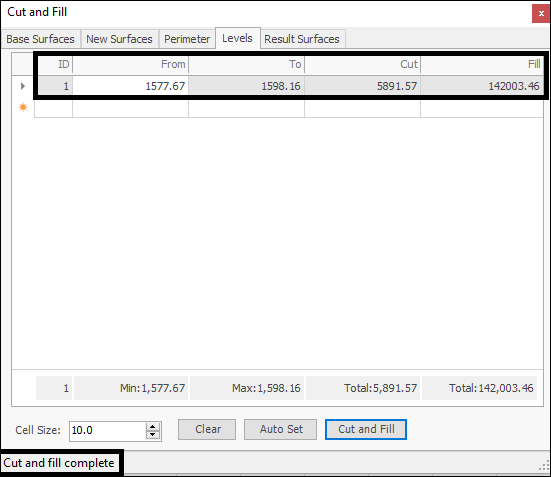
The elevations From and To are populated together with the square meters for the Cut and Fill.
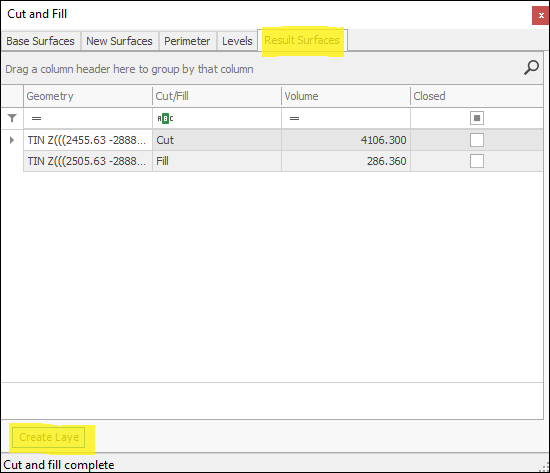
❖In the Result Surfaces tab are the resulting Cut and Fill surfaces together with their volumes, to create a layer out of these click Create Layer:
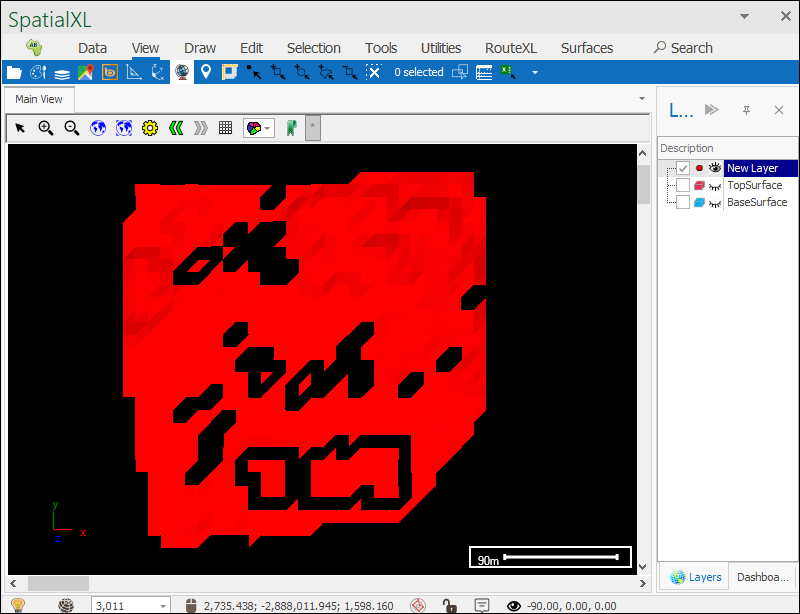
You can then theme this layer to clearly see the cut and fill:
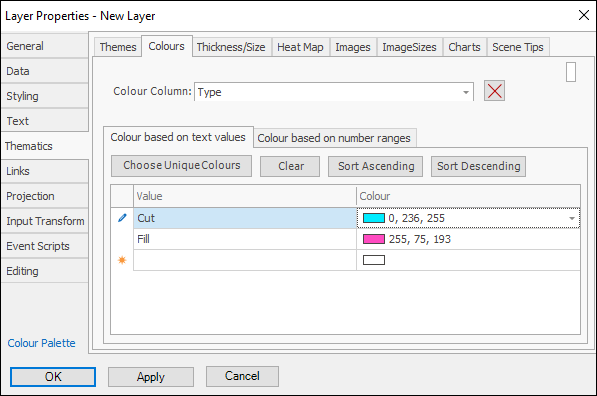
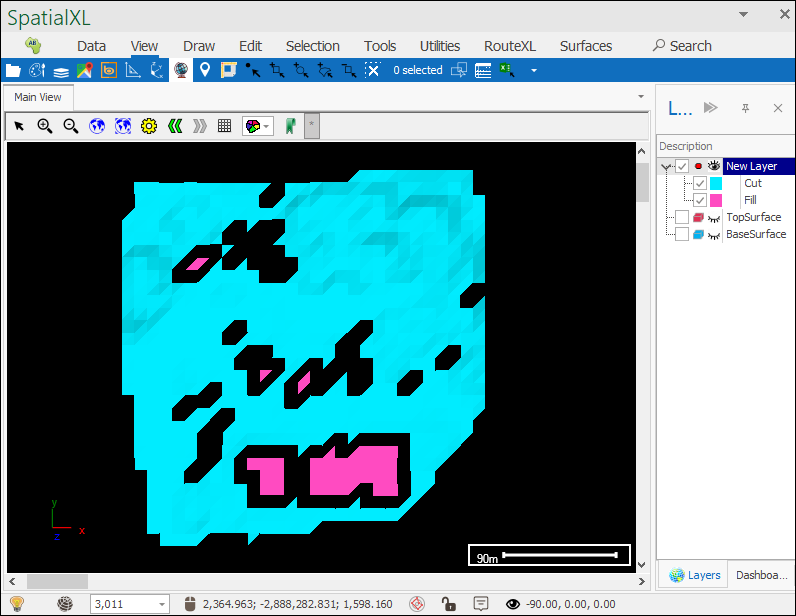
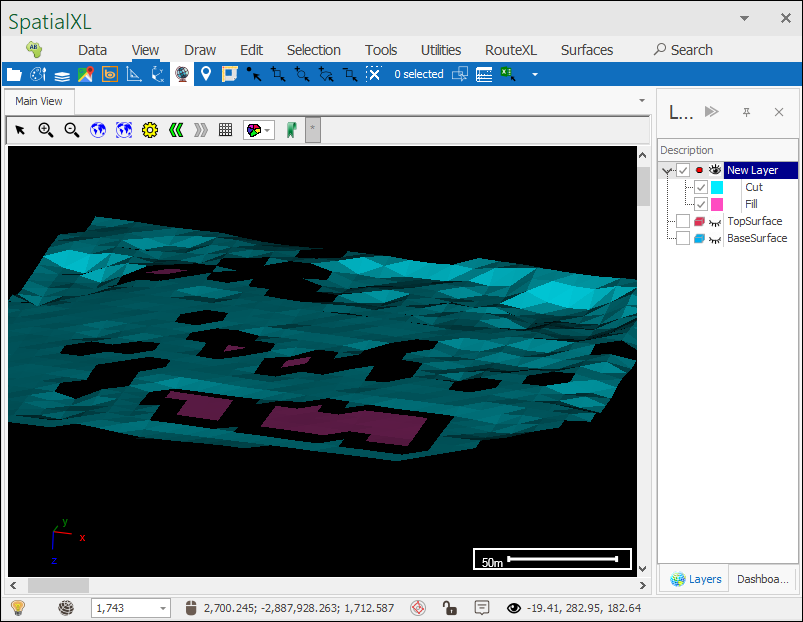
❖If you want to do the cut and fill on levels then you can set this in the Levels tab by clicking Auto Set and then putting in the number of levels you want by Number of levels:
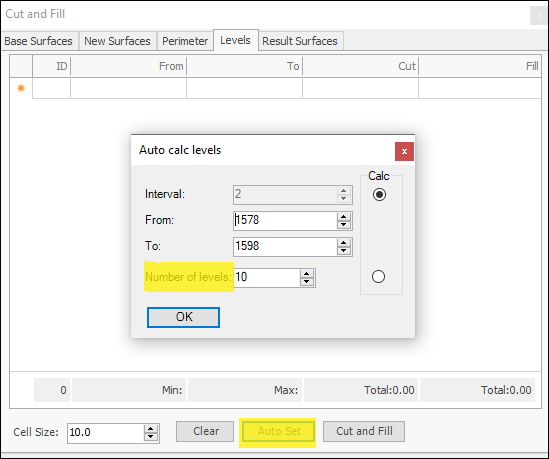
Then click OK and then Cut and Fill and your results are now on levels:
