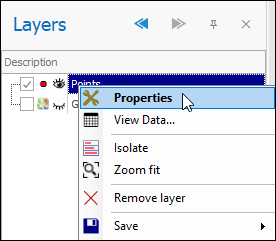
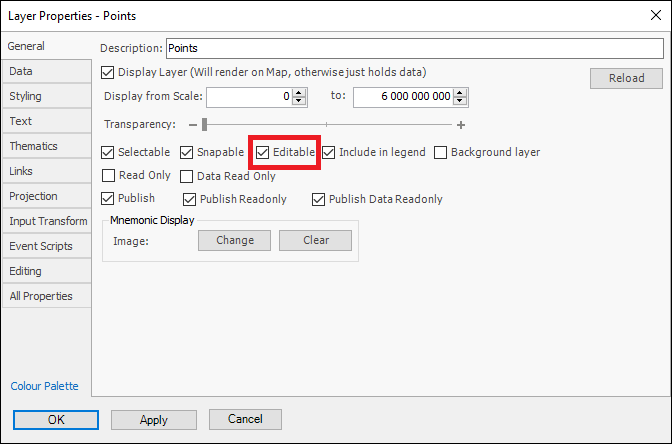
❖Firstly, to be able to do any editing make sure that the layer is editable by going into its layer properties and making it editable:
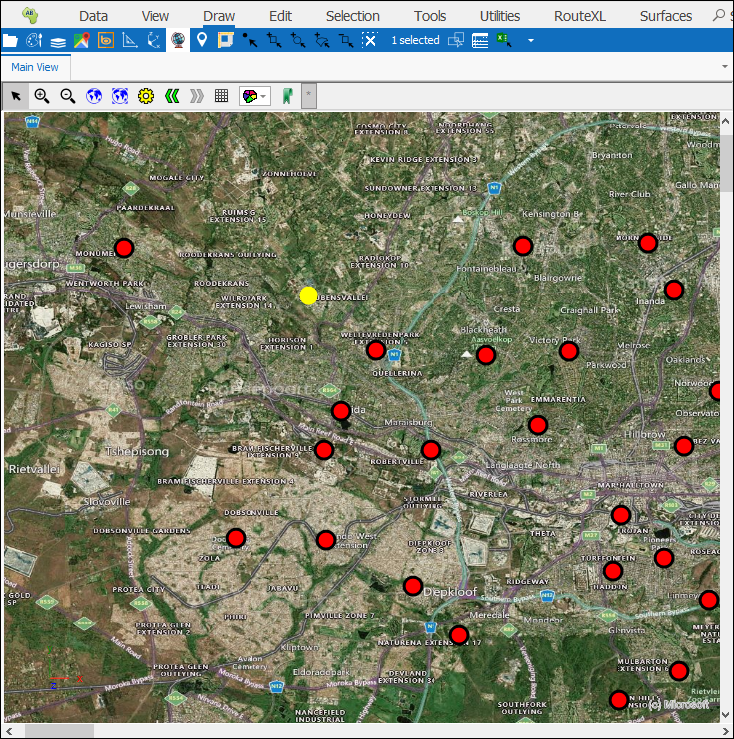
❖To delete any elements in your scene, select the element/s with one of the selection tools and then click Delete:

❖To undo and redo any editing actions done, click Undo or Redo:

❖ To copy an item or items in the scene, first select them with one of the selection tools then click Copy Selected. The item/s can then be pasted in one of the other tool dialogues where geometries are asked for or just back in the scene using Paste, this will paste it at the exact same point it was copied, to paste it at some other point in the scene use Paste at cursor:

❖To add an element from one layer to another and still keep the original in the original layer, first make sure to have the layer you are adding to selected in the Layers Description box, then select the element in the scene and click Add Feature and Keep original, note that this just adds the geometry to the other layer and doesn’t add any data or styling along with it:
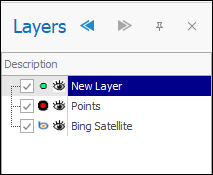
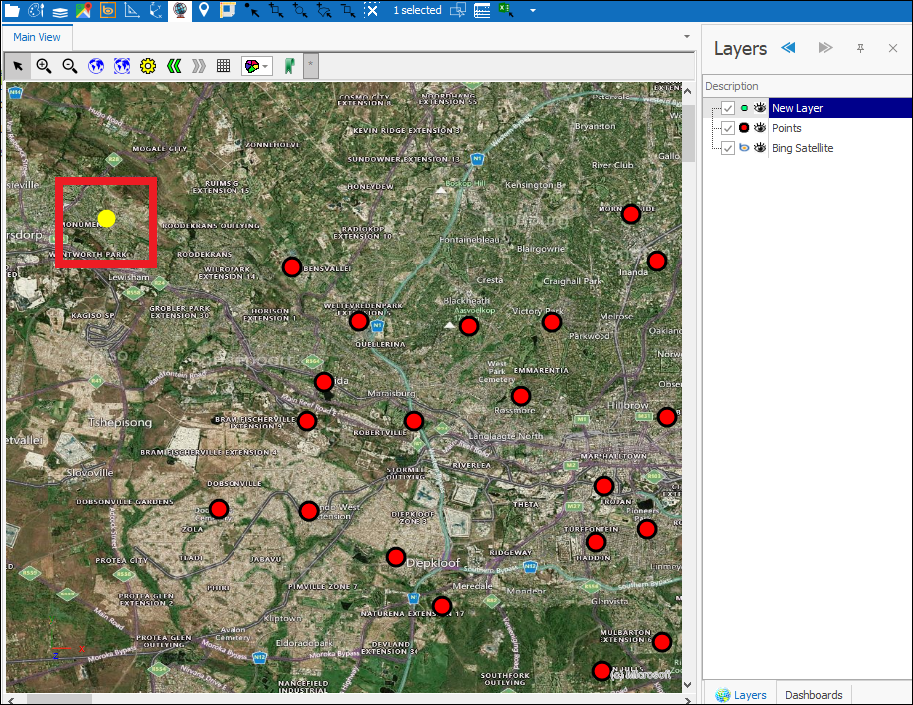

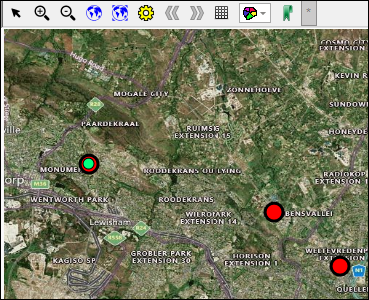
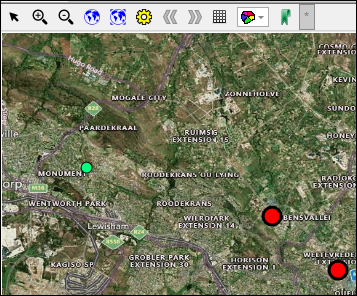
If you don’t want to keep the original when adding the feature then select Add feature and delete original:

❖Using the Edit tool you can edit geometries in the scene, first click on the tool, then when you hover in your scene you will see the Edit crosshair, click on the geometry you want to edit with this crosshair and you will see handles come up now at the vertices of the geometry which you can drag and move around to alter the element, when done altering just click off the element and the element has now been edited:

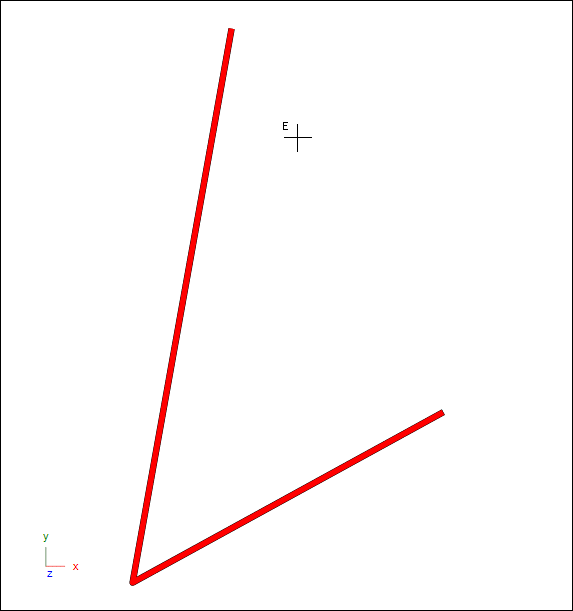
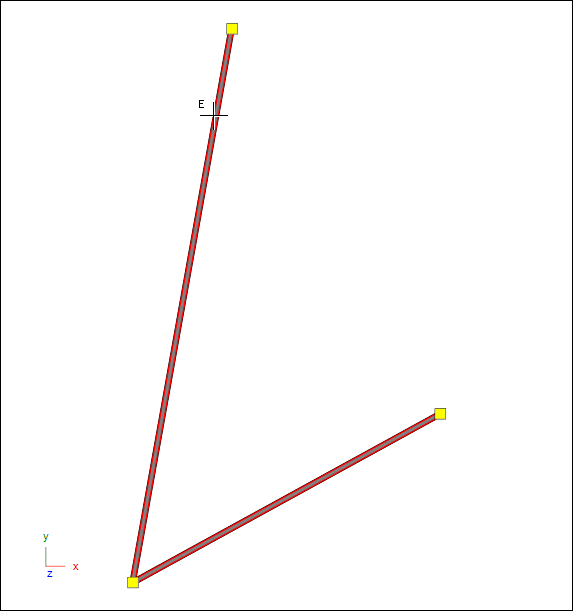
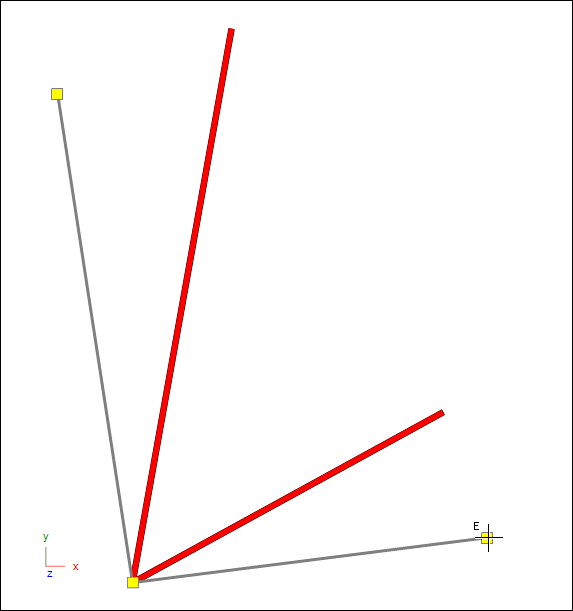
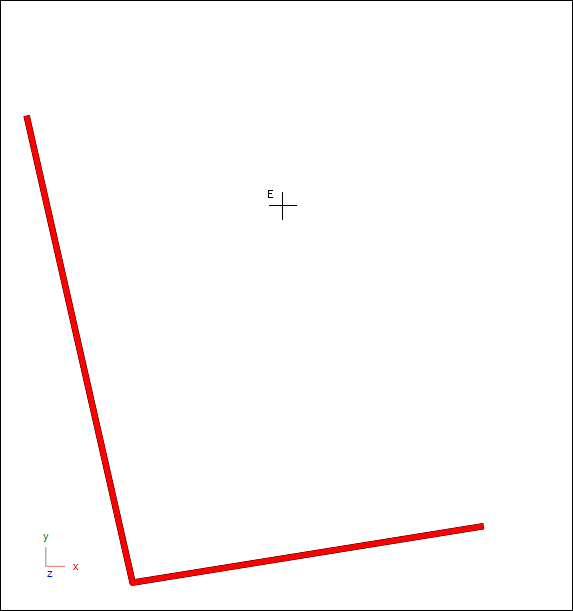
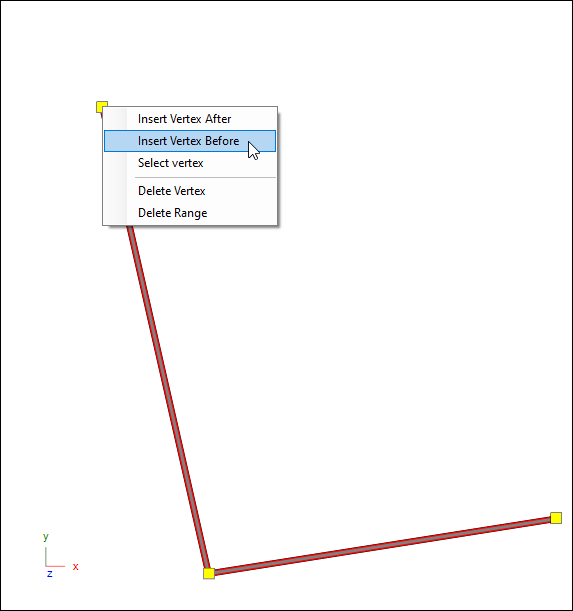
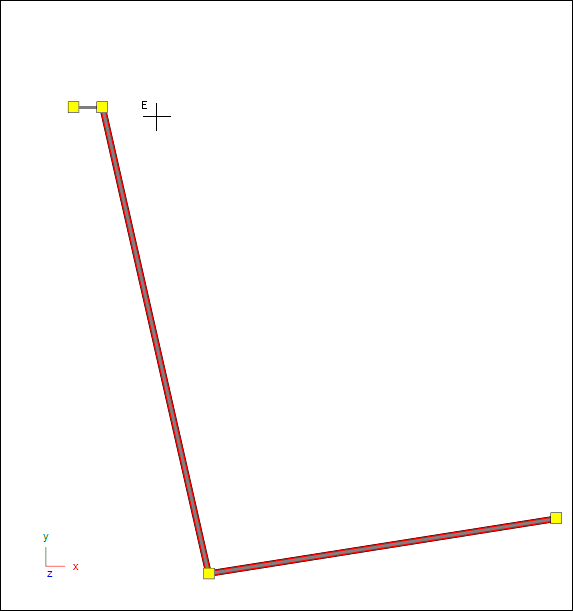
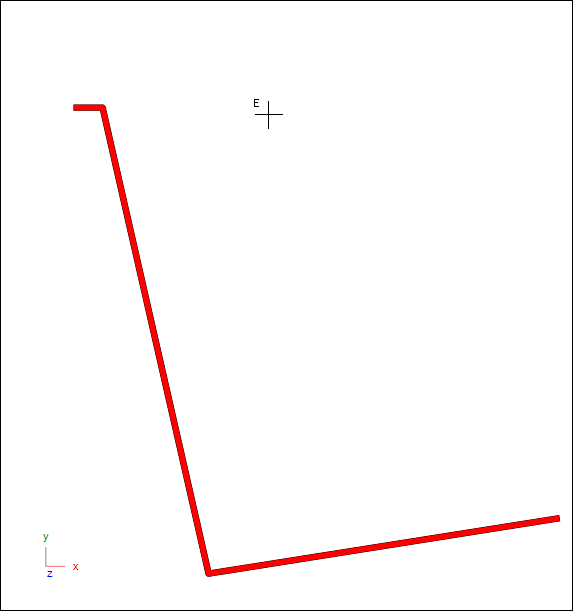
What you can also do is right click on one of these vertex handles and you then have options to insert or delete etc. vertices in the element, for example I will insert a vertex here:
❖With the Move tool you can change the position of elements in your scene relative to some base point, first select the element/s then open the tool and the following dialogue comes up:
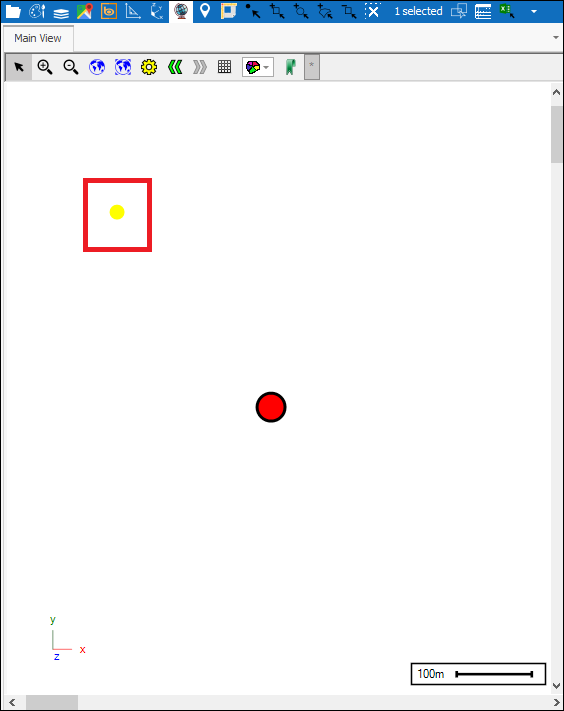


❖Coordinates of Centroid are the X,Y and Z coordinates of the centroid of the selected object/s that you will be moving. These are automatically populated here but you can pick the coordinates of the centroid as well by ticking on Pick and then clicking at the appropriate point in the scene:

❖Base Point is the coordinates relative to which distance and direction are calculated, to choose your base point tick on Pick and then click at the appropriate point in the scene:

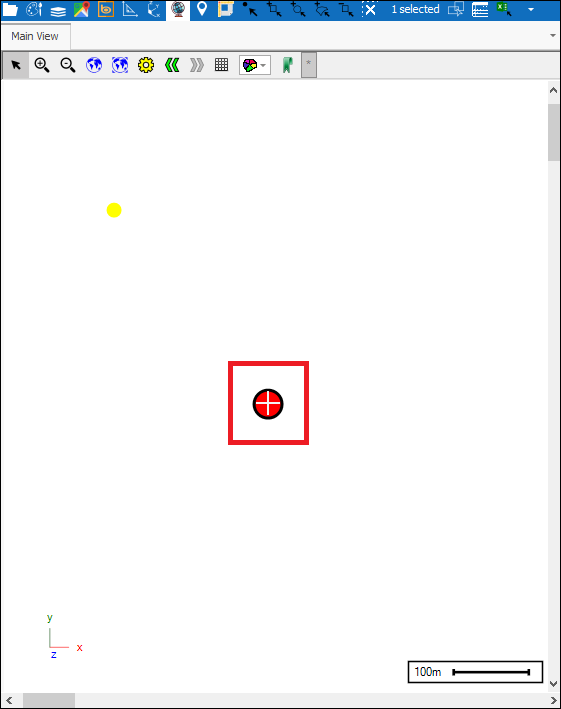

❖Direction from base point is the direction vector from the base point to the object/s you are moving. Distance from base point is the distance of the object/s from the base point. Bearing is the azimuth, in degrees, of the coordinates of your object/s from base point and Zenith is the zenith angle, in degrees, of the coordinates of your object/s from base point:

❖All these values can be changed manually by entering them in. You can also animate by clicking in one of them and mouse wheeling, you will then see the object/s moving gradually as you wheel. Step is by how much you want the value to change in animating:

❖As an example, I will now animate the values of the Bearing by mouse wheeling, and you will see the position of the object change:

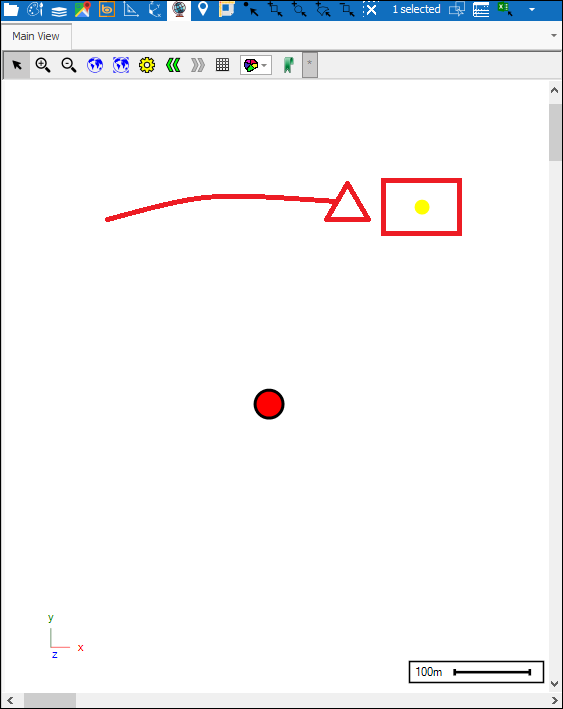
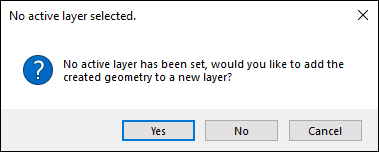
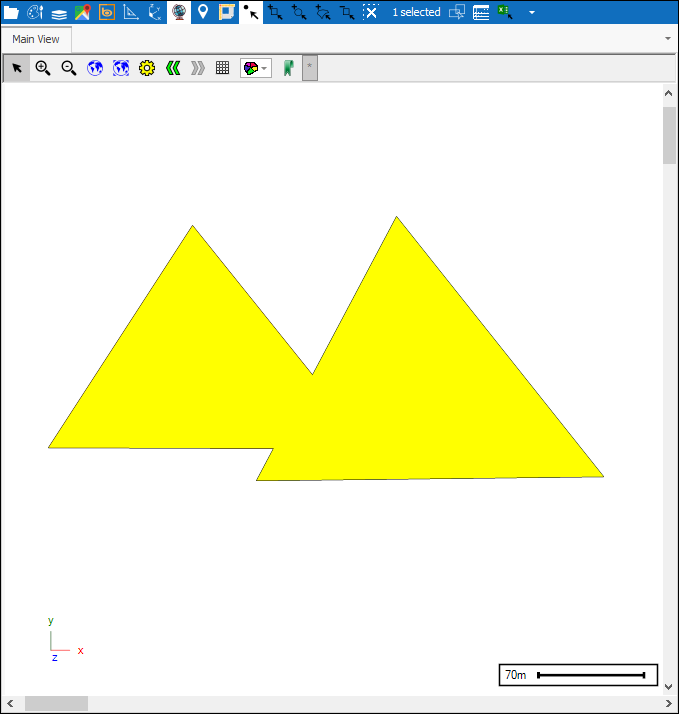
❖Union will create a new single object out of the union of two or more intersecting objects; first select the two objects in your scene, then click Union. The new object will be drawn to whatever layer is active and if there are none it will prompt you to create a new layer:
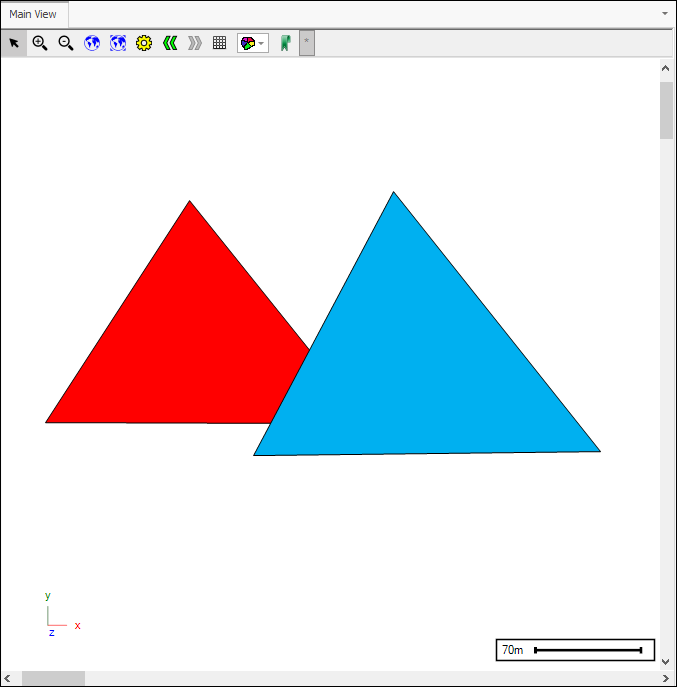
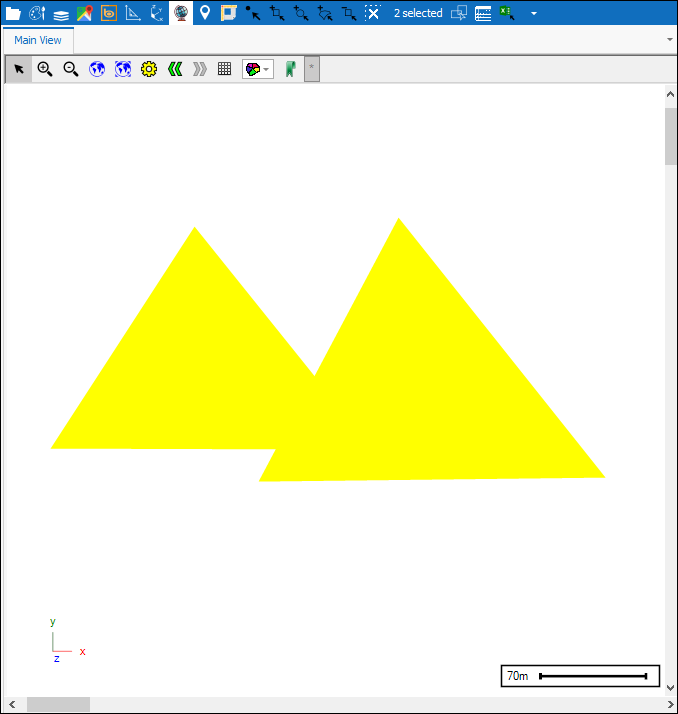

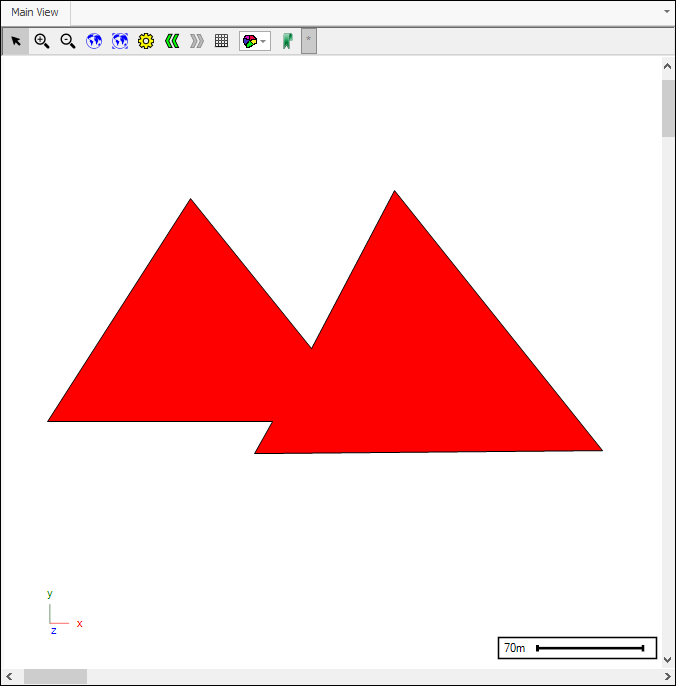
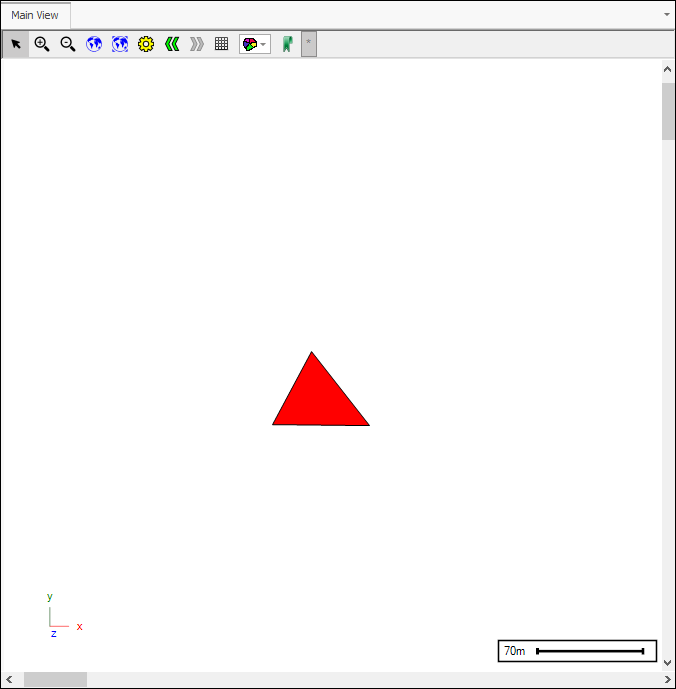
❖Intersection will create a new object out of the intersection of two or more objects. First select the objects in your scene, then click the tool, the new object will be drawn to whatever layer is active, if there are none you will be prompted to create a new one:


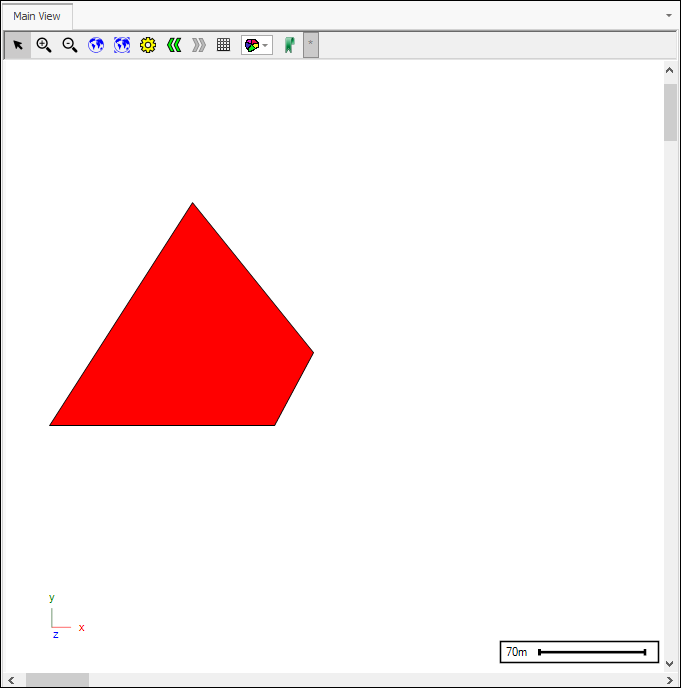
❖Subtract will create a new object from the subtraction of an intersecting object or objects, this will be the first drawn object minus the others. First select the objects in the scene and then click the tool, the new object will be drawn to whatever layer is active, if there are none you will be prompted to create a new one:


❖Group will group two or more objects into one as a geometry collection, first select the objects in the scene and then click the tool, the new object will be drawn to whatever layer is active, if there are none you will be prompted to create a new one:


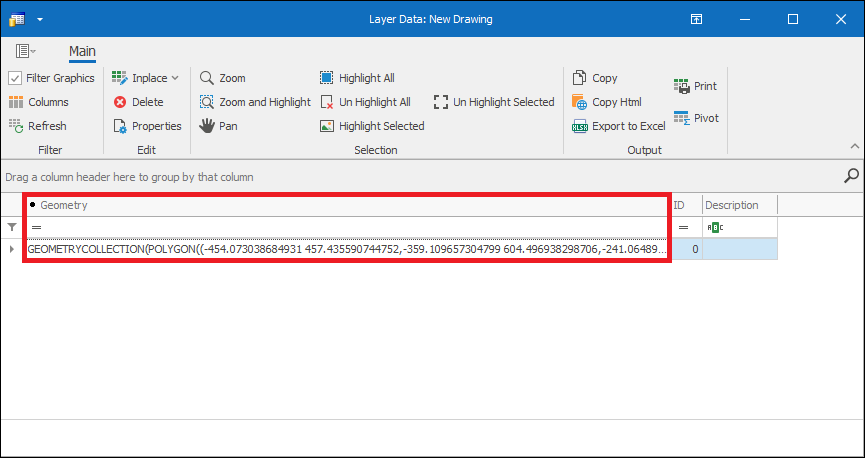
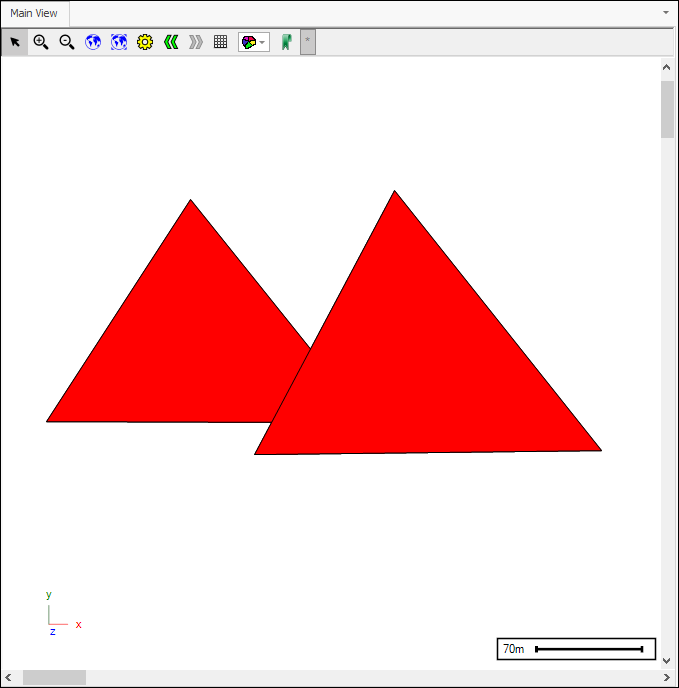
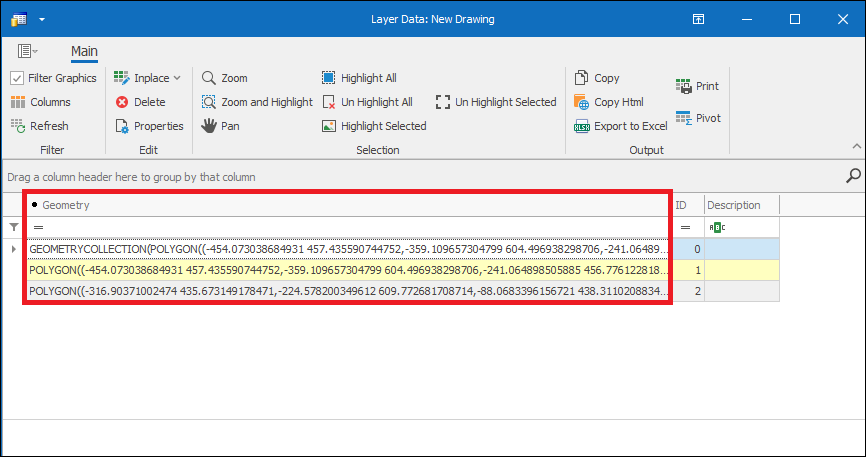
❖To ungroup this new object, you can select it and then click Ungroup and it will be broken back in to separate objects, first select the objects in the scene and then click the tool, the newly separated objects will be drawn to whatever layer is active, if there are none you will be prompted to create a new one (the original grouped object will still remain):

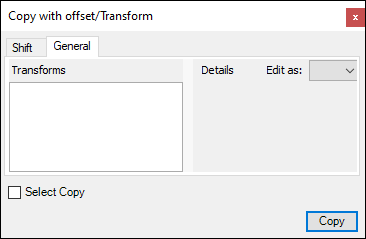
❖Copy with Offset/Tx allows you to copy and paste an object with a specified offset or transform, this newly pasted object is pasted to whatever layer is active and if none you will be prompted to make one. First select the object/s then click the tool which will bring up the following dialogue:
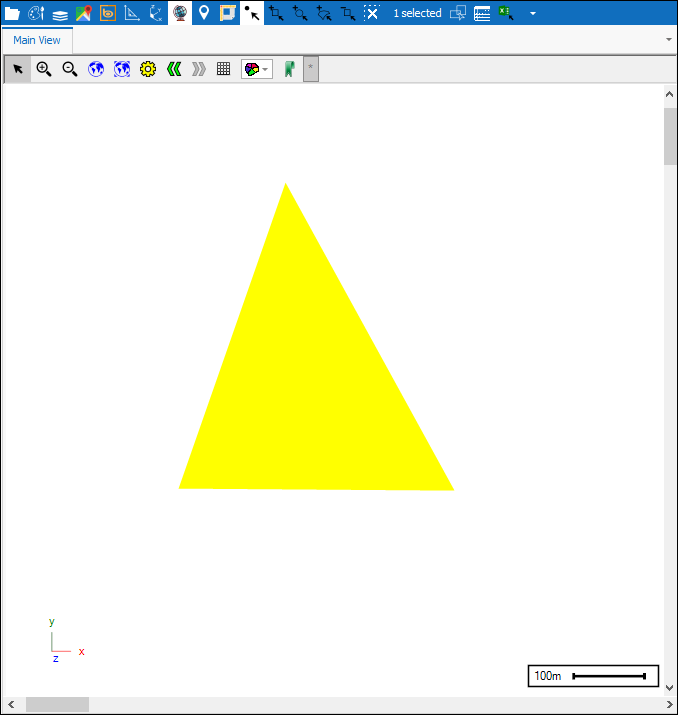

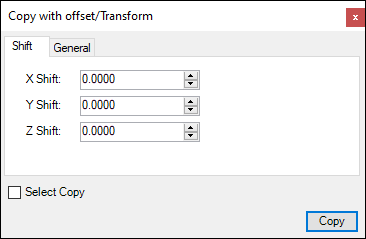
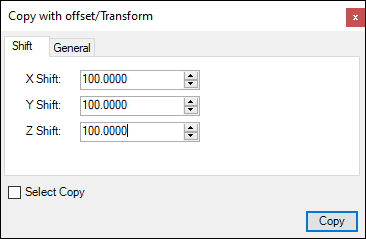
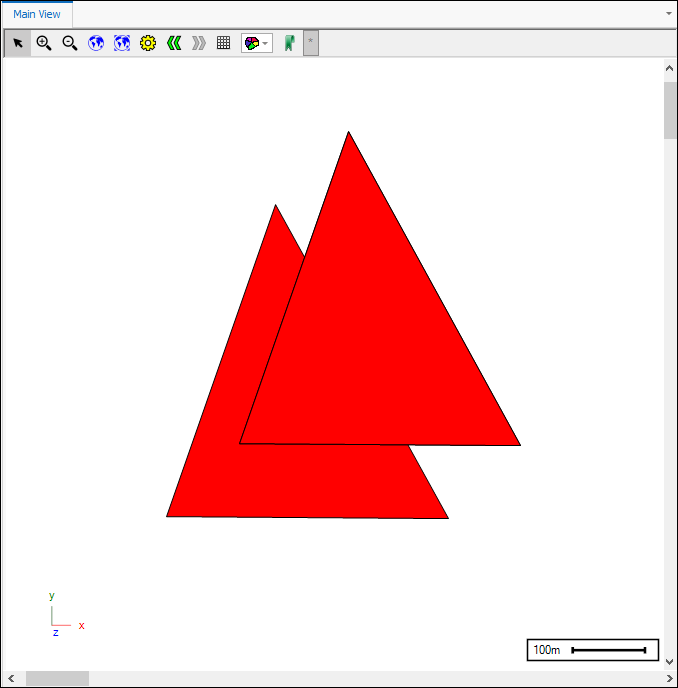
In the Shift tab you can specify an offset for X,Y and Z. Select Copy will unselect the original object and select the newly pasted object, this allows for repetitive shifting. As an example of pasting with a shift/offset I will copy and paste my object with a 100 meter offset on the X,Y and Z axis, as soon as I click Copy it is copied and automatically pasted to whatever layer is active:
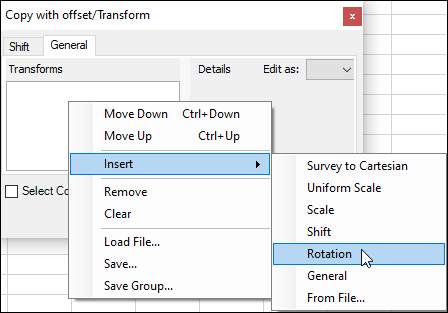
❖In the Transform tab you can specify a transform for the object that will be pasted. To insert a transform right click in the white box and go to Insert, here you can choose from a range of transforms, in this example I will do a Rotation:
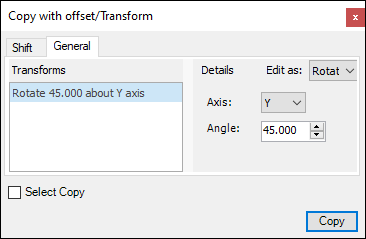
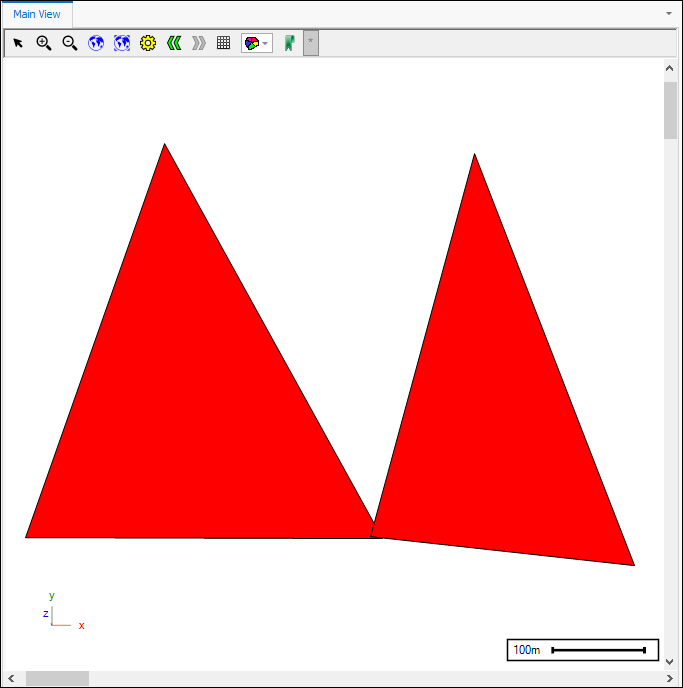
As you see here I will be copying and pasting with a rotation of 45 degrees around the Y axis. I click Copy and my object has been copied and pasted with the transform:
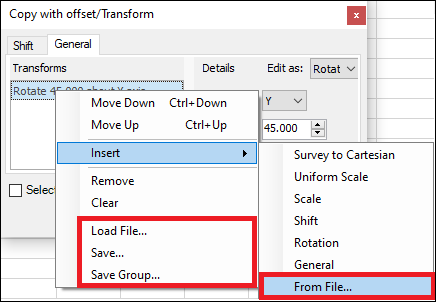
❖You can save these transforms to file either individually or as a group. Load File will load a group of transforms saved, but to load a single saved transform you would use From File:
