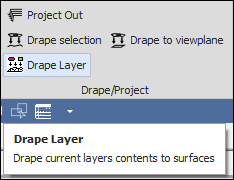
❖The second form of the tool is used to drape a layers contents to a surface which is in another layer, so you are essentially draping one layer onto another, it is a layer operation:
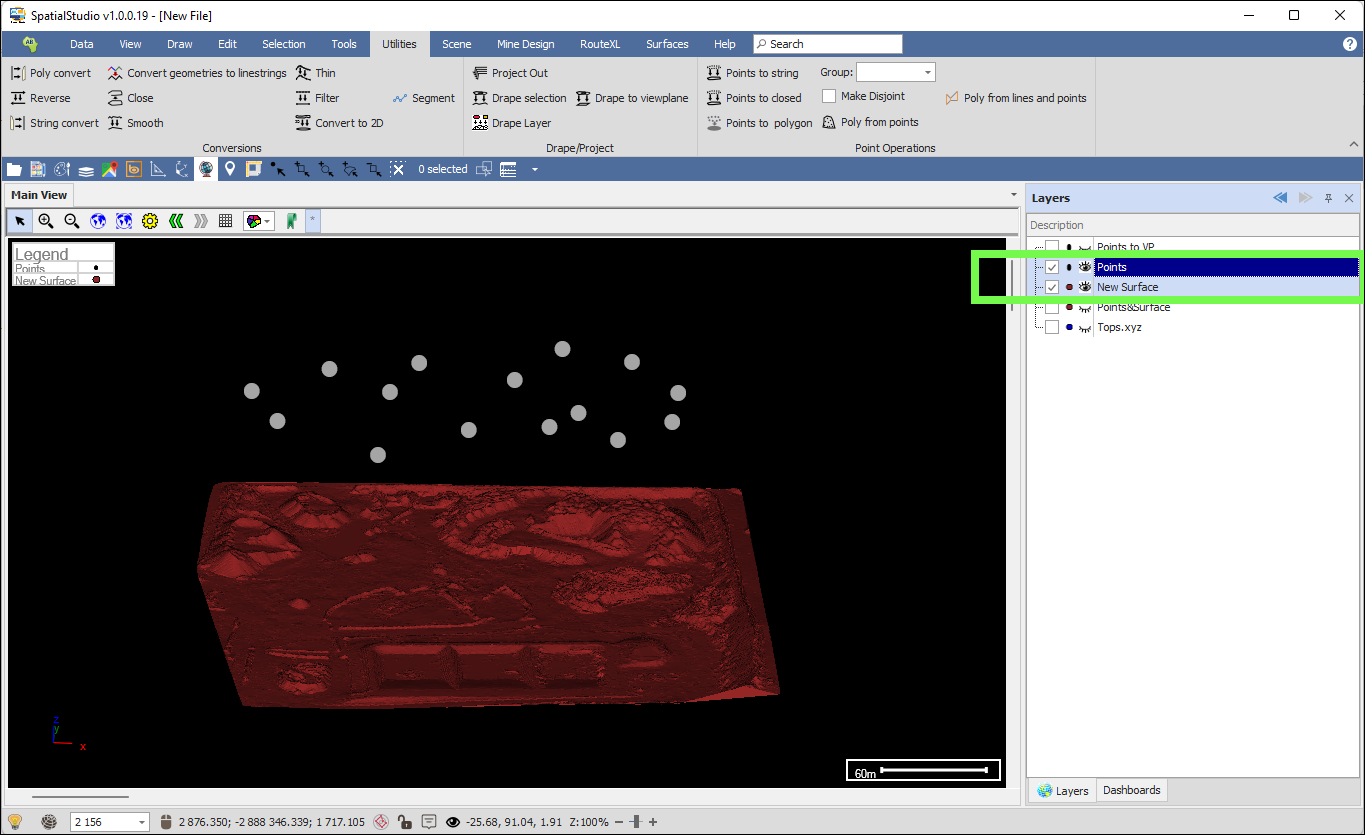
As you can see here I want to drape my 'Points' layer down onto my 'New Surface' layer.
❖Before using this tool make sure to set your scene view to the correct orientation for the draping which in this case will be a top view because I am draping downwards, you can click in your scene and then hit the T key on your keyboard as a shortcut to get to a top view or select it in the View Orientation window accessed by the eye at the bottom of the spatial pane:


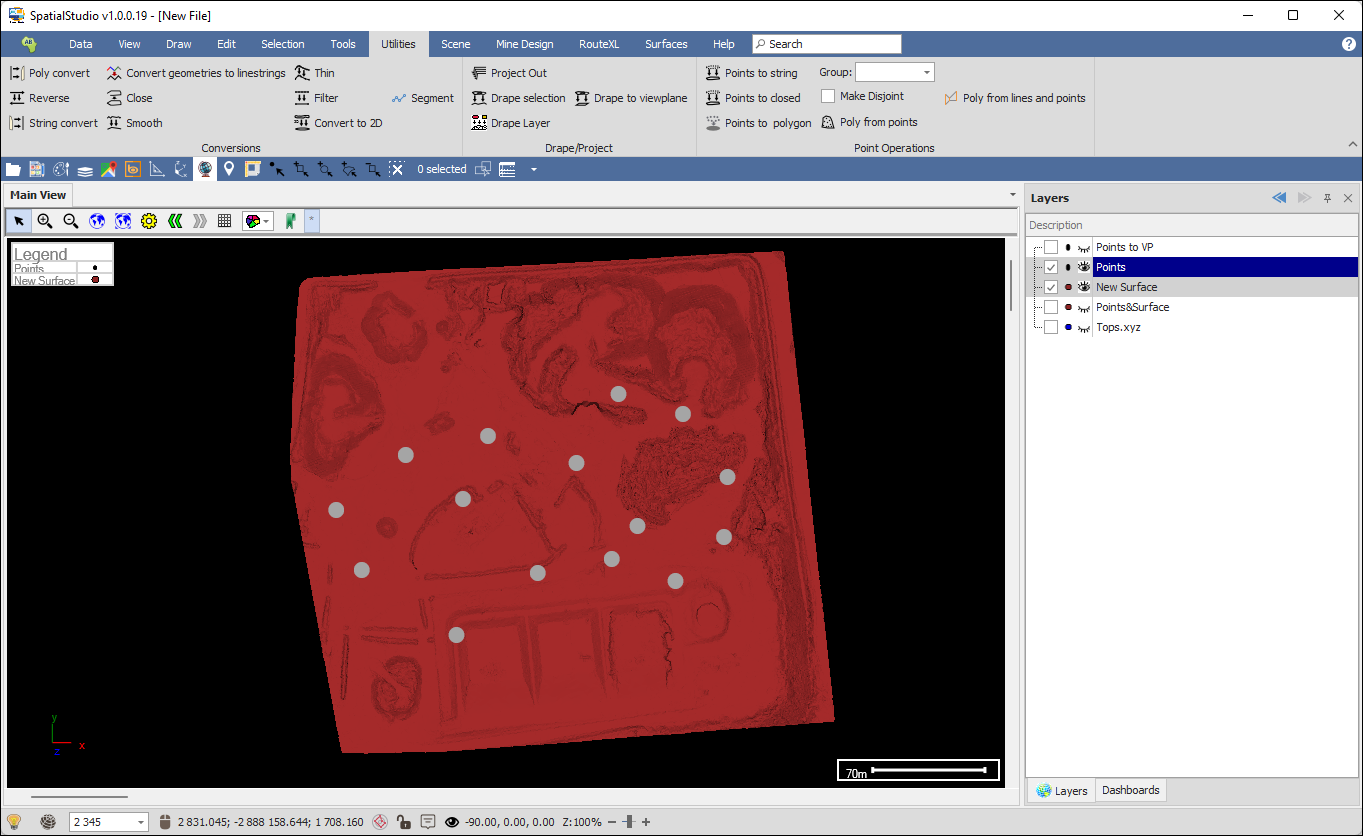
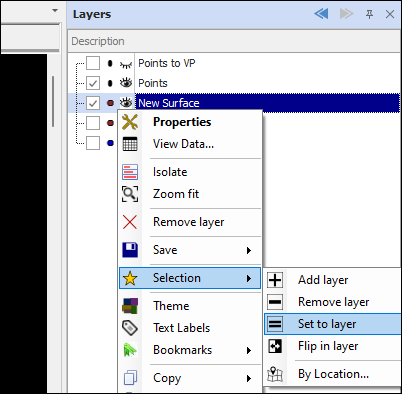
❖Then select the surface/s with one of the selection tools or select the whole layer (in this case the 'New Surface' layer) with the surface/s by right clicking on it and choosing Selection> Set to Layer:
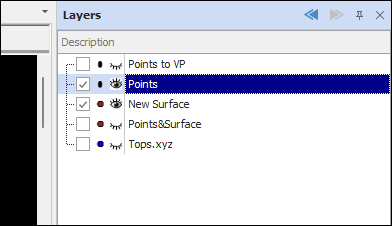
❖Now click on your layer with the points to make sure this is highlighted in the Layers Description box (This lets the tool know which layer it is going to drape), in this case it is my 'Points' layer:
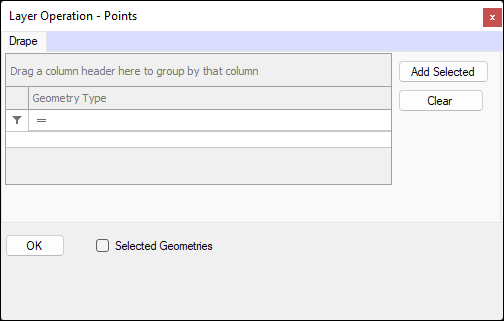
❖You can now open the tool and it will bring up the following dialogue:

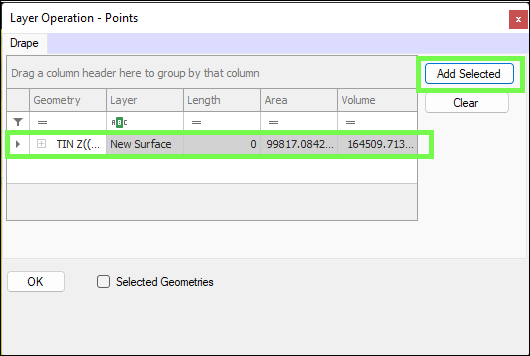
❖Then click Add Selected and this will enter the geometries of your surface into the tool:
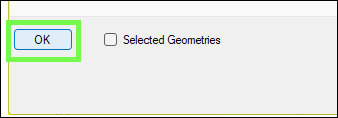
❖You can then go ahead and click OK to do the draping operation:
A layer properties box will then come up where you can set the name of the new layer that will be created with your draped points and its various properties:
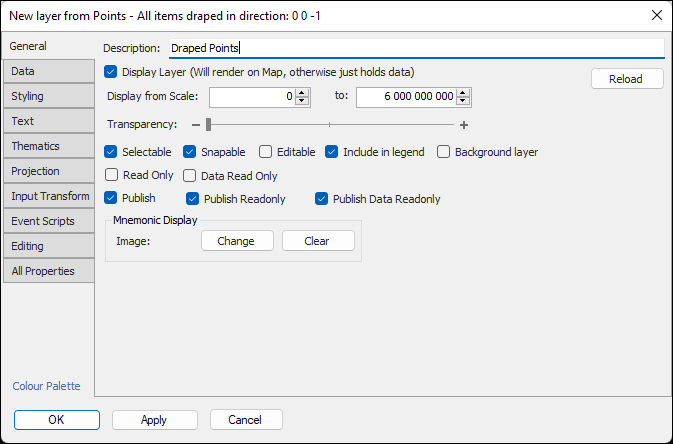
Then click OK.
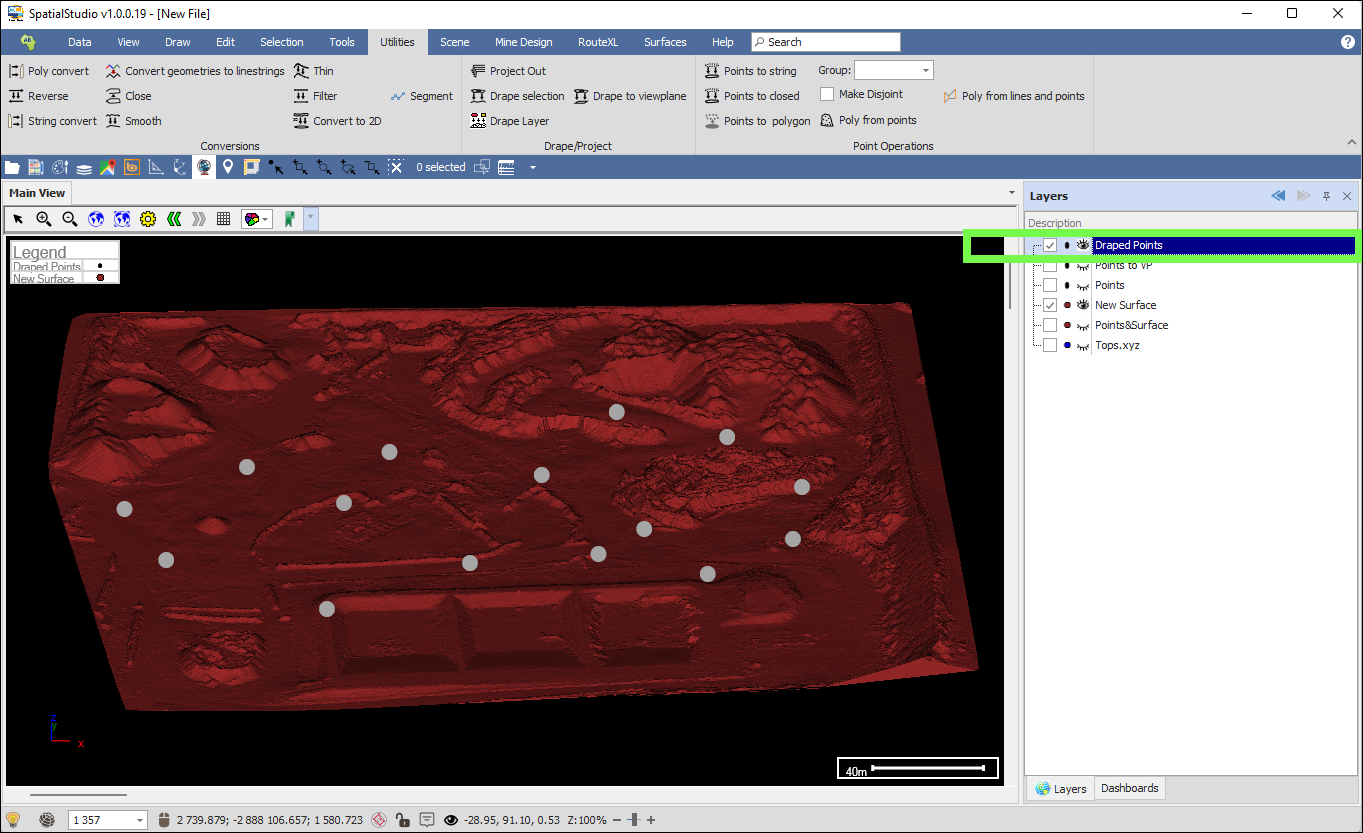
❖Your points have been successfully draped. You can then turn off your original points layer and view the new draped points:
❖If you only wanted to drape selected points in your points layer, then you would select the exact points in the scene with one of the selection tools and then have Selected Geometries ticked on when using the tool:
