Application Menu
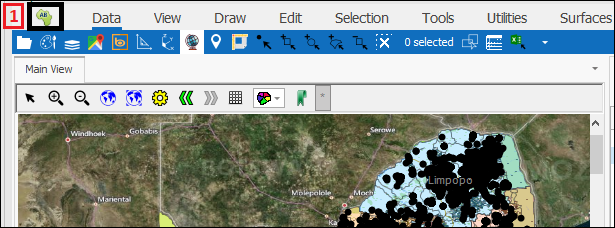
❖The Application Menu button can be found in the top left of the spatial pane in all our spatial products(1). It brings up a menu where you can access system functions:
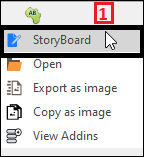
❖We will start by taking up the first item on that menu which is StoryBoard(1). This brings up the StoryBoard feature where you can create StoryBoards(2)( See StoryBoard Training Guide for full data on how this feature works). If you do not have a StoryBoard license you will only be able to view StoryBoards already created and not adjust or design them. To be able to design your own you will need a StoryBoard license:
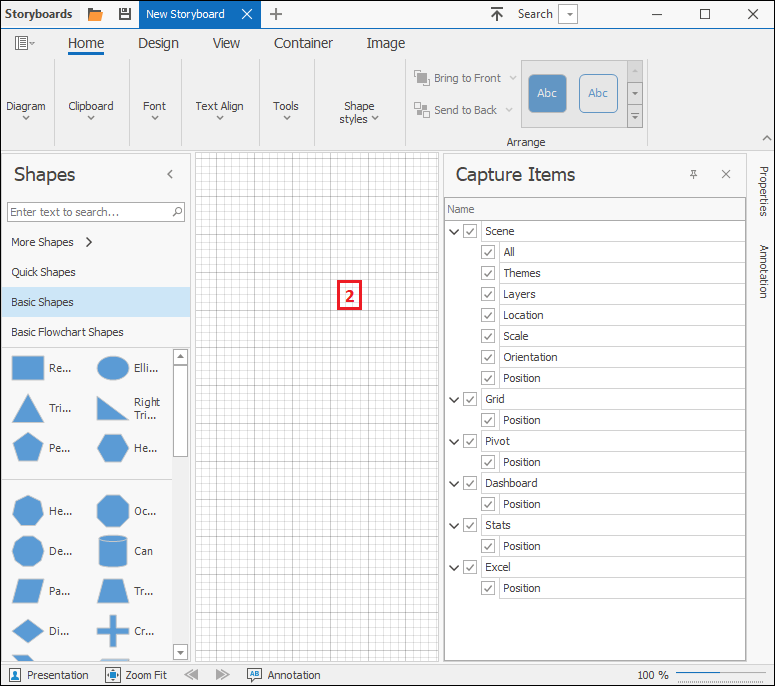
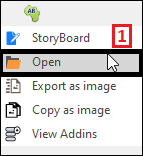
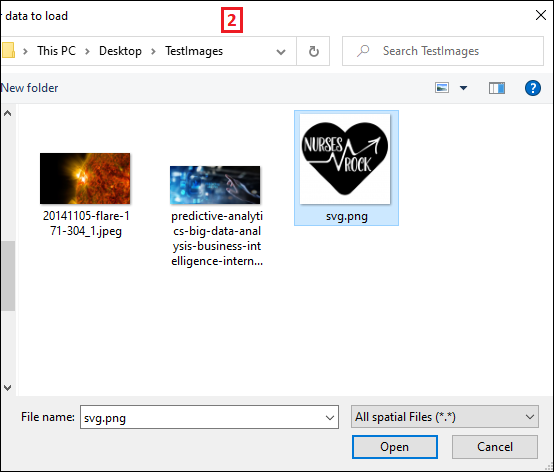
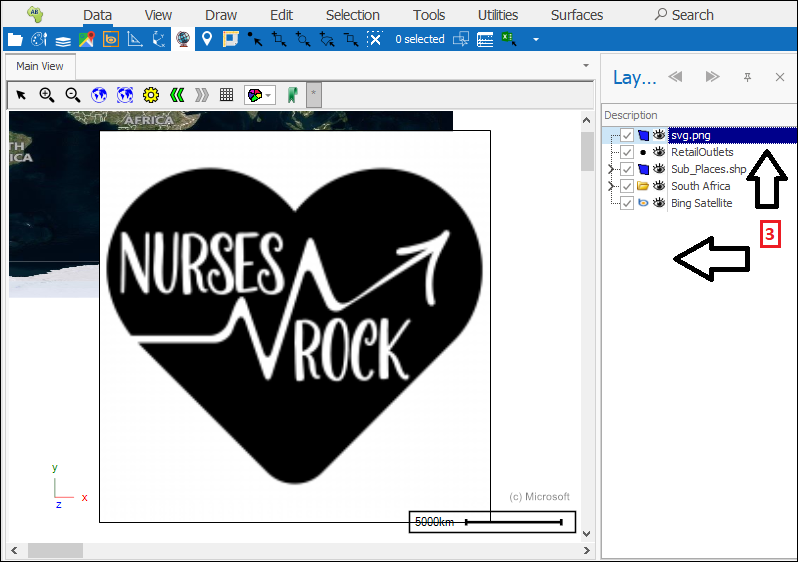
❖The next item is Open(1) which allows you to open various files in the spatial pane. As an example here I will open an image file(2)(3):
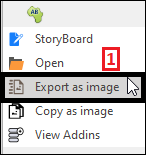
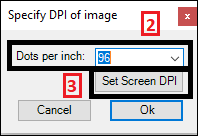
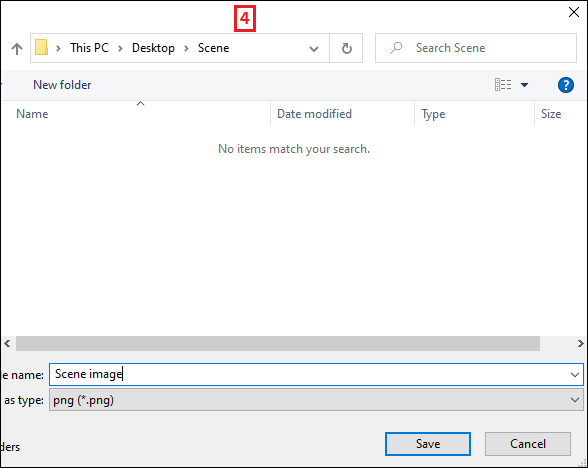
❖The next item is Export as image(1) which allows you to export the current scene in your spatial pane as an image, a dialogue will come up asking you to specify the DPI(Dots Per Inch) for the image, enter this in by Dots per inch(2); the higher the DPI the crisper the image. The Set Screen DPI button(3) will set the DPI to whatever the screens DPI is. Click OK when done and then browse to where you would like to save it, give it a name and choose the file type(4)
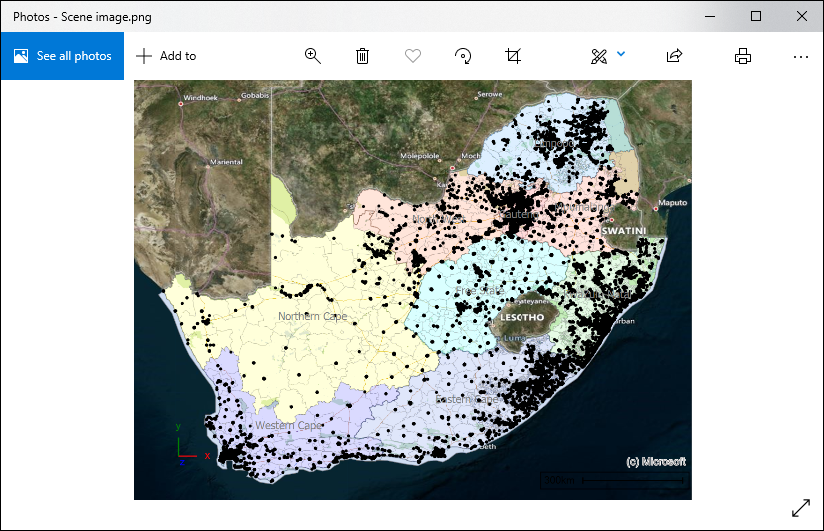
And here is my exported image:
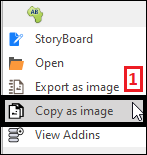
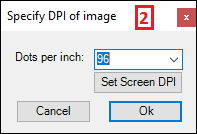
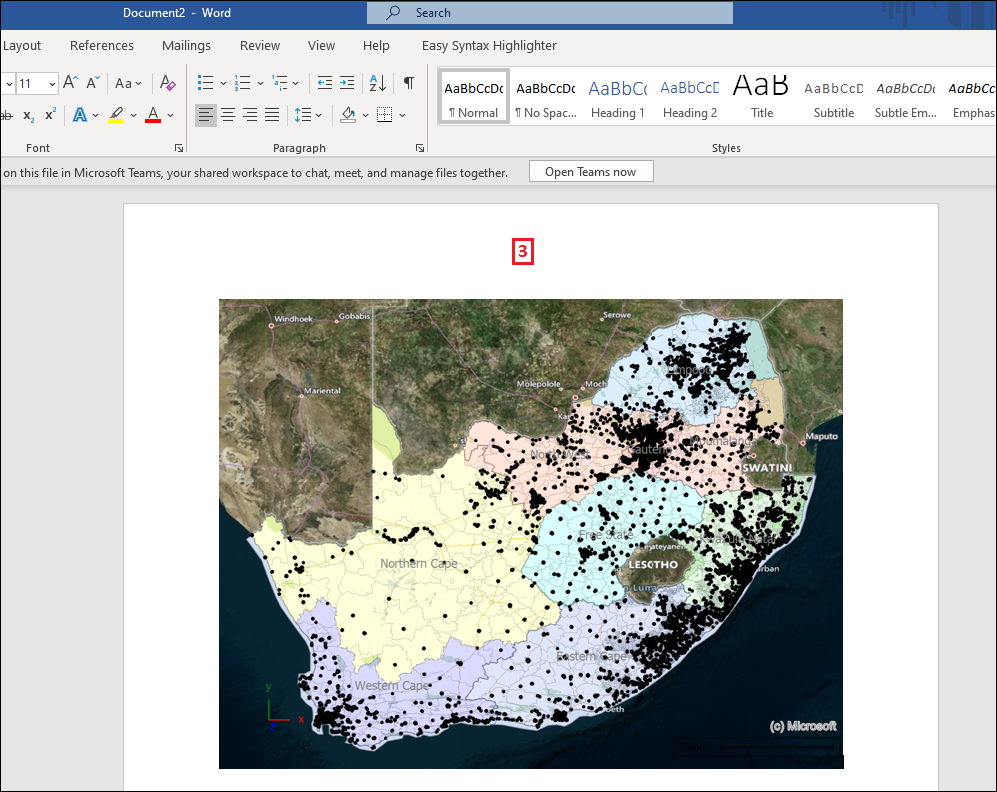
❖Copy as image(1) allows you to copy your scene to clipboard and then paste it somewhere else. You will also be prompted, as with the previous tool, to choose the DPI for the image(2). You can then paste the image where you’d like, in this example I pasted it in Word(3):
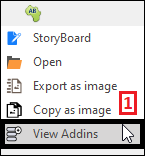
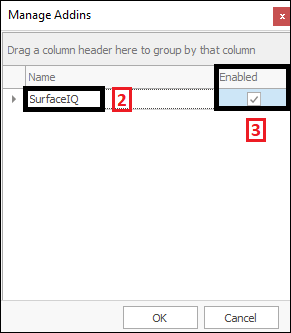
❖Lastly we have View Addins(1) which brings up a box where you can view what add-ins you have to the spatial software. In this example you can see I have the SurfaceIQ(2) add-in which allows me to build surfaces. Under Enabled it is ticked on(3) which means the add-in is enabled. To disable it, tick it off:
