Samples are sometimes just picked up if there are decent sized rocks. These are often called grab samples.
When mining underground the samples need to be cut out of the rock face. This is done using a hammer creating chips, or with a saw cutting out strips like an angle grinder cuts metal or tiles.
A sample extracted with a grinder as above is often referred to as a sample ‘Section’. While chipping or cutting the rock may break up, but the rock taken for that sample is still referred to as a sample section, since it is a section of rock that is sampled.
Sometimes specialized equipment can be used to record sample data in place on the rock face. That is no physical sample needs be taken. This could be by just taking a picture of the rock or using equipment that picks up the fluorescence (light emitted from the rock) of the rock when X Rays are directed onto it.
When samples are taken off a rock face underground it is usually done in a systematic manner as follows:
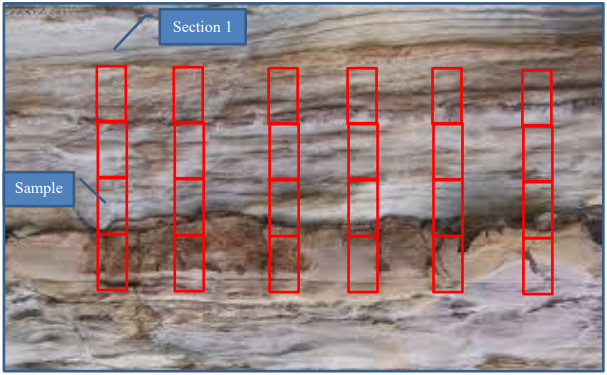
Each red rectangle is a sample, each column is called a section, since they are usually cut out in one operation, hence section.
The width of the columns is referred to as the ‘Section width’. The Height of a sample is referred to as the ‘Sample Width’
The sections are usually taken at a fixed distance apart; this is referred to as the ‘Section Interval’.
All the data for all the sections together are referred to as a ‘Sample Sheet’.
Thus, a Sample sheet has many sections, each section has many samples.
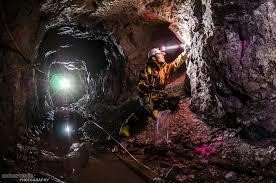
Figure 1. Preparing to get samples from rock face
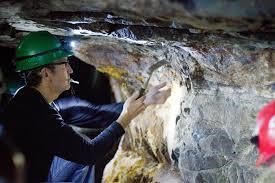
Figure 2. Chipping samples from rock face
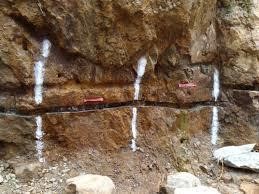
Figure 3. Marking area to be sampled
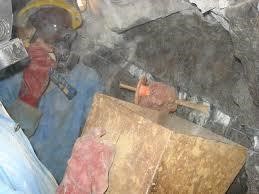
Figure 4. Chipping samples from rock face
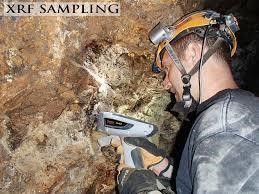
Figure 5 X Ray Fluorescence Sampling (XRF)