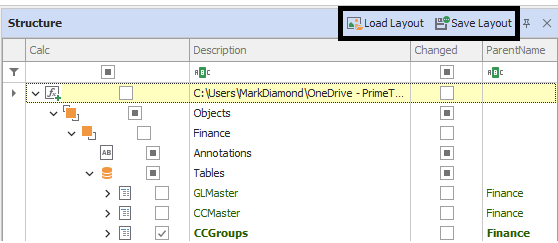
❖The items in the tree structure can be themed on as follows:
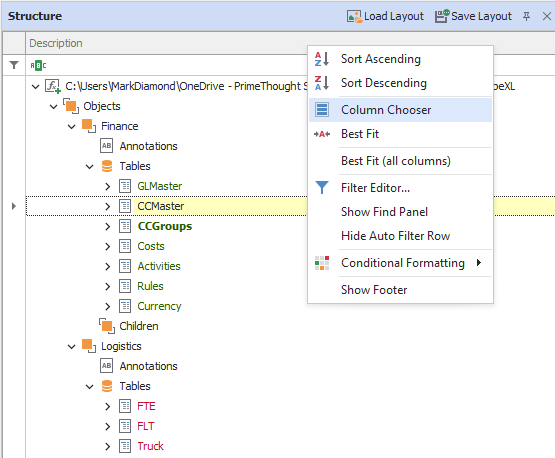
Additional columns can be shown by right clicking on the column header and selecting Column Chooser:
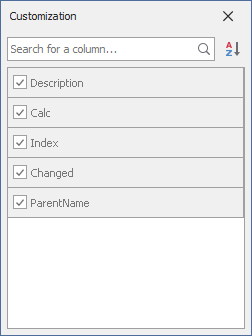
You can then tick on additional columns to display, namely:
Calc: Whether the item is a calculated one with a formula.
Index: The order of calculation of the item when the model is calculated.
Changed: Whether some item has been changed and model needs to be recalculated to include it.
ParentName: the parent of the item.
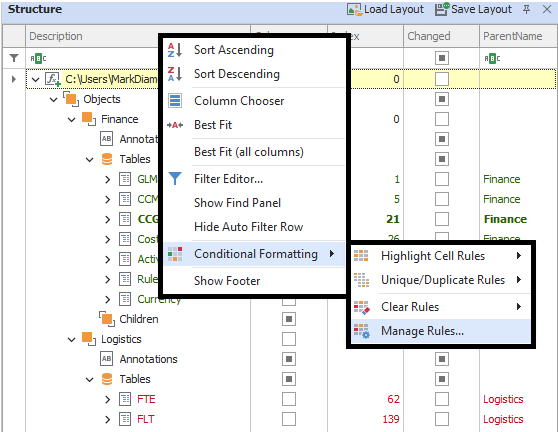
You can them apply a theme to the items in the tree structure based on these columns. You set the theme by right clicking on the column header area and then selecting Conditional Formatting and applying a formatting rule:
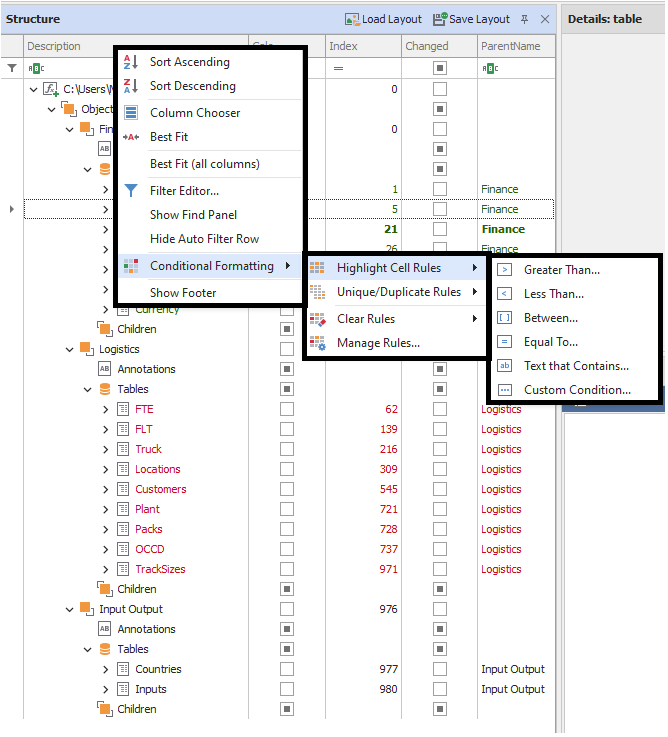
In this case I applied a Custom Condition:
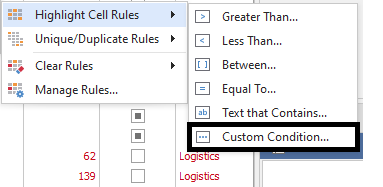
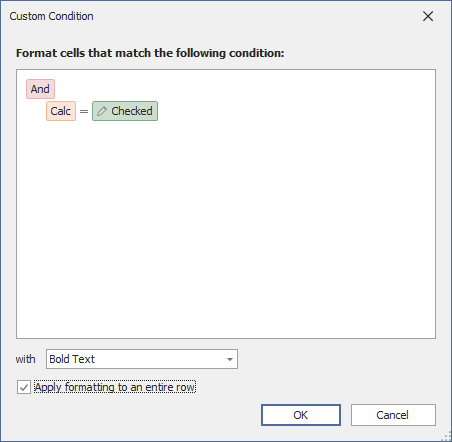
This one will apply Bold formatting to all items that are calculated items. I’ve also ticked on in the bottom left that the formatting should be applied to the entire row.
The next custom condition I applied was this:
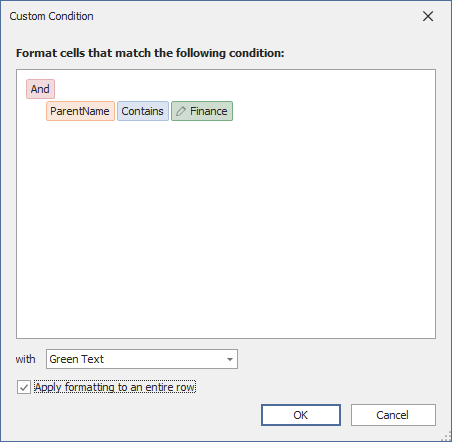
This one will make all items with the Parent of ‘Finance’ be formatted with green text.
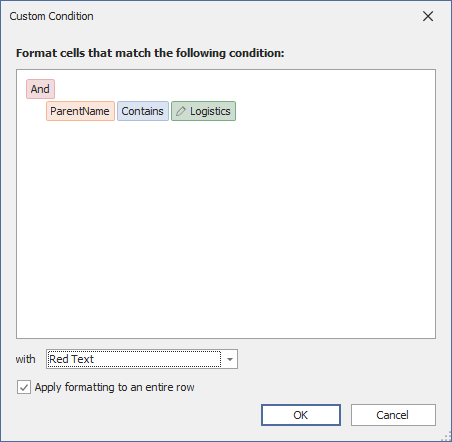
Then lastly I applied this custom condition to make all items with the Parent of ‘Logistics’ be formatted with red text:
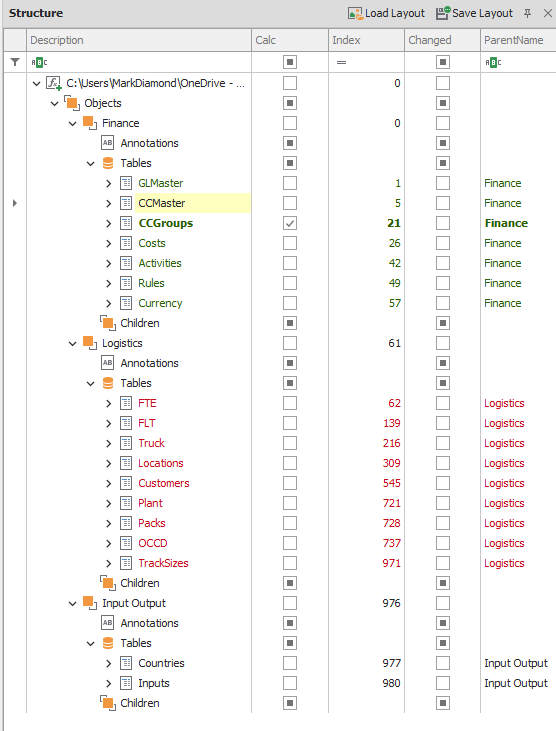
This is the result:
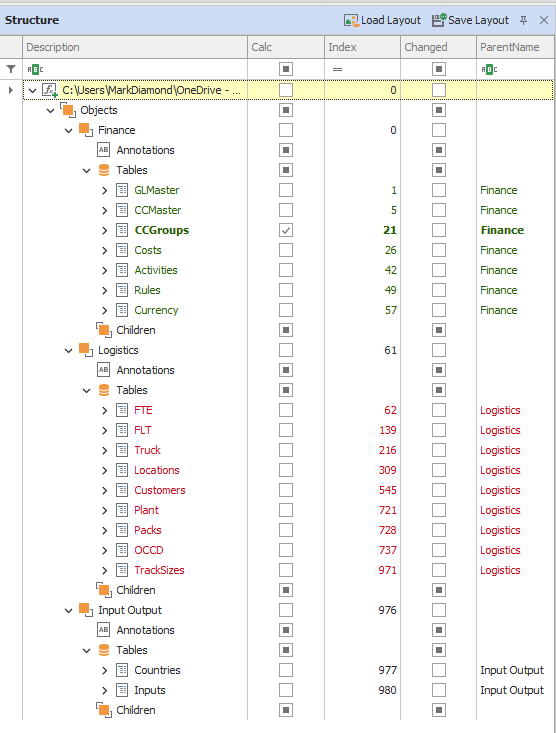
You can see CC Groups table is formatted in Bold text because it is a Calculated item and you can see all the items in the Finance Object are green and all the items in the Logistics object are red.
You can manage the formatting rules you have set up by right clicking in the column header area and then selecting Conditional Formatting>Mange Rules:
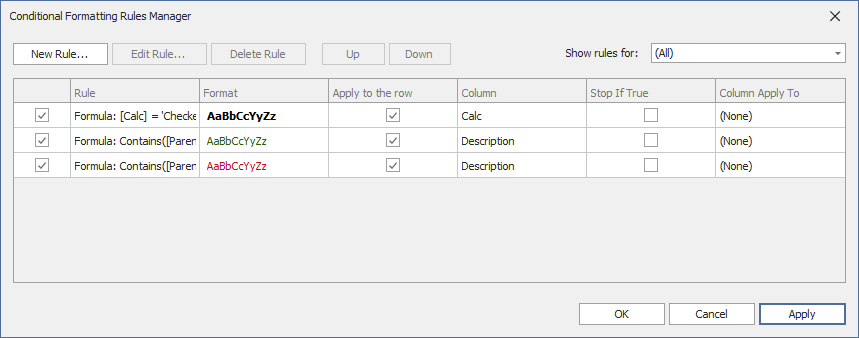
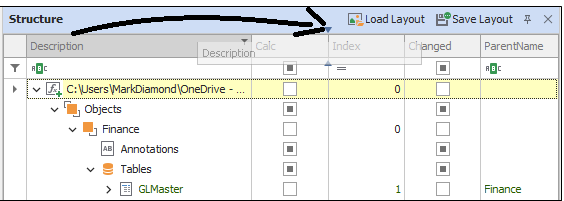
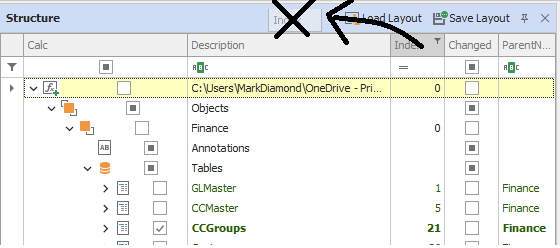
You can arrange the columns how you like by clicking on the header and dragging to place them in the order you want, and you can hide columns you don’t want to see by clicking the header and dragging them off until you see an X:
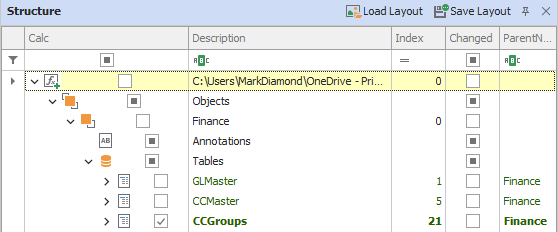
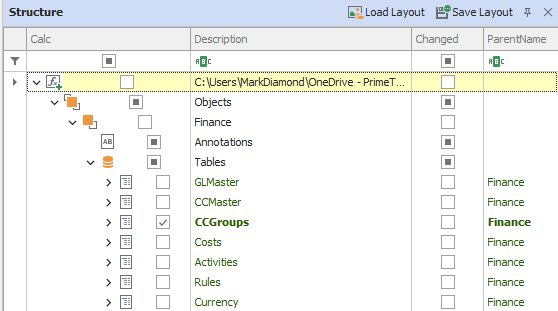
Your layout of columns as well as the formatting themes you set in this Tree Structure can then be saved out as a layout and reloaded as desired later.
