When installing MineModeller please take note of the following:
1.Please make sure that MicroStation is closed during installation.
2.Double click on the install file to run the install and follow the install wizard. You have an option to install for the current user only (recommended and no admin privileges required) or all users (admin privileges required).
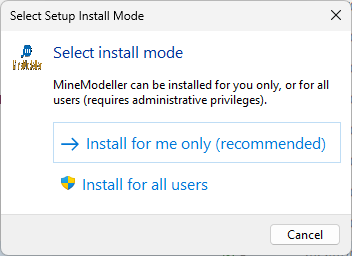
Note: When you later install updated versions it will remember the type of install you used for the first install (current user or all users). If you uninstall your previous version before installing the latest it will prompt you again.
3.After installing MineModeller, run MineModeller Manager by searching for it in your search bar. This wizard will add variables to your user configuration file so that MineModeller is accessible from MicroStation Connect Edition.
4.At the end of this wizard is a short video on how to add MineModeller to your Toolbar. The steps for this are also laid out here:
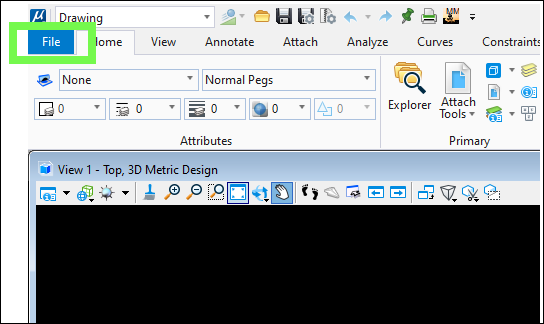
• Go to File:
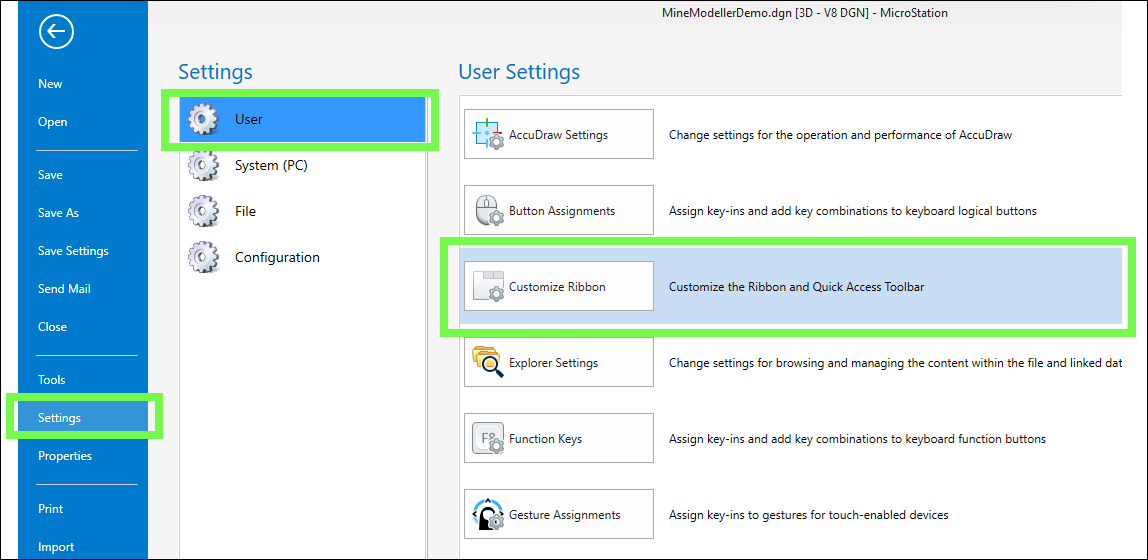
• Then Settings > User > Customize Ribbon:
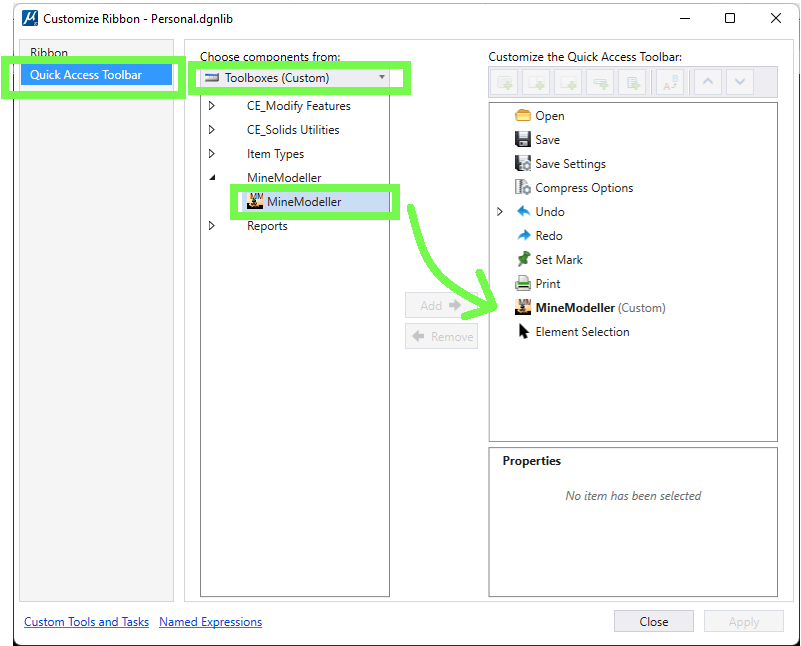
• Then to Quick Access Toolbar > Toolboxes (Custom). You can then drag the MineModeller application to the desired position on the quick access toolbar:
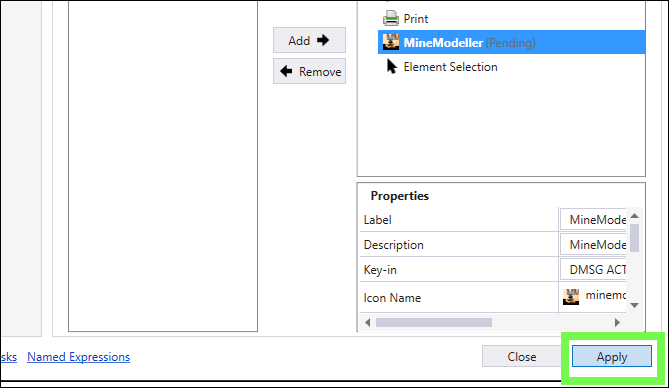
• Then click Apply and the MineModeller icon will be added to the quick access toolbar above and you can double click on it to open the MineModeller application:
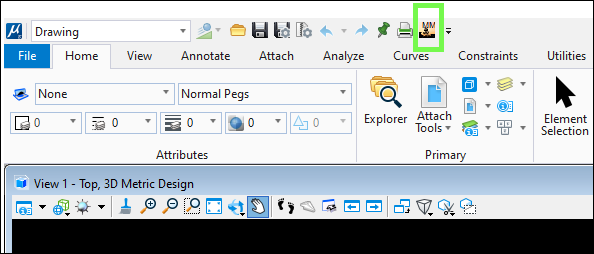
5.Next, click the icon to open MineModeller.
6.You will get a warning that there is no database available and also that you do not have a license key.
7.Go to Help>About and choose Update License, and either browse to the license file provided by PrimeThought or enter the license server URL (if you have a concurrent license).
8.See the troubleshooting section below if there are any issues.