❖ The graphics environment works with Layers which can be any graphical or non-graphical data. (Click on the X to close MiniMaps, Dashboards, and Print Templates. They can be turned on manually later as needed.)
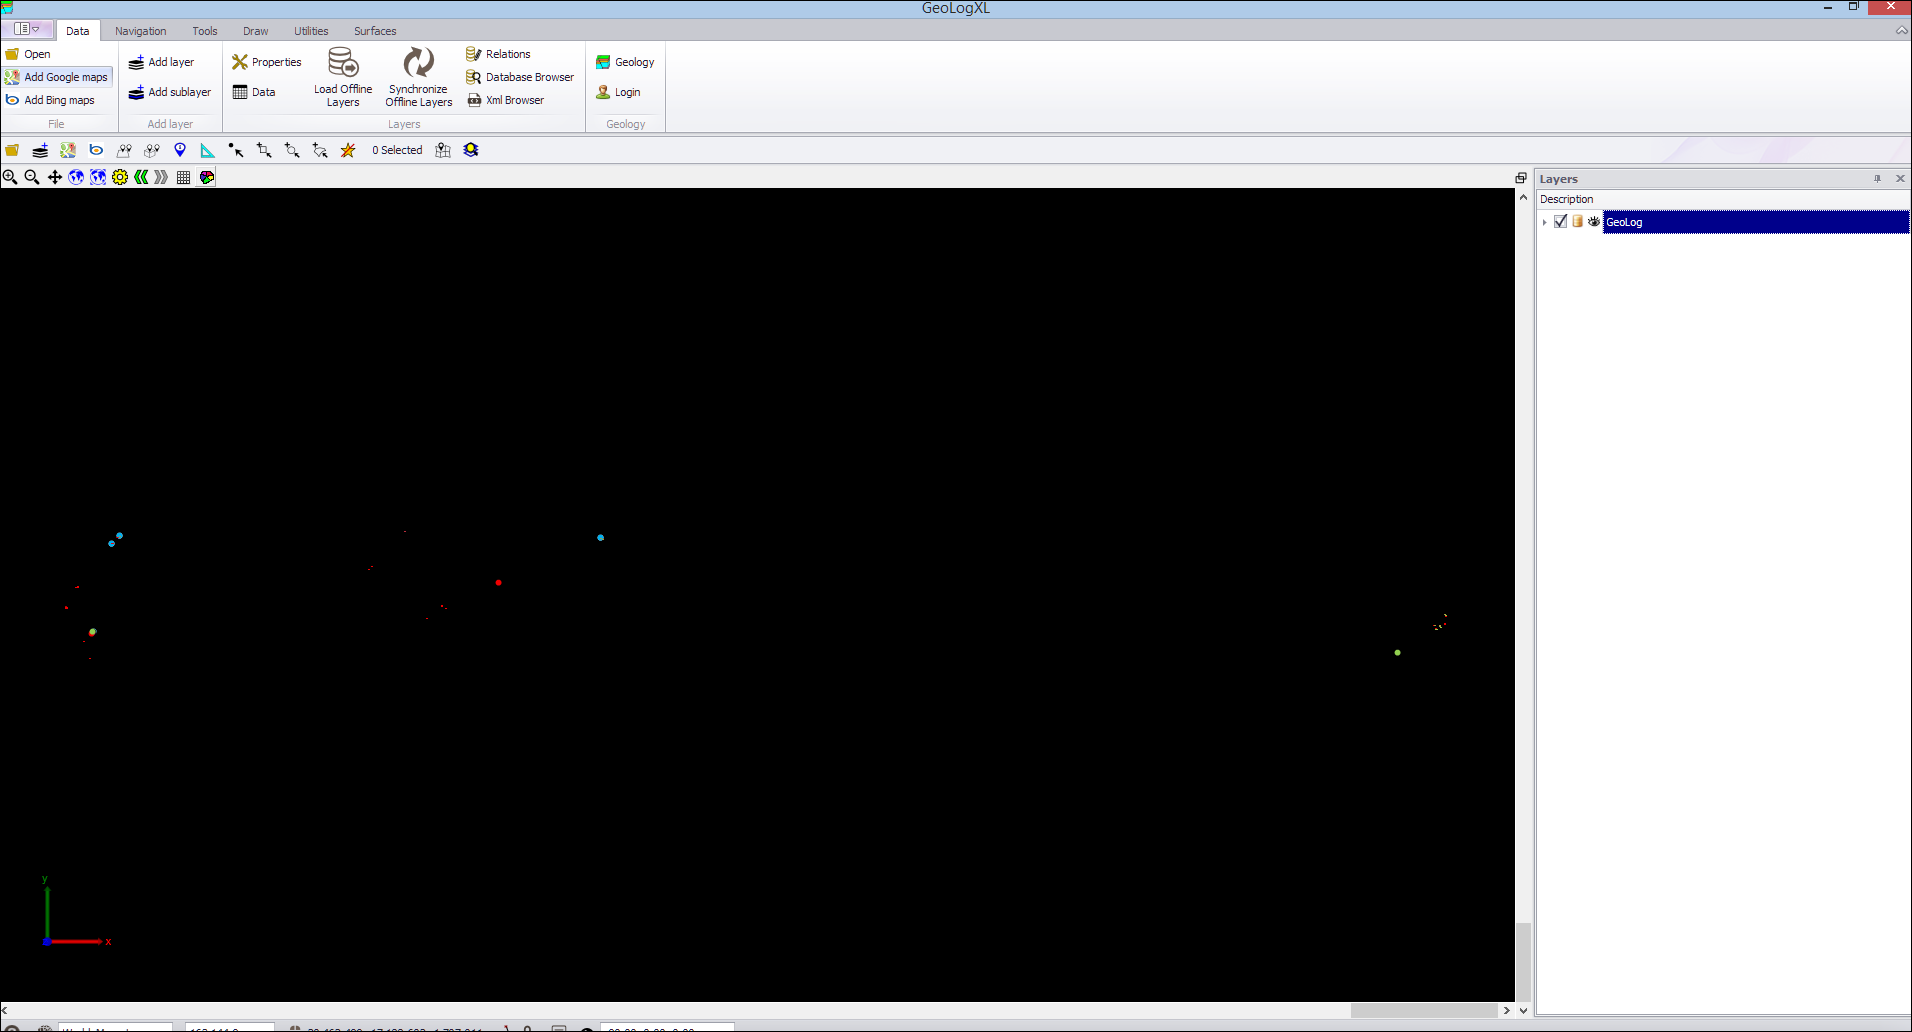
❖ When I click on the little triangle next to the GeoLogXL layer (in the layers area), the different predefined layers will open up like this.
❖ The little eyes next to the layers show whether the layer should be visible at that moment or not. By clicking the checkbox next to the layer, you can turn the visibility off for that layer.
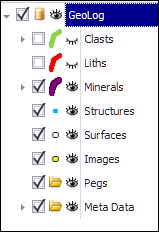
❖ As you can see the visibility of the two layers at the top were turned off. To turn them back on simply click on the checkboxes again. If you turn off the parent layer’s visibility, all the layers underneath will also not be visible whether they are ticked or not.
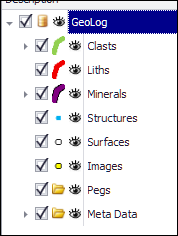
❖ These layers are set up in advance to connect to and draw data from the database directly with the log in details that were entered.
❖ To handle layers, you can drag and drop a layer into a different order. The layers are displayed from bottom to top, so in other words the layer that is at the top in the layer control will draw over the layers below it.
❖ To drag a layer, you grab the layer by clicking and holding the left button and then dragging the layer.
❖ To drop a layer underneath or on top another layer you drag it until you see a blue arrow showing above or below the other layer like this shows:
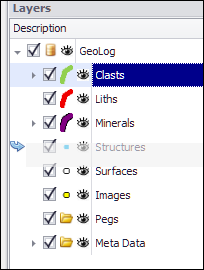
❖ This will drag the Clasts layer underneath the Structures layer.
❖ To drag a layer inside another layer, you drag it until a green arrow shows on the layer you want to put it inside of. This way you can have nested layers.
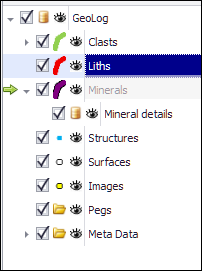
❖ You will not usually rearrange the layers under the Geology layer but will most likely rearrange and update other layers you may add like those for MicroStation Design files, or files loaded from other Mine Technical Packages.