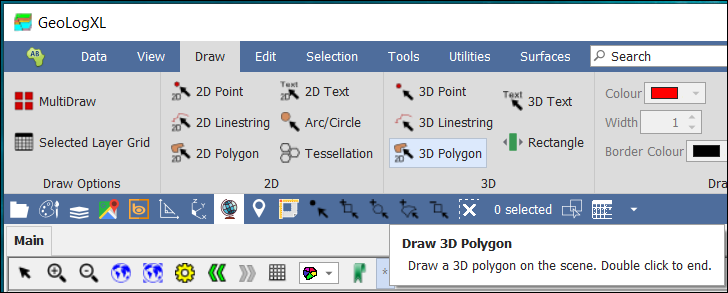
❖ Drawing can be done in GeoLogXL by going to the Draw tab of the GeoLogXL ribbon.

❖ Select the type of drawing you would like. 3D Polygon is selected in this example.
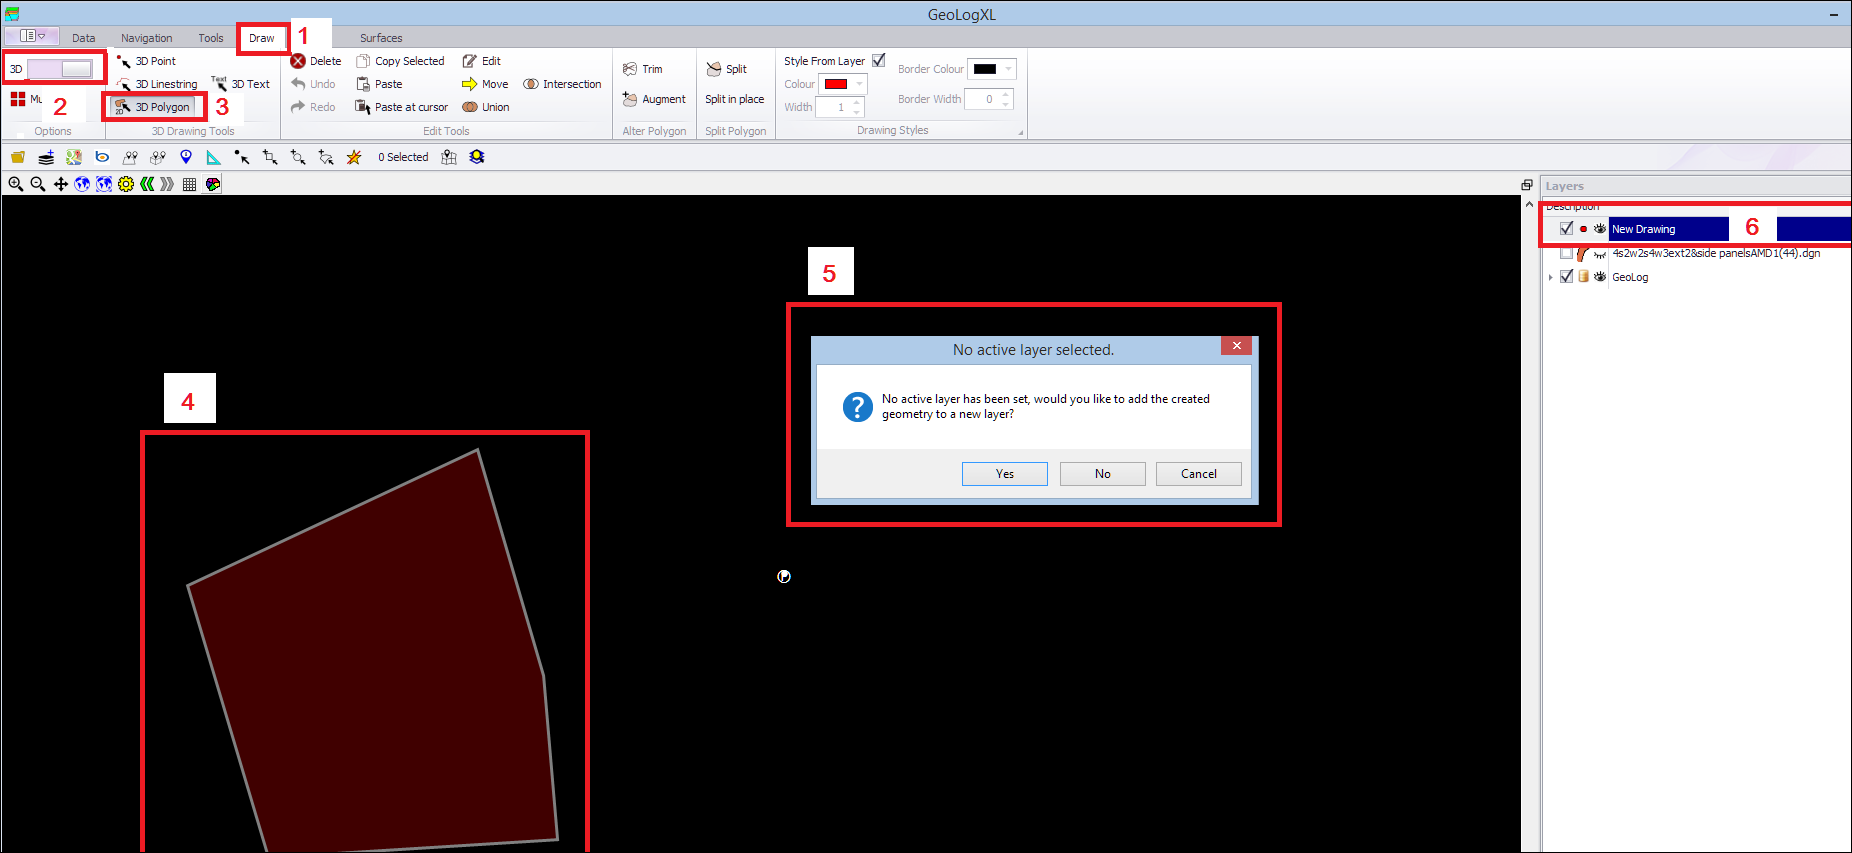
❖ Then do the drawing by left clicking on the scene for each vertex of the polygon - control z to undo and control y to redo.
❖ If an active layer was set, the drawing will draw to the active layer.
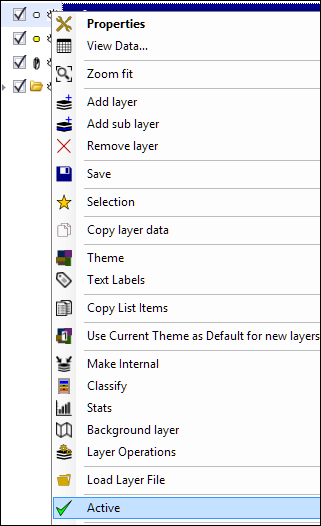
❖ To set a layer to be active, right click on the layer name and select Active.
❖ Otherwise, you will be prompted to add your created drawing to a new layer. Click Yes.
The layer is then created and the drawing will reside inside that layer.
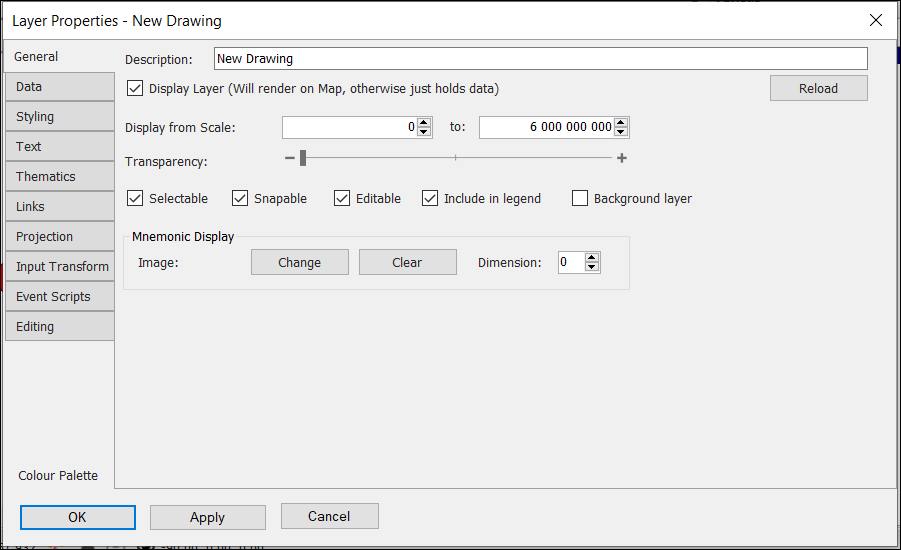
❖ You can set the drawing colours, transparencies and other settings inside the Properties for that layer.
❖ Right click on the layer where all of these items can be set.
❖ You can also style specific elements differently even if they are on the same layer. (Ensure Style From Layer is not checked on when doing this.)
❖ The settings for this are in the Draw tab of the ribbon. Select the element/s using one of the selection tools. Then choose your Colour. Click on Apply to selected. Remove the selection, and you will now see the element/s styled black.

