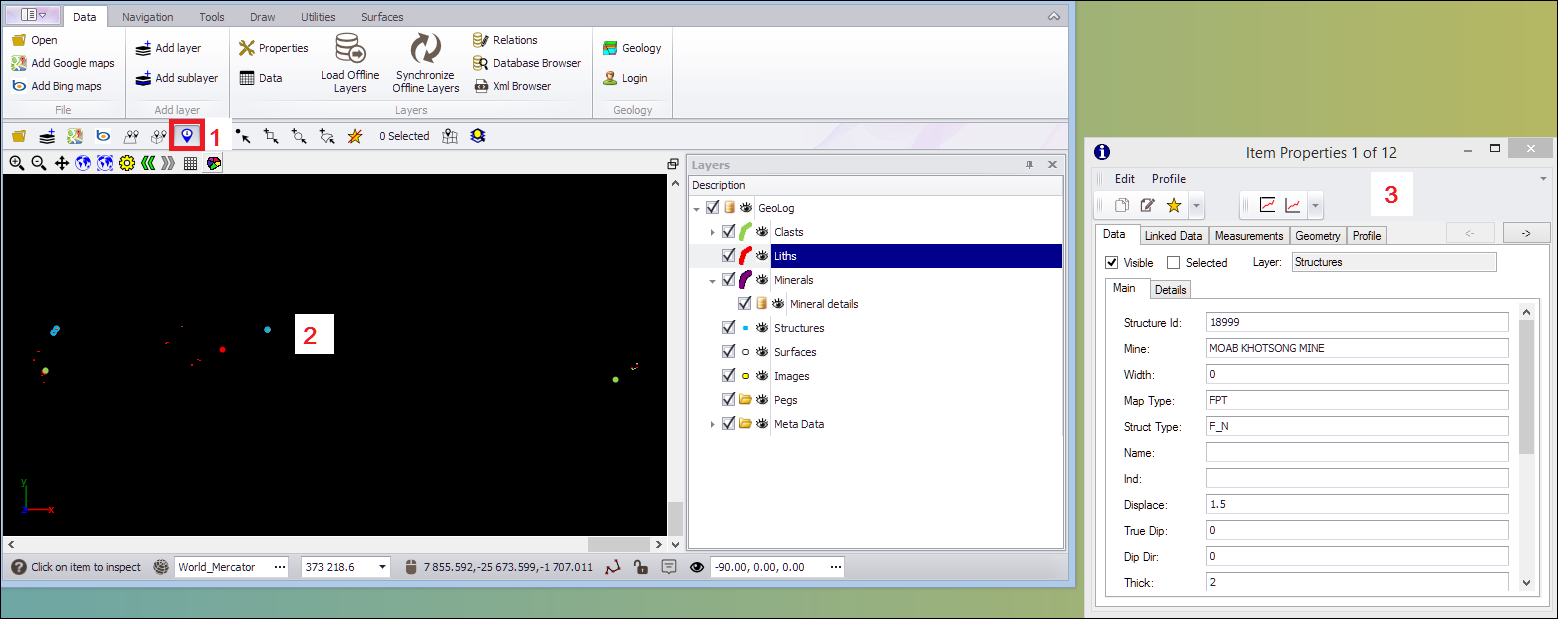
❖ The Inspector tool ![]() allows you to click on a feature on your map, and view any associated (attribute) information for that feature.
allows you to click on a feature on your map, and view any associated (attribute) information for that feature.
❖ To see any information on any point or graphics object, click on the Inspector tool (1), then on the item you would like to inspect (2) and then a dialog with the attribute information (3) will open. (If you struggle to click on the item you would like to inspect, you can also left click, hold and draw a box over the point.)
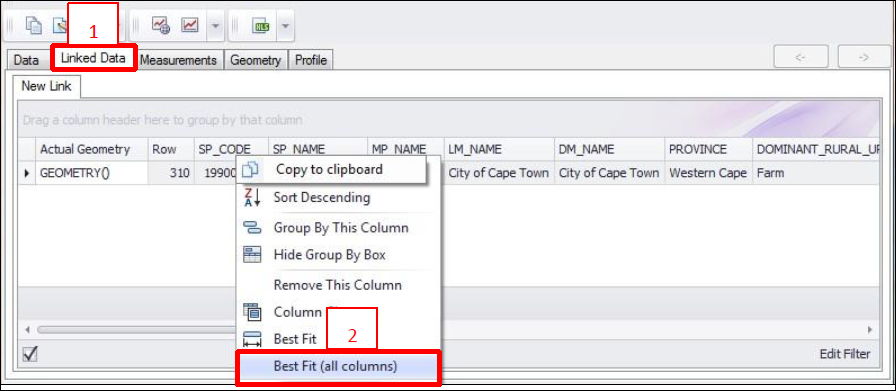
Note: If you have any data that has been linked to your map layer e.g. from a excel spreadsheet, or a non-graphic layer, click the 'Linked Data' tab to view this data (1). If your column headings are cut short, right click any column and click 'Best Fit' to expand them all (2).
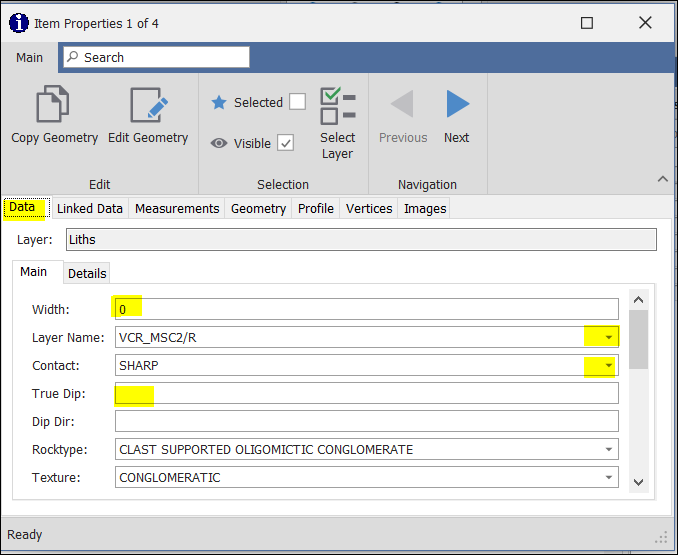
❖ In the Data tab of the object/s you have selected with the Inspector tool, you can edit any data here - there are also drop-down arrows to help you with this. The drop-down arrows have been configured from the Meta Data layer. You can also create your own meta-data to work with.
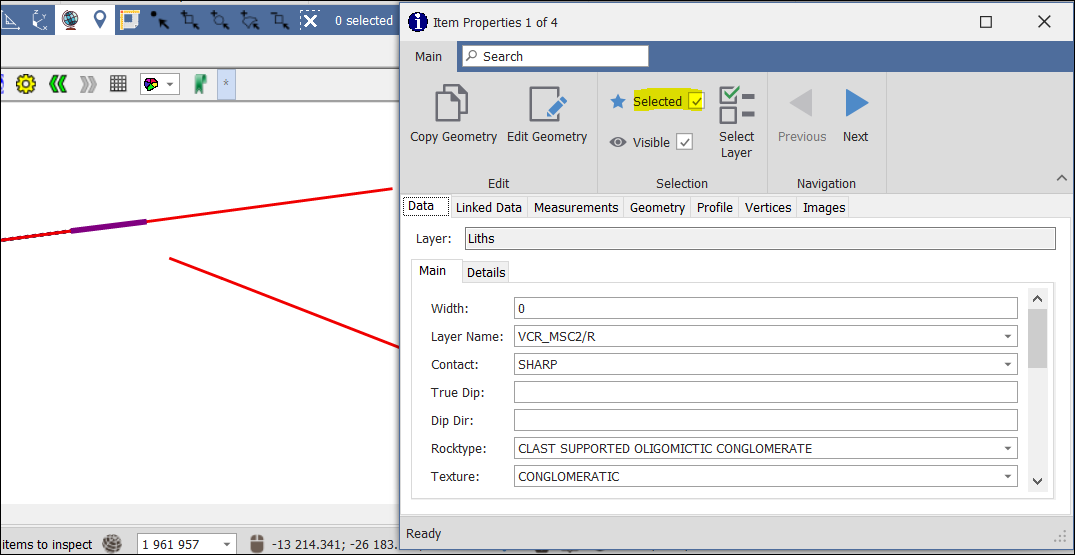
❖ To select your object in graphics so you know which one is being referred to if many are chosen, click on Selected. The selected object is purple.
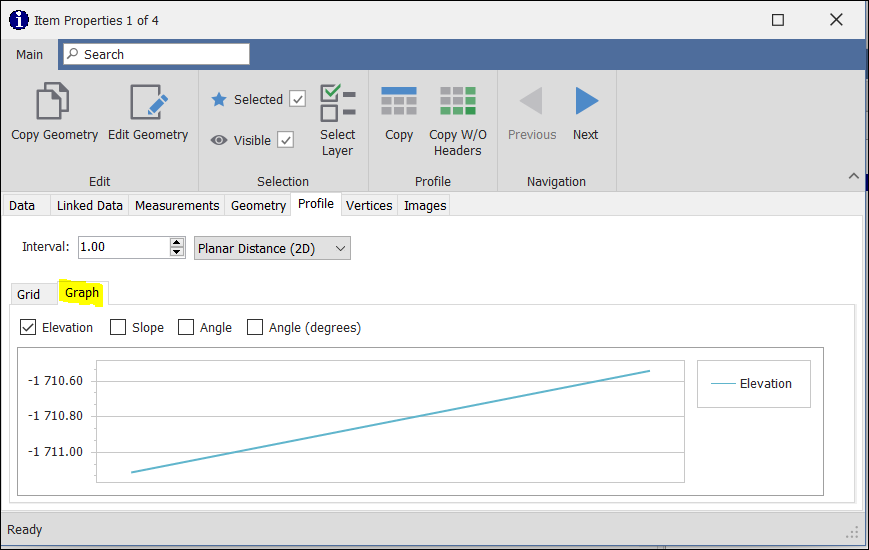
❖ By selecting the Profile tab, you can get a profile of your selected data. You can choose from Planar Distance (2D) or Actual Distance (3D).
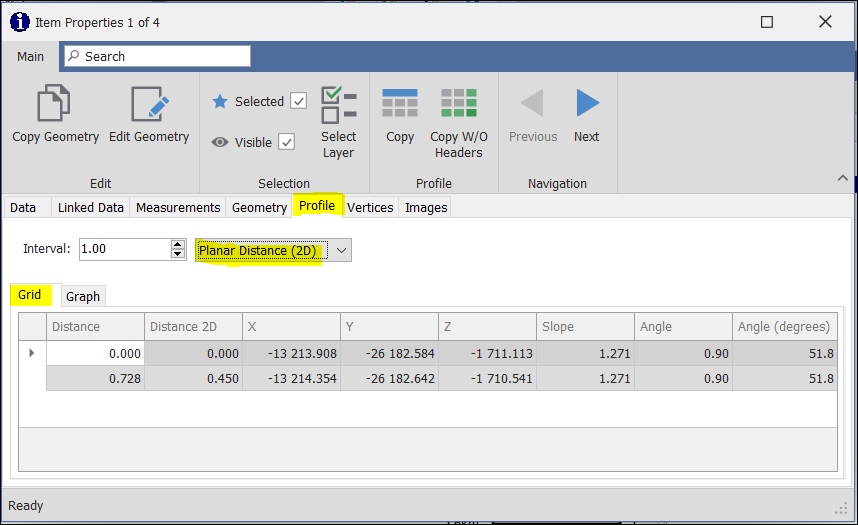
❖ Select the Graph tab to see the graph.
