❖Colour palette will bring up the colour palette window (this is a floating window) where you can add colours to any themes you set for your layers or to the layers themselves:

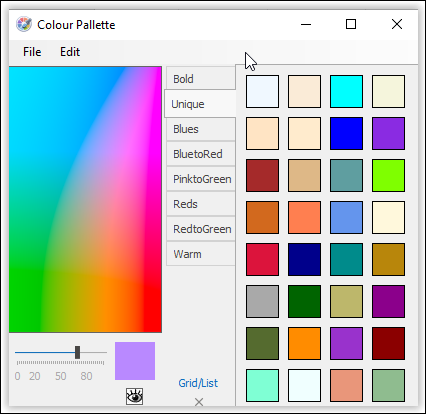
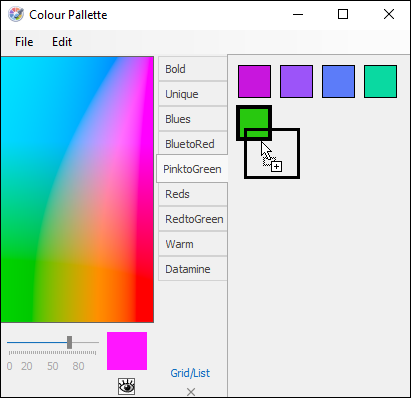
❖The way the colour palette works is as follows: In the tabbed sections on the right are pre-set colour palettes you can use and change as well(1). For example if I am applying a theme to a layer I can drag one of these colour palettes in to apply it by clicking on the tab name and then dragging(2)(3)(4):
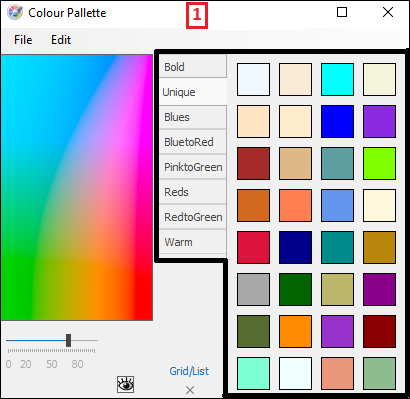
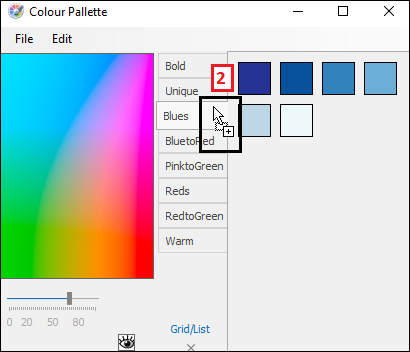
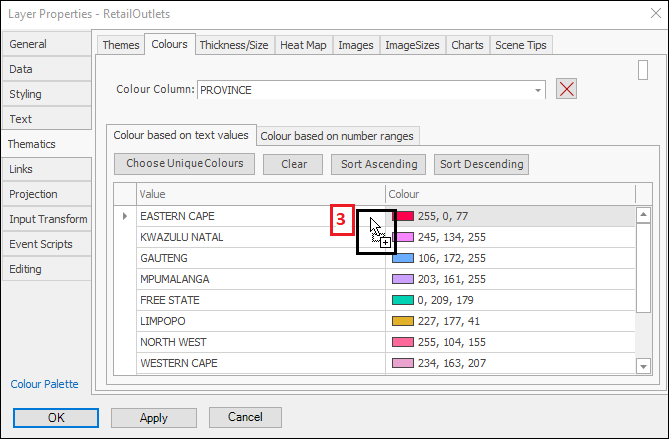
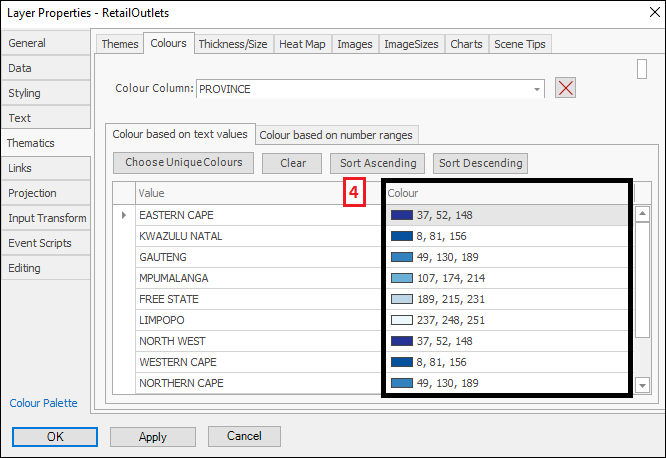
This works the same for applying the colours to a theme legend in the layer control. You just click and drag onto it as above:
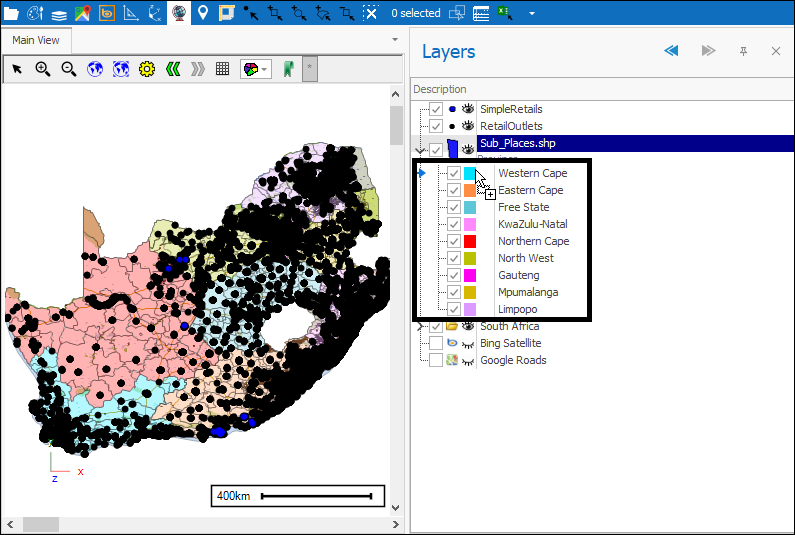
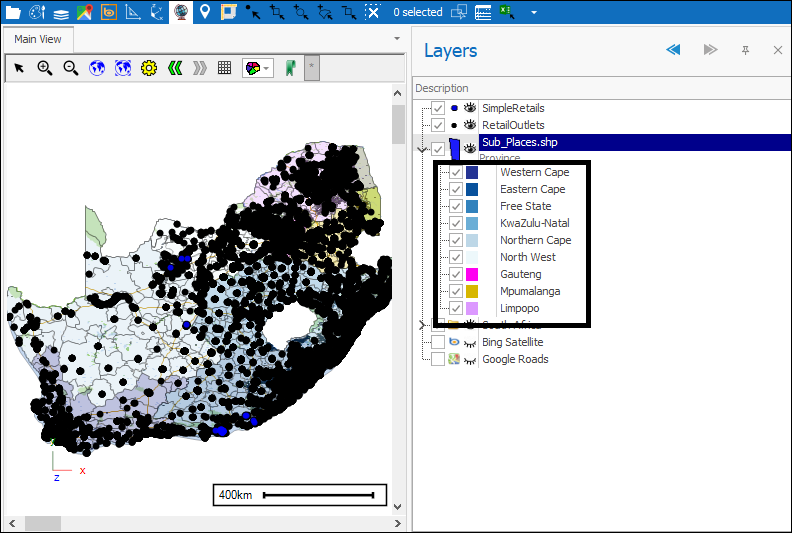
You can drag individual colours or entire palettes onto layers to change their colour, however palettes can only be dragged onto layers with more than one colour (colour theme). I will drag a colour to change my Retail Outlets layer:
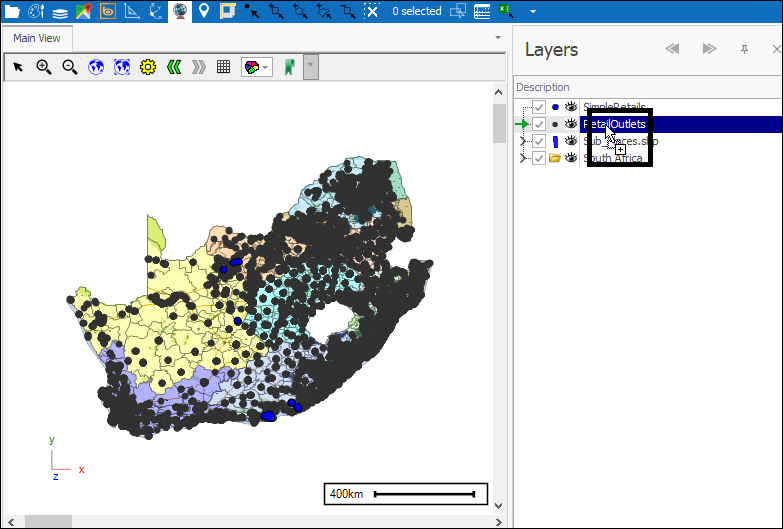
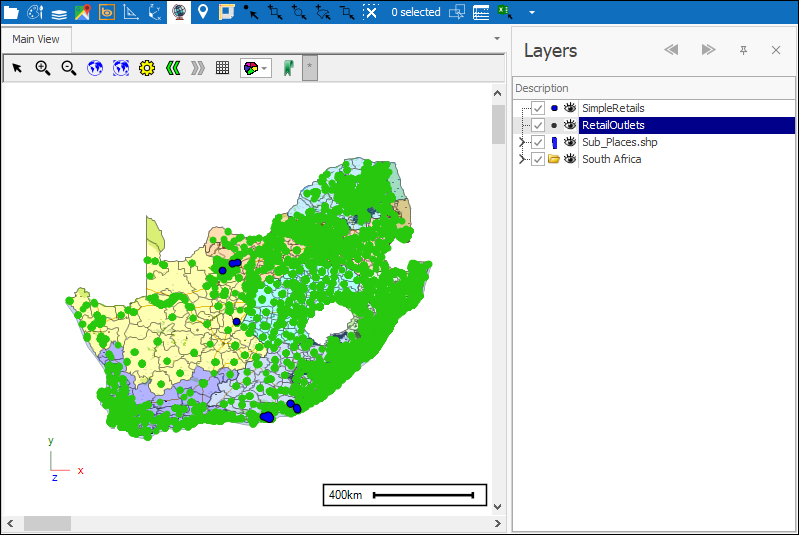
❖On the left is a gradient of colours(1), the box above the eye shows whatever colour you are currently on in the gradient(2):
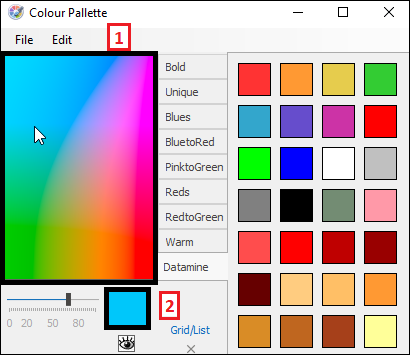
❖You can click on any point in the gradient on the hue you like and then drag that colour onto a theme element or layer:
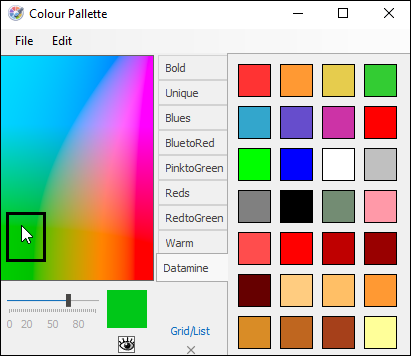
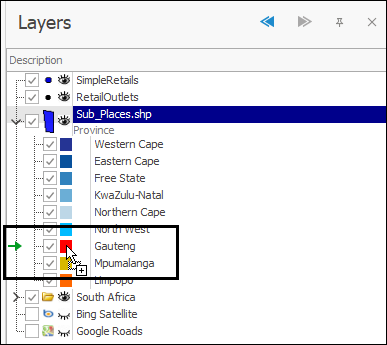
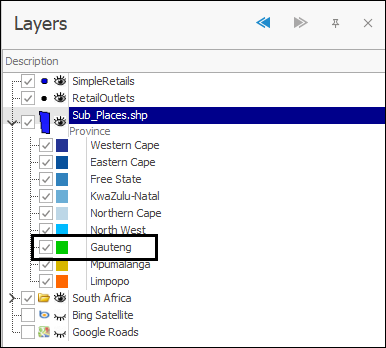
Once you’ve used a colour from the gradient, that colour that you selected remains in the box above the eye and if you want to reapply that colour you can then click on the box and drag:
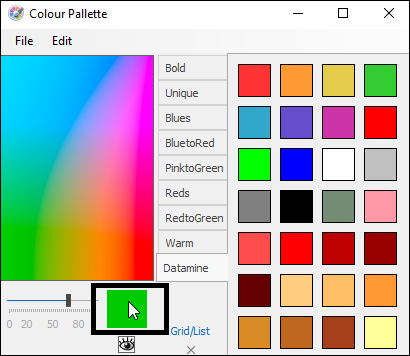
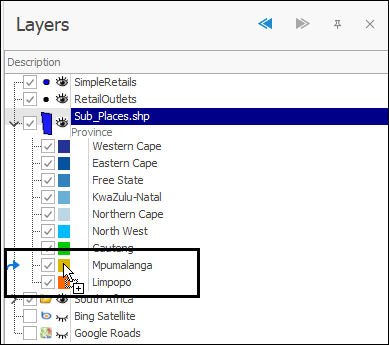
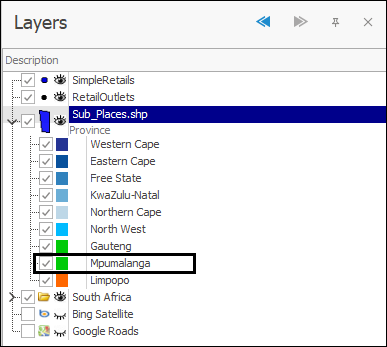
(Note: If you hover over the gradient before doing this the colour in the box will change again according to what colour you are over so if you are going to reapply colours just go straight to the box)
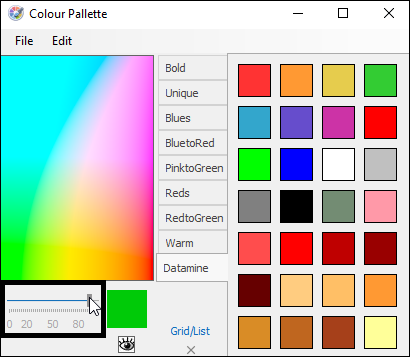
❖The brightness of the colours in the gradient can be adjusted using the slider below:
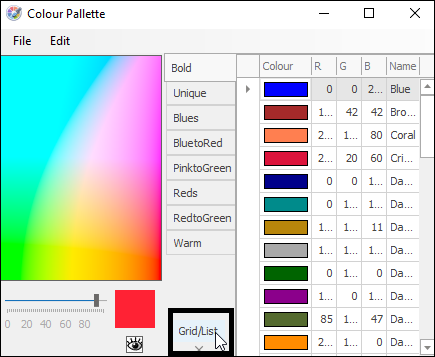
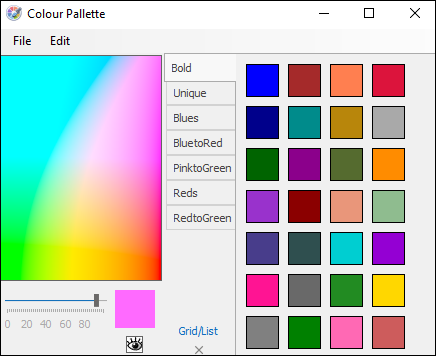
❖You can choose to have any colour palette shown as a grid or list by toggling the Grid/List button. In this example I toggled the Bold palette to be a grid:
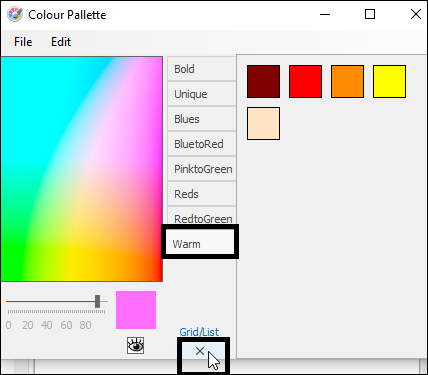
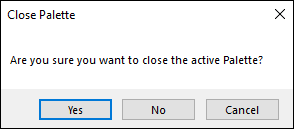
❖The little X below will close whatever palette you are currently on (Bold and Unique are the only palettes you can’t close):
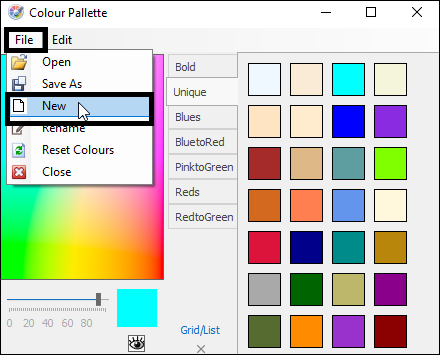
❖To create a new palette go to File>New:
In the dialogue that comes up put the name for the new palette. You can then choose to copy from an existing palette by having Copy ticked on and then selecting from the dropdown. If you want to create a new blank palette leave this ticked off. When done click Create:
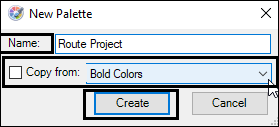
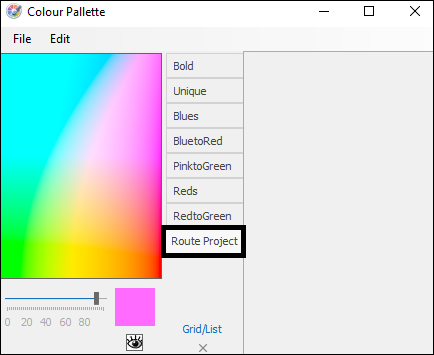
Your blank palette has been created and now you can drag colours onto it from the gradient or from the other palettes. Just click on the colour and drag:
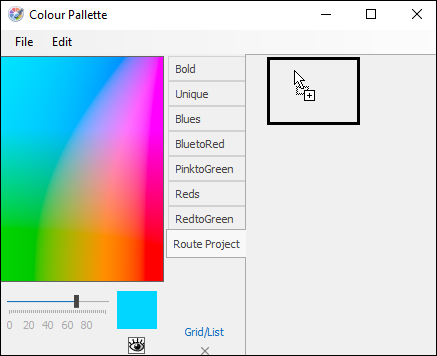
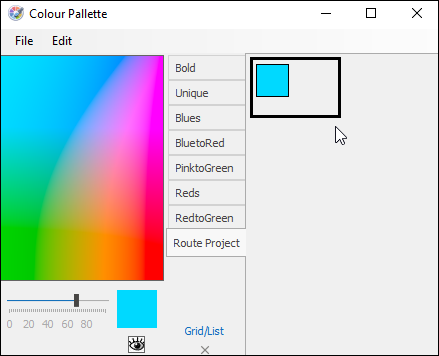
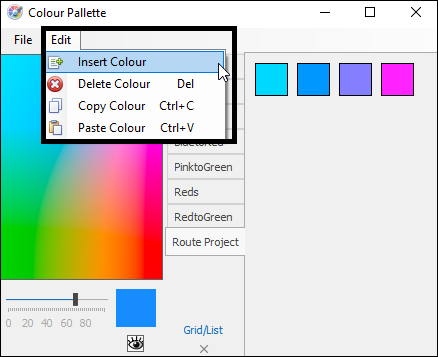
❖You can edit palettes (including the default palettes) using the Edit tab. To remove a colour select it and then use Delete Colour. Insert Colour will insert a blank colour (white). And then you can copy and paste colours using Copy Colour and Paste Colour. You can add colours by clicking and dragging them either from the gradient or other palettes:
❖Once you have created a palette or edited one you can then save it as an external file that you can then bring in anytime:
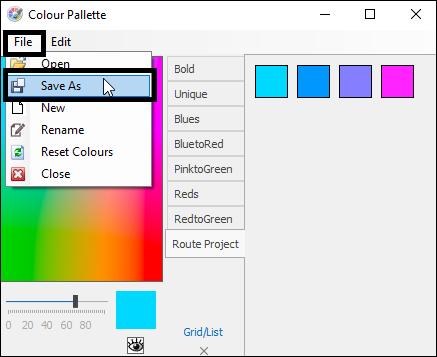

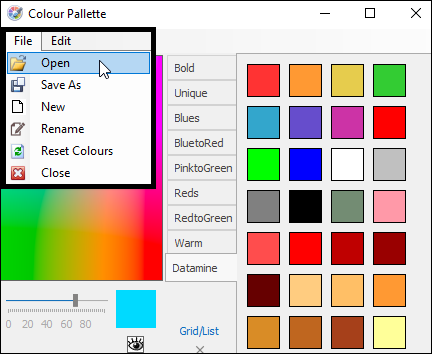
❖To bring a palette file in you use File>Open. In the File menu you also have the option to Rename a palette. Reset Colours will set all the palettes back to their default, which is to say put all the default palettes back as they were before being changed or having other palettes added. Close will close the current palette:
