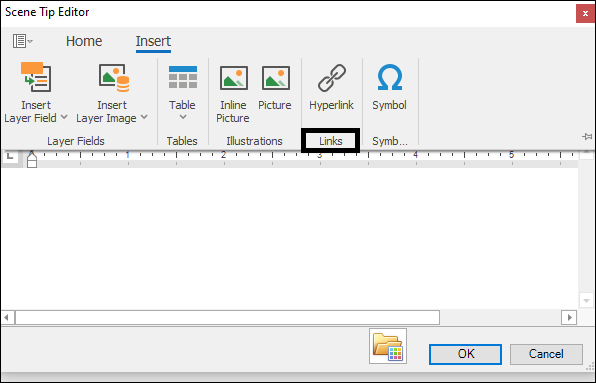
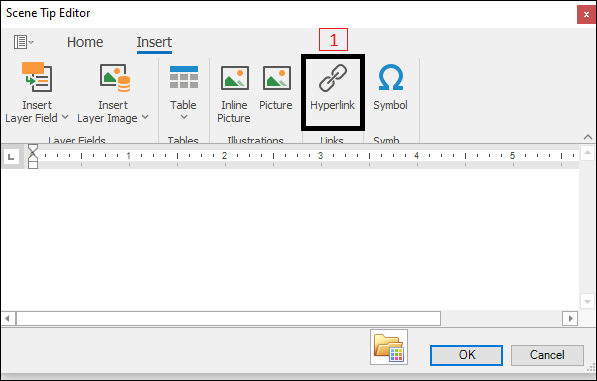
❖You are also able to insert hyperlinks into your scene tip. To do so click the Hyperlink button(1) which will bring up the HyperlinkForm(2) dialogue:
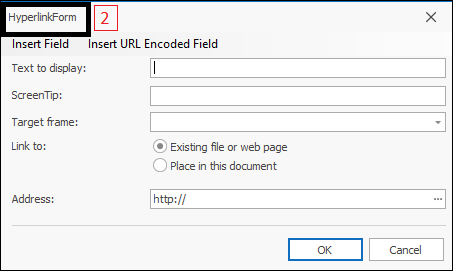
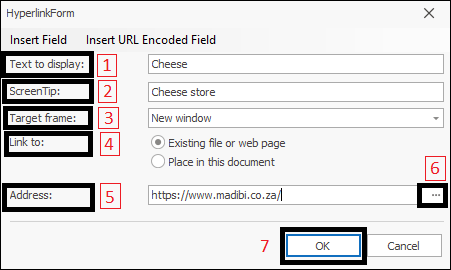
❖First type in the text you would like to display at Text to display(1). Then if you would like there to be a scene tip for the link type this in at ScreenTip(2). The TargetFrame(3) is not really applicable in our products so you wouldn’t have to choose anything on this one. At Link to(4) choose where it is you’re linking to. Finally at Address(5) enter in the URL or browse to it using the three little dots(6). Click OK(7) when done:
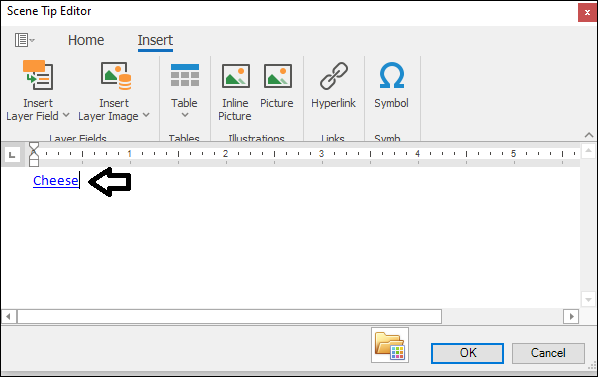
Your hyperlink is now inserted below:
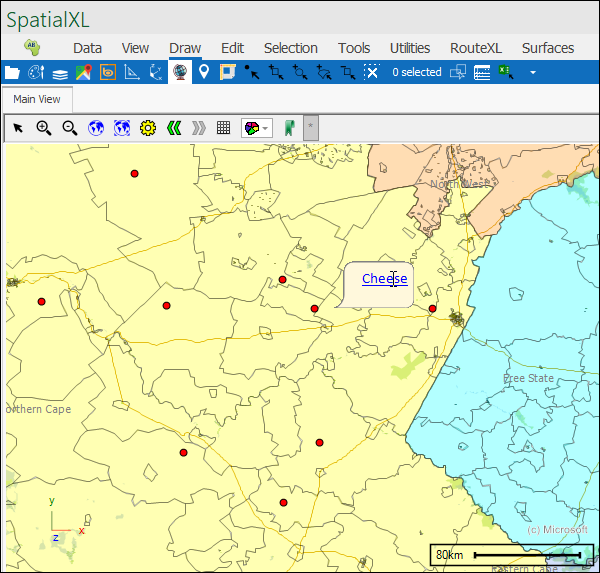
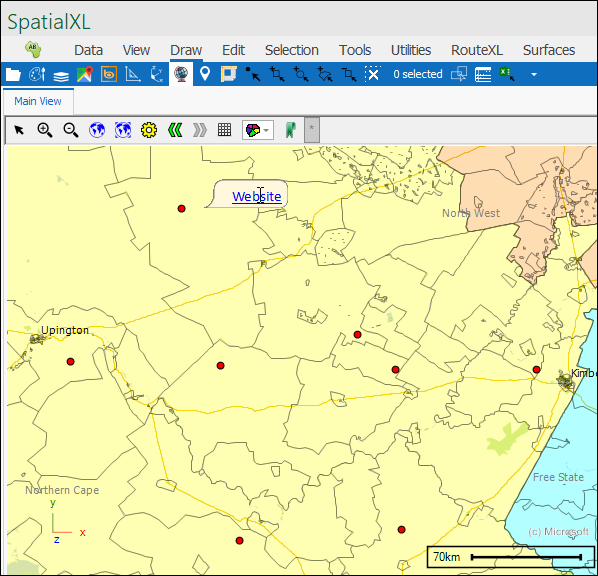
If I am done, I can click OK and go to my scene and see the scene tip. I can click on the link and it will take me to the webpage:

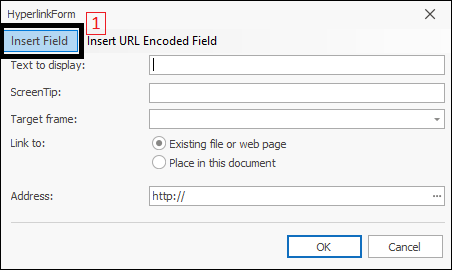
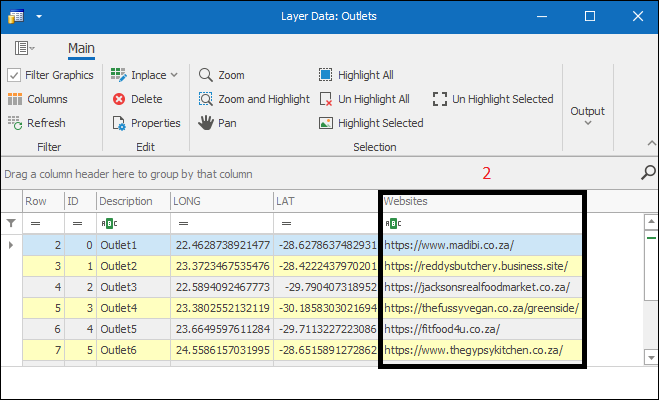
❖Now there is another way of inserting hyperlinks into your screentips and that is to use the Insert Field(1) button. You could use this if you had a column in your layer data which contained URLs(2):
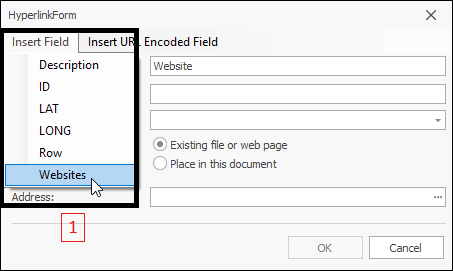
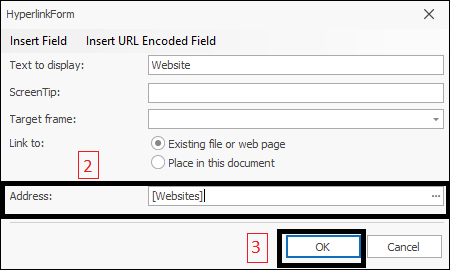
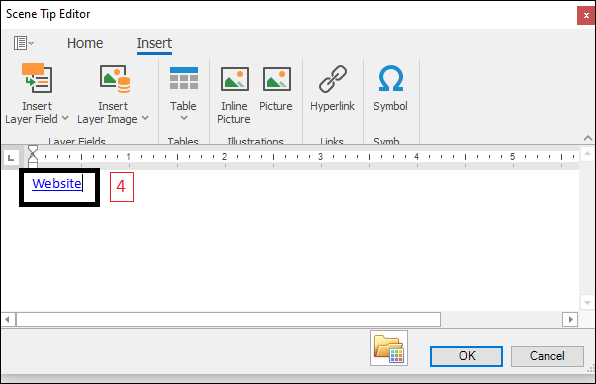
Once you click on this button you will get a dropdown list(1) where you will select the field which contains the URLs. This is then inserted in the Address field below(2). Click OK(3) when done and your hyperlink has been inserted in your scene tip(4):
I can now then click OK and go to my scene and view the scene tip. Clicking on the link will link me to the corresponding website for each point I hover over:

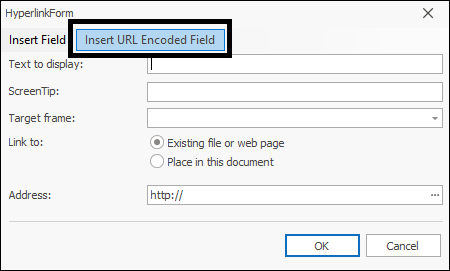
❖You can also make use of the Insert URL Encoded Field button which will insert a field in your layer data where you have URLs but they are not encoded correctly yet:
